
Blog Categories
Home Decor

Travel
Gardening

Lifestyle
Counting Your Blessings
It’s that time of year again- crisp air, cozying up with a warm blanket and a good book, pumpkin spice everything, and beautiful autumn leaves. When I was a kid I remember not looking forward to the fall very much (mostly because it meant summer was over and it was time to go back to school), but as an adult I absolutely love it! With Thanksgiving around the corner, it’s also the perfect reminder to count your blessings, and to reflect on all the good things that happened throughout the year. When my kids were younger I made a Thankful Tree Kit to use throughout the entire month of November. My kids loved being able to write down all the things they were thankful for- big or small!
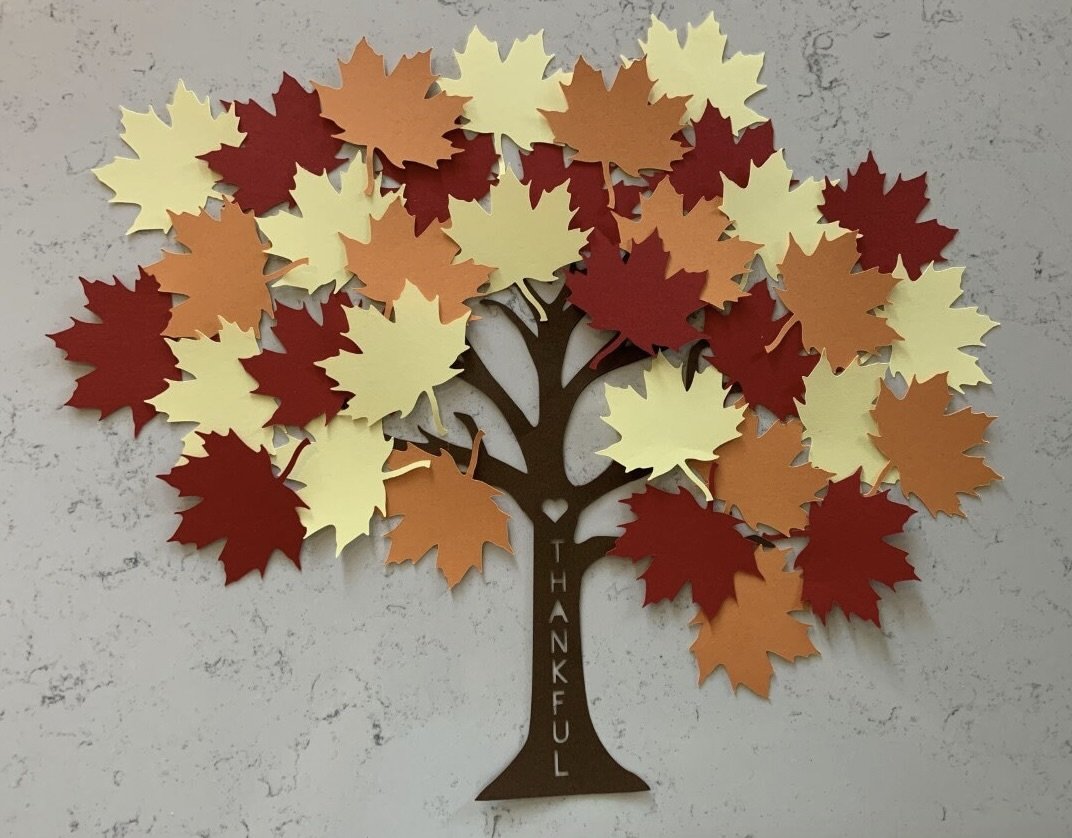
Visit my Etsy shop AnnabelleDesignCowhere you can order this Thankful Tree Kit!
There is a leaf for each day of the month that you add to the tree. This has actually become a tradition in our family that we do each year. As my kids have gotten older it looks a little different and we each write down what we're thankful for and fill all the leaves out at once on Thanksgiving morning. A lot of times we all end up writing down our favorite memories that we’ve had throughout the year. Either way, it’s a perfect way to instill a spirit of gratitude in your kids and a great activity for spending quality family time together. Have a beautiful day!
~Annie
How To Create A Beautiful Backyard Garden Space
Part One
There used to be a time when I couldn’t grow anything for the life of me. Either I didn’t have the space or I simply just wasn’t interested. Lately however, I’ve found myself really enjoying gardening more and more. Some of my earliest memories are of being out in the garden at the house I grew up in and playing on the tire swing next to the chicken coop. My Mom always enjoyed gardening and having a flower bed, and she always talked about how therapeutic it was. A few years ago we lost my Mom. She was my best friend and I was devastated. But I remembered everything she had taught me in life and I finally understood what she was talking about with gardening being so therapeutic. I started to love anything that had to do with getting my hands in the dirt and watching things grow. In a way, I think it makes me feel closer to her.
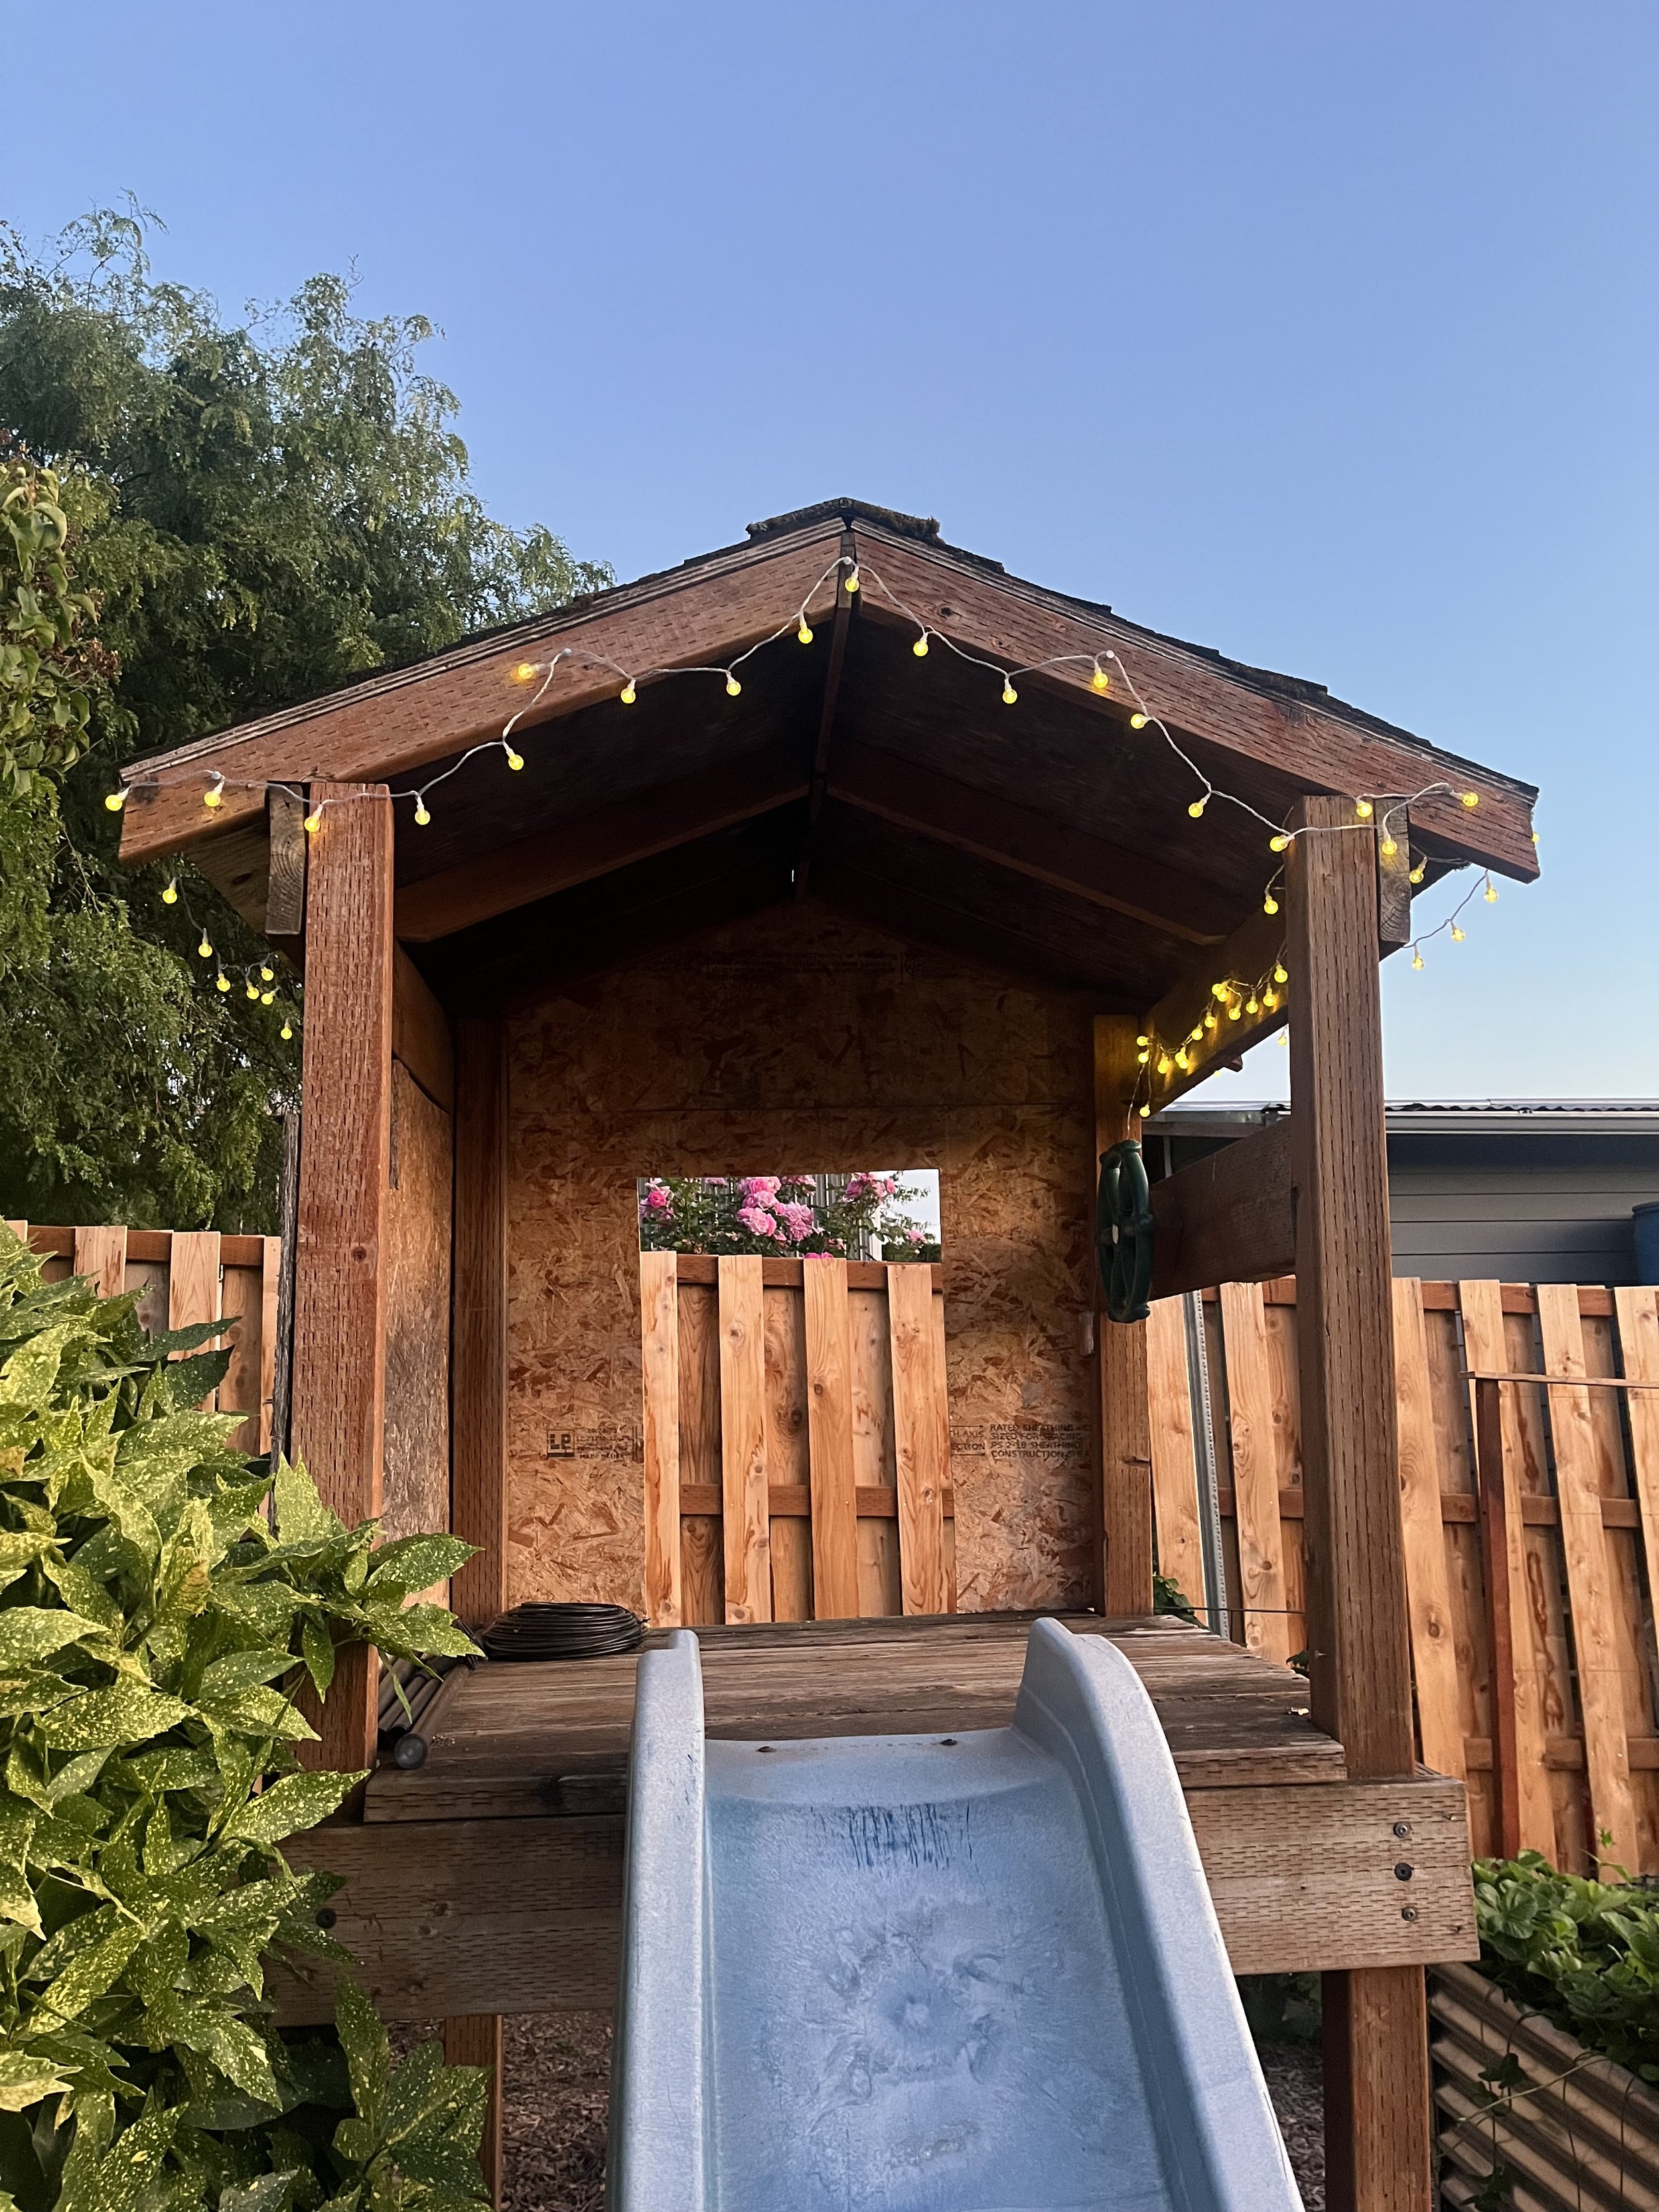
Last year my husband and I started to slowly transform a section of our backyard into a garden. This little corner of our backyard used to be a full play set area, but the kids were getting too big for it. We kept the fort up though because I thought it added such a fun touch to the garden. Then I added these little fairy Outdoor Battery Operated String Lights and I’m loving the ambiance that they add to the space.
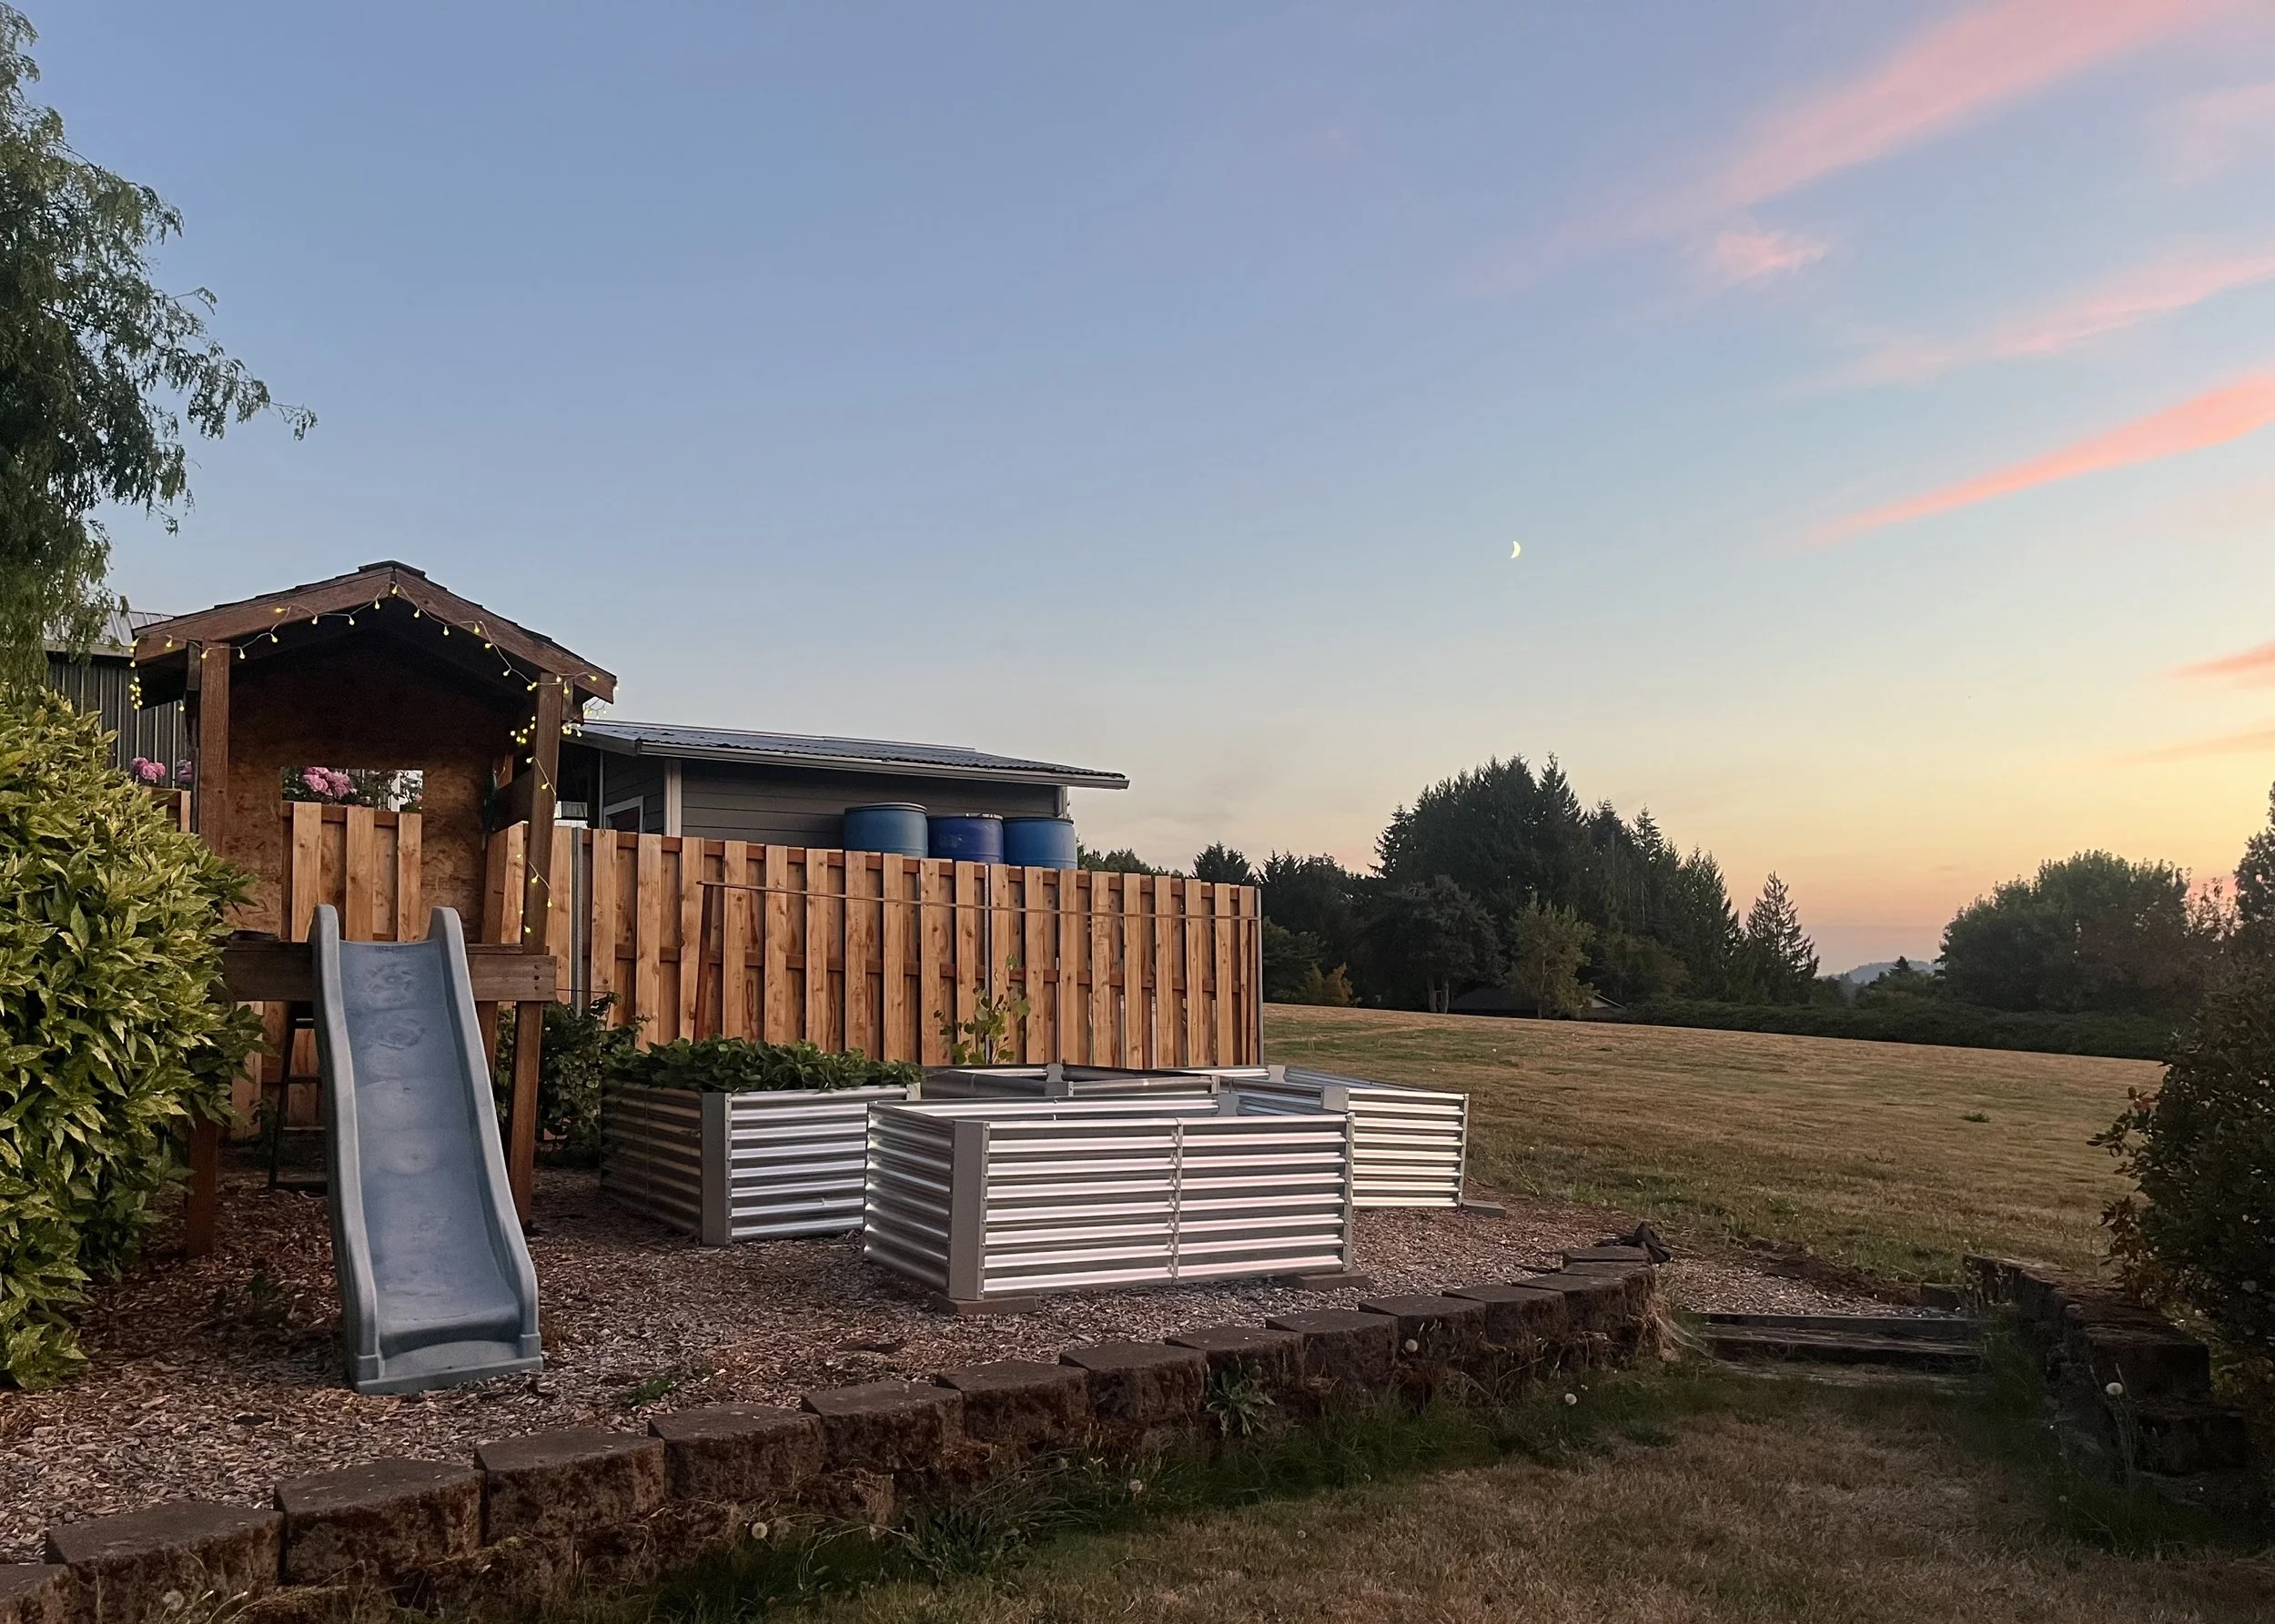
Next, we added some Metal Garden Planter Boxes. These are so great! They let you keep your garden contained and are fairly easy to assemble. Plus they are nice and sturdy. I found both these products on Amazon, and as an associate I earn from qualifying purchases and only recommend products that I truly love. This space is obviously still a work in progress, but having the foundation for the planter boxes and the layout is half the battle!
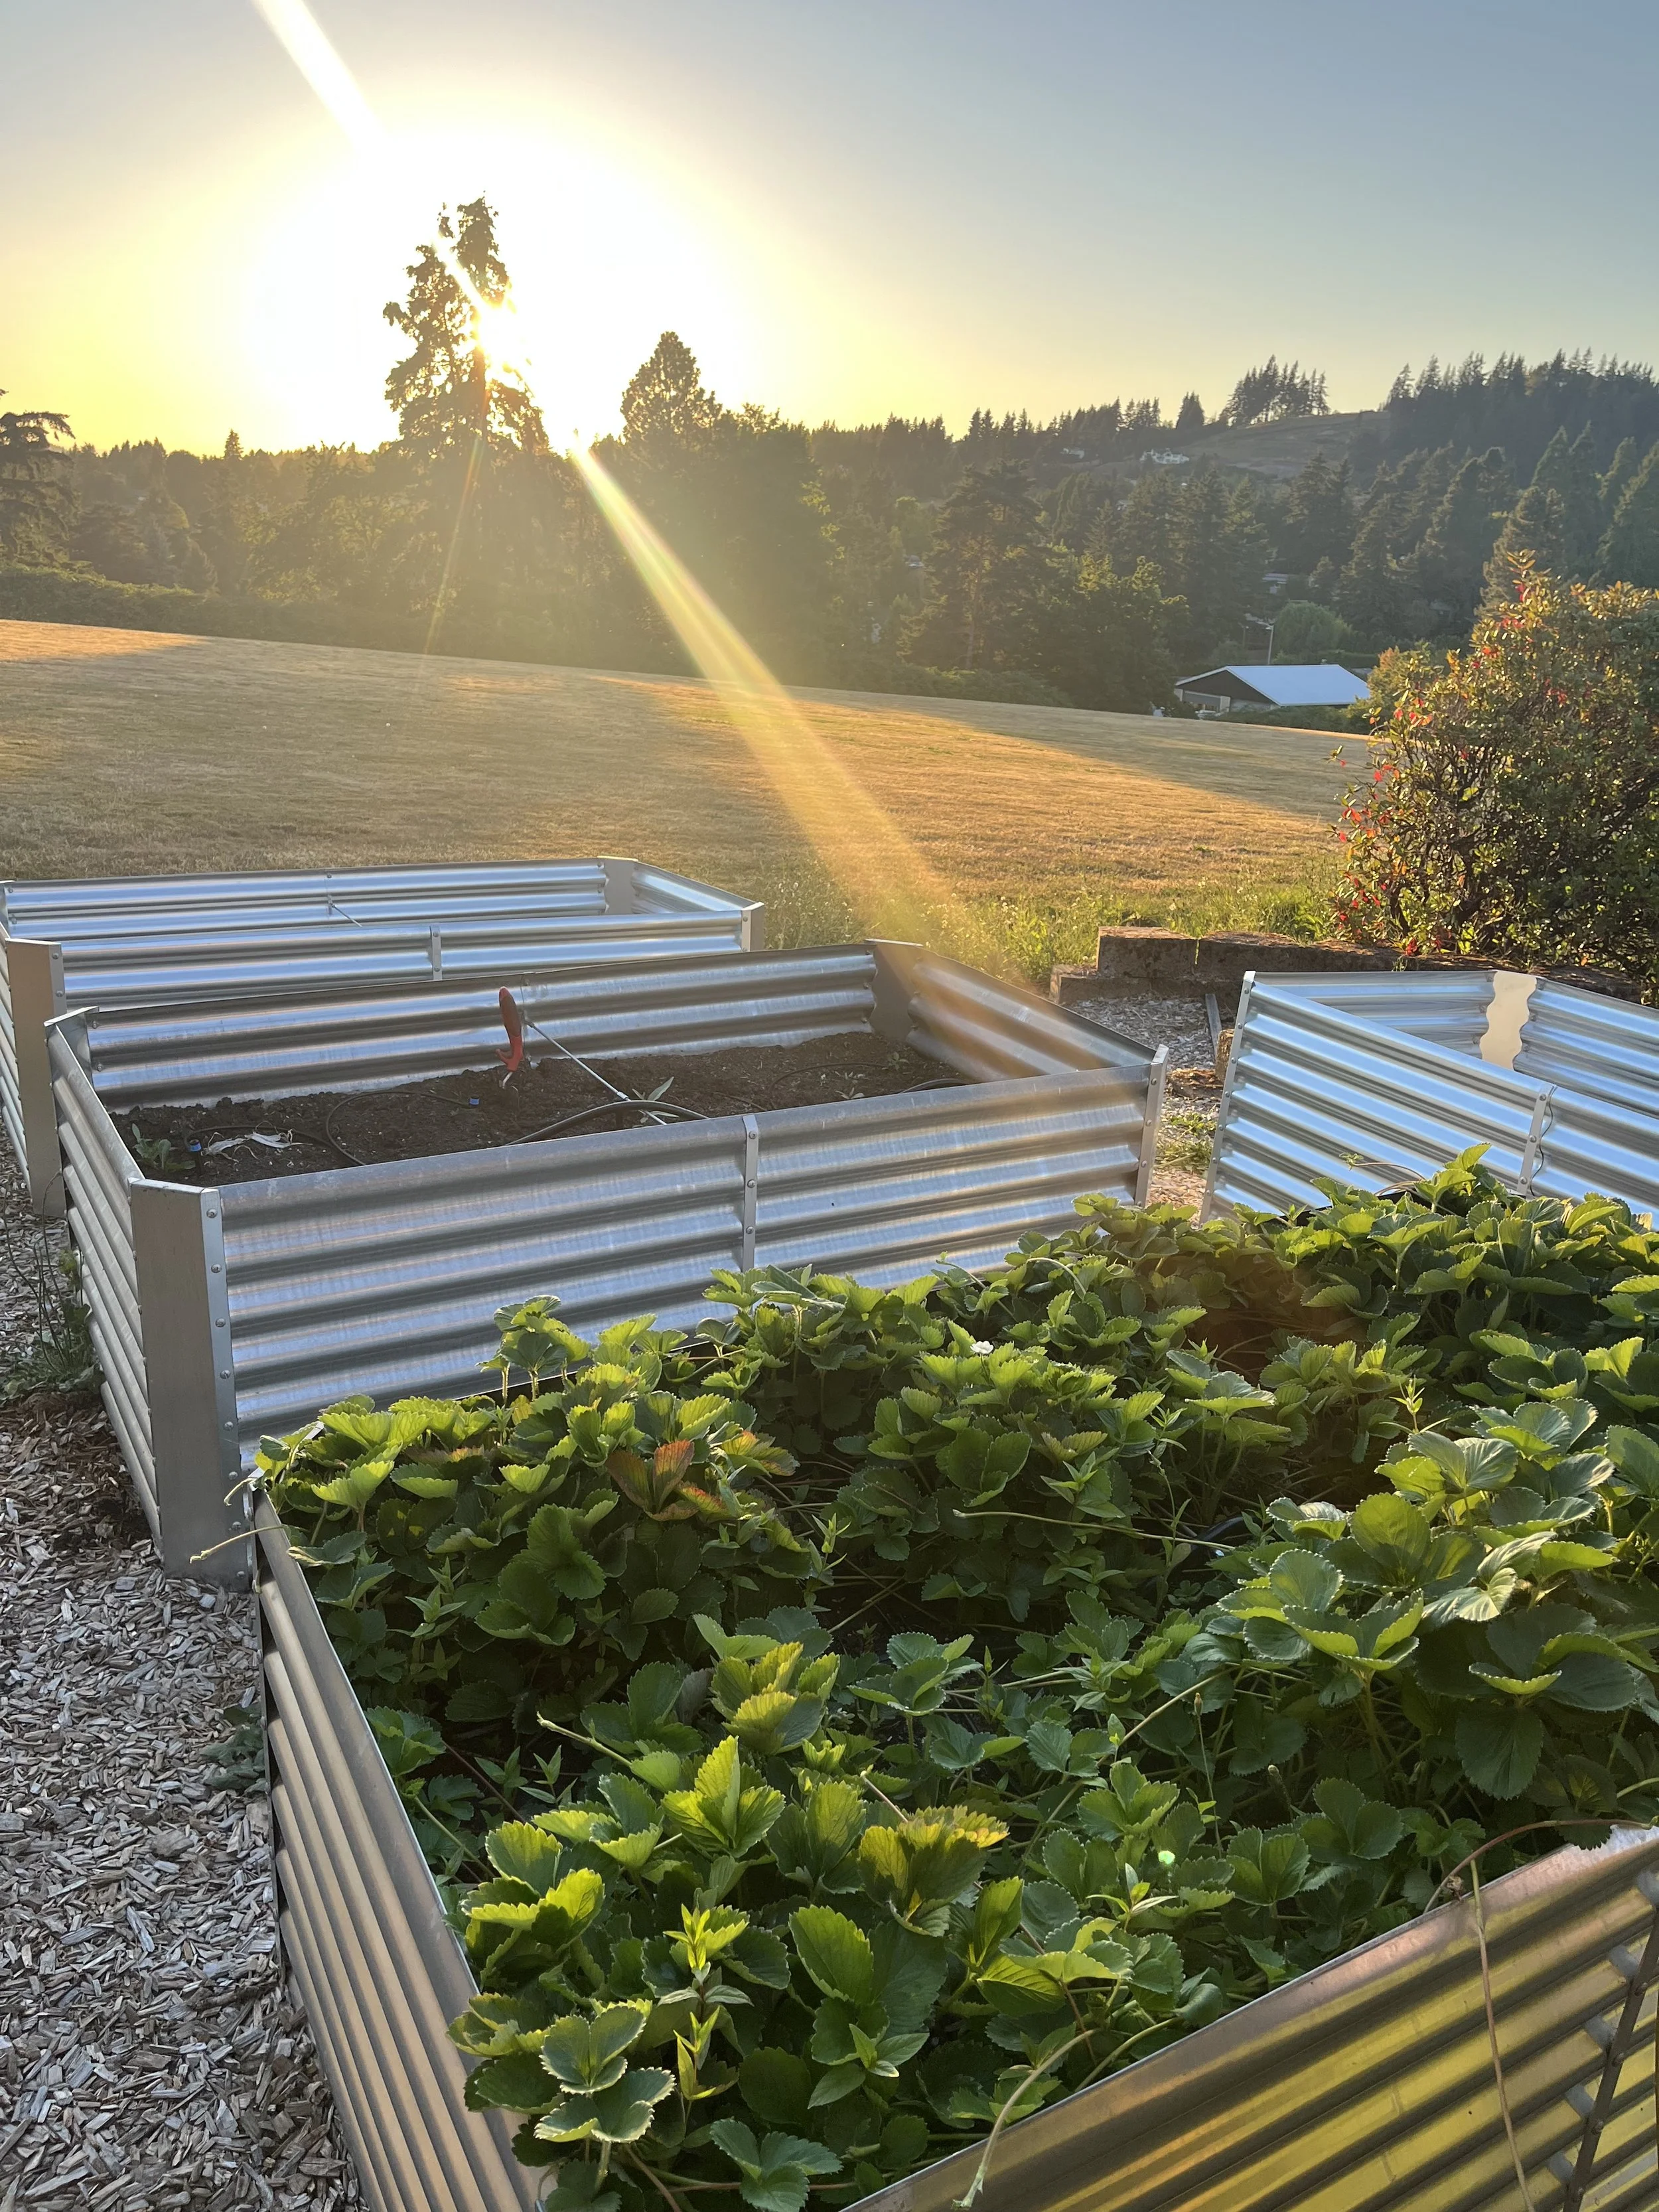
This past spring and summer we had spinach, and plenty of berries- strawberries, raspberries, and blueberries. We just planted a grape vine and I cannot wait to watch it grow and give us lots of yummy grapes! I also just planted snap peas and bought a Metal Plant Trellis so the vines can grow up them. Then I added a pretty Garden Arch Trellis to make the space feel even more inviting and beautiful. I can’t wait to have lots of flowers growing over it!
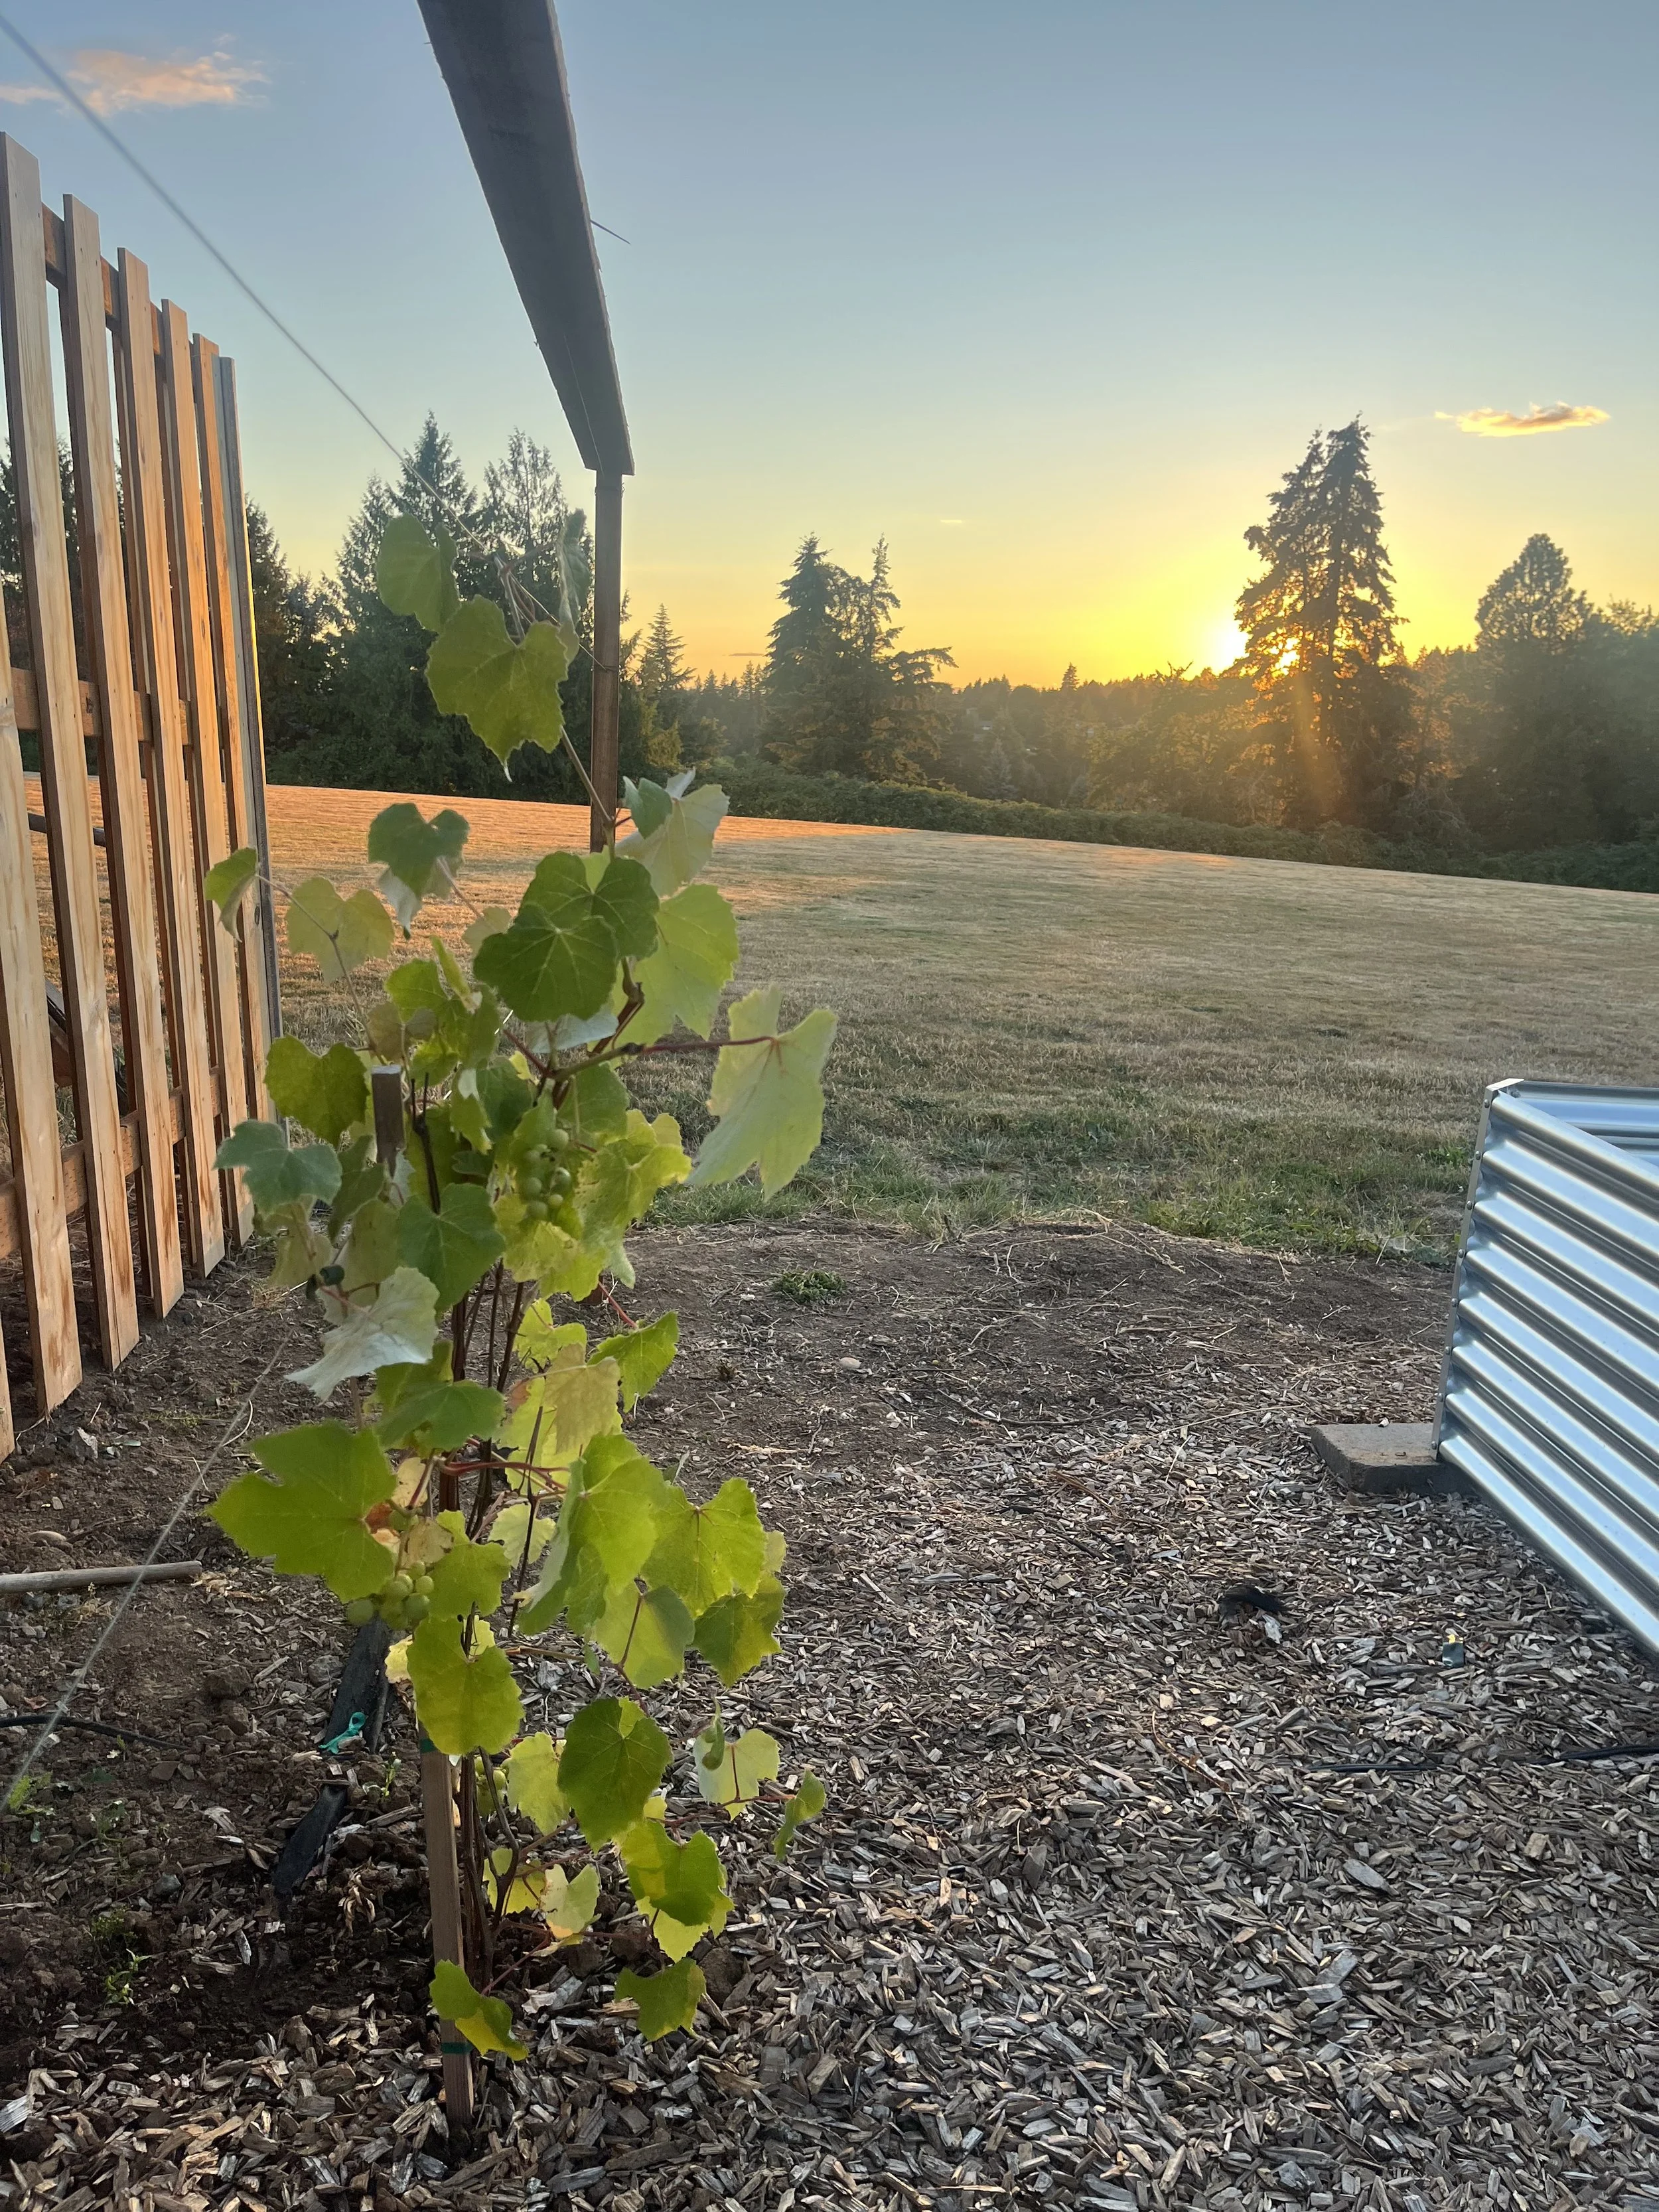
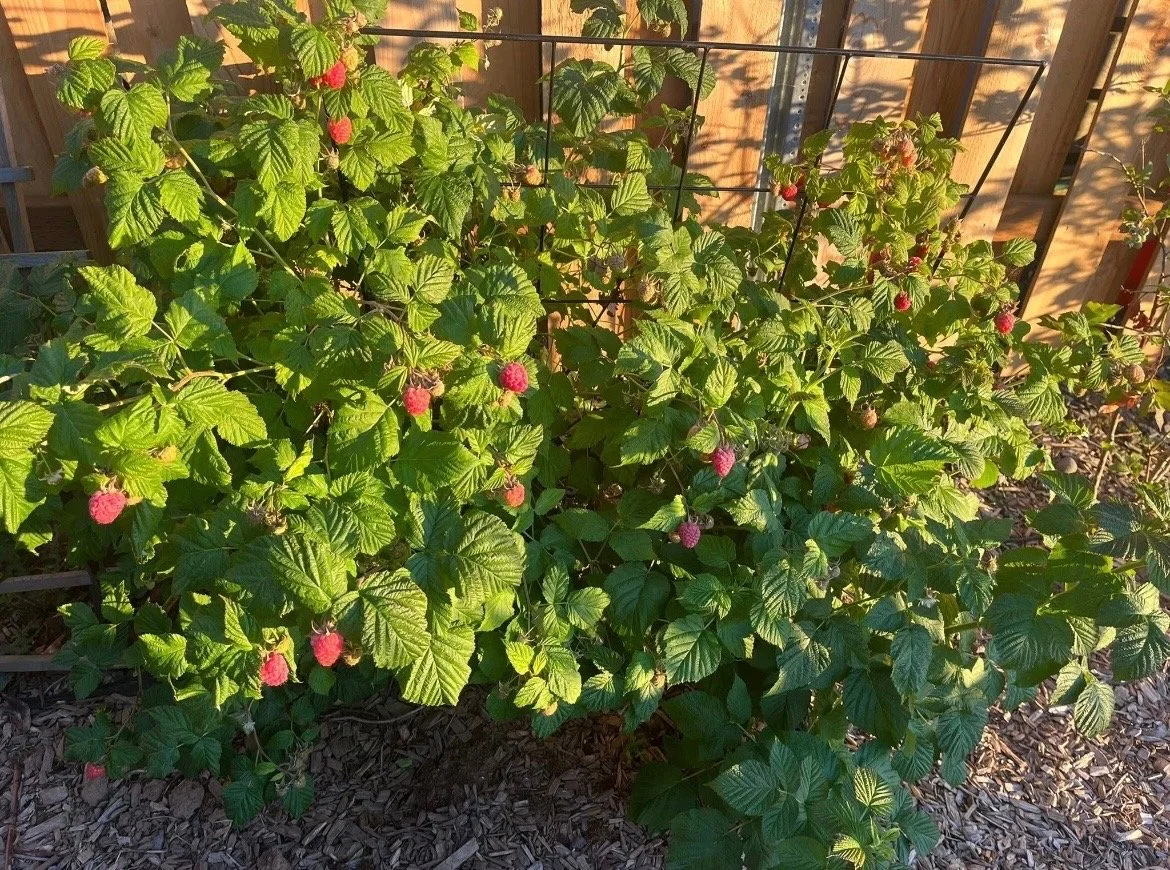
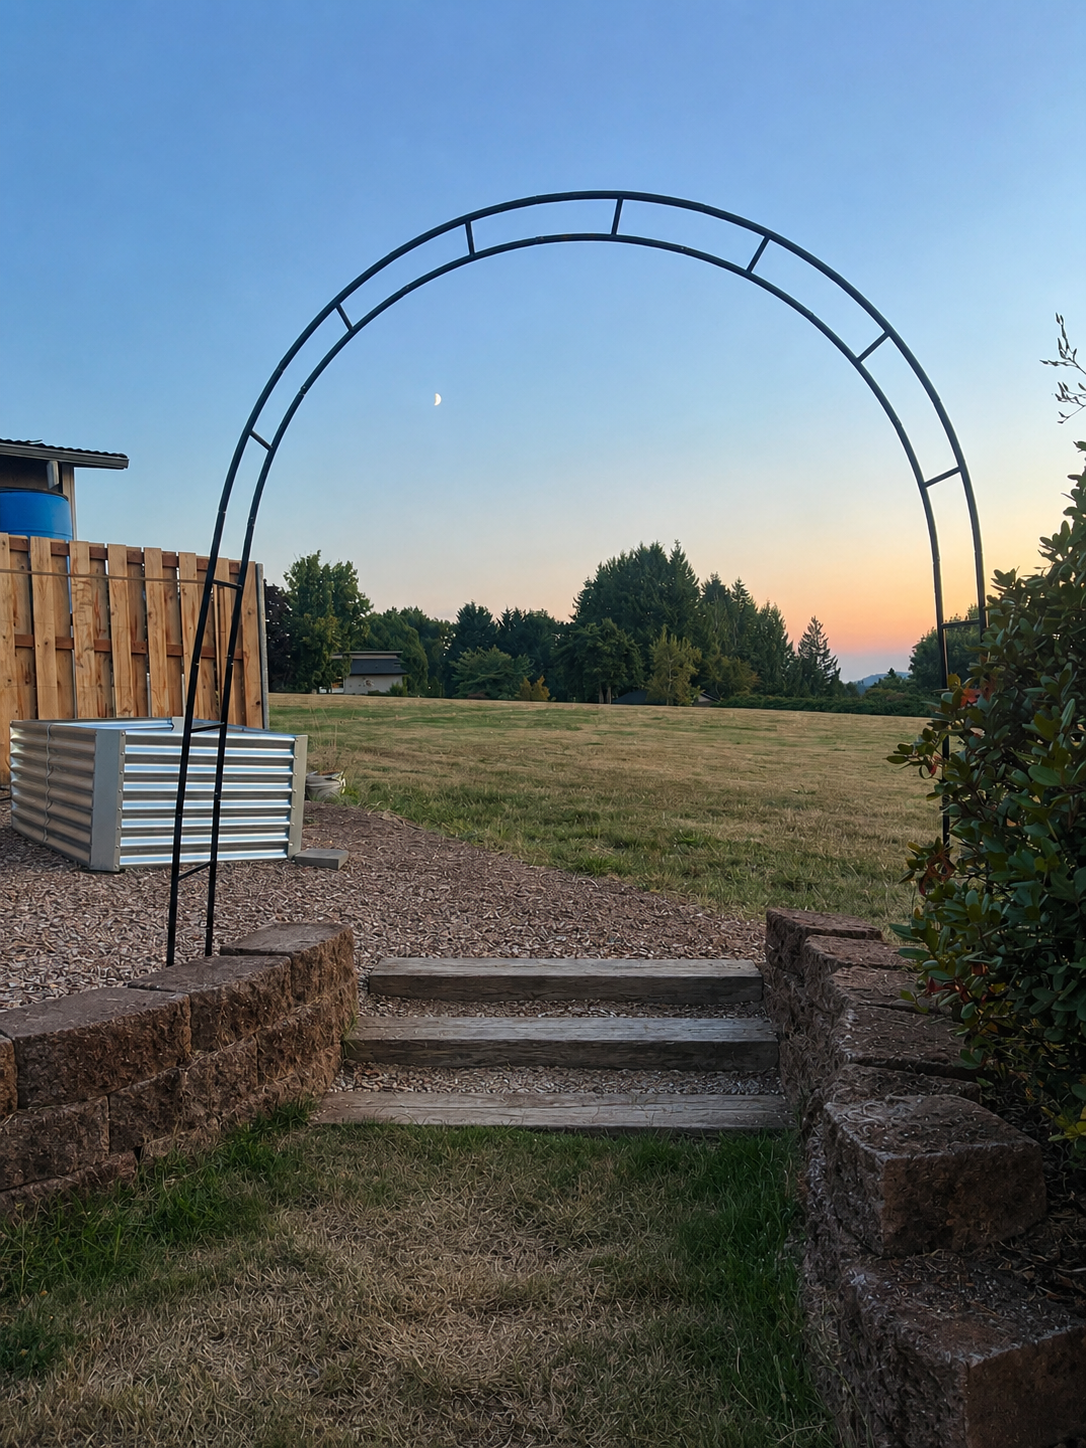
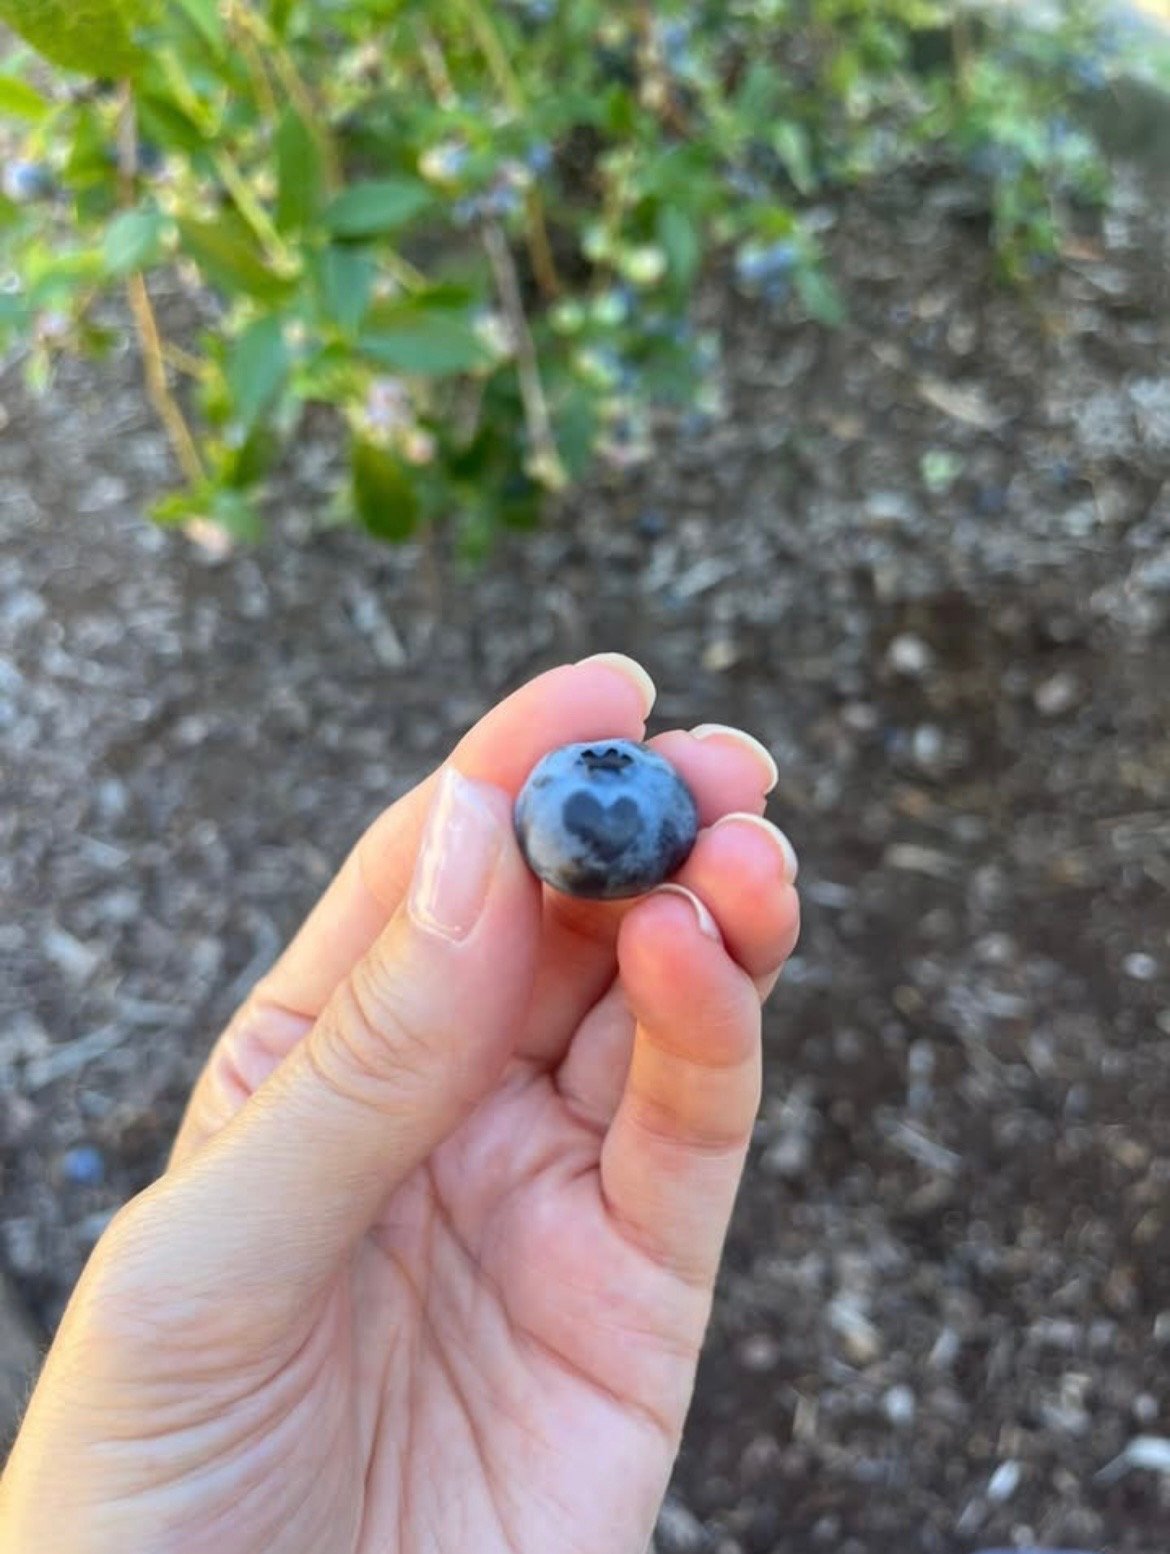
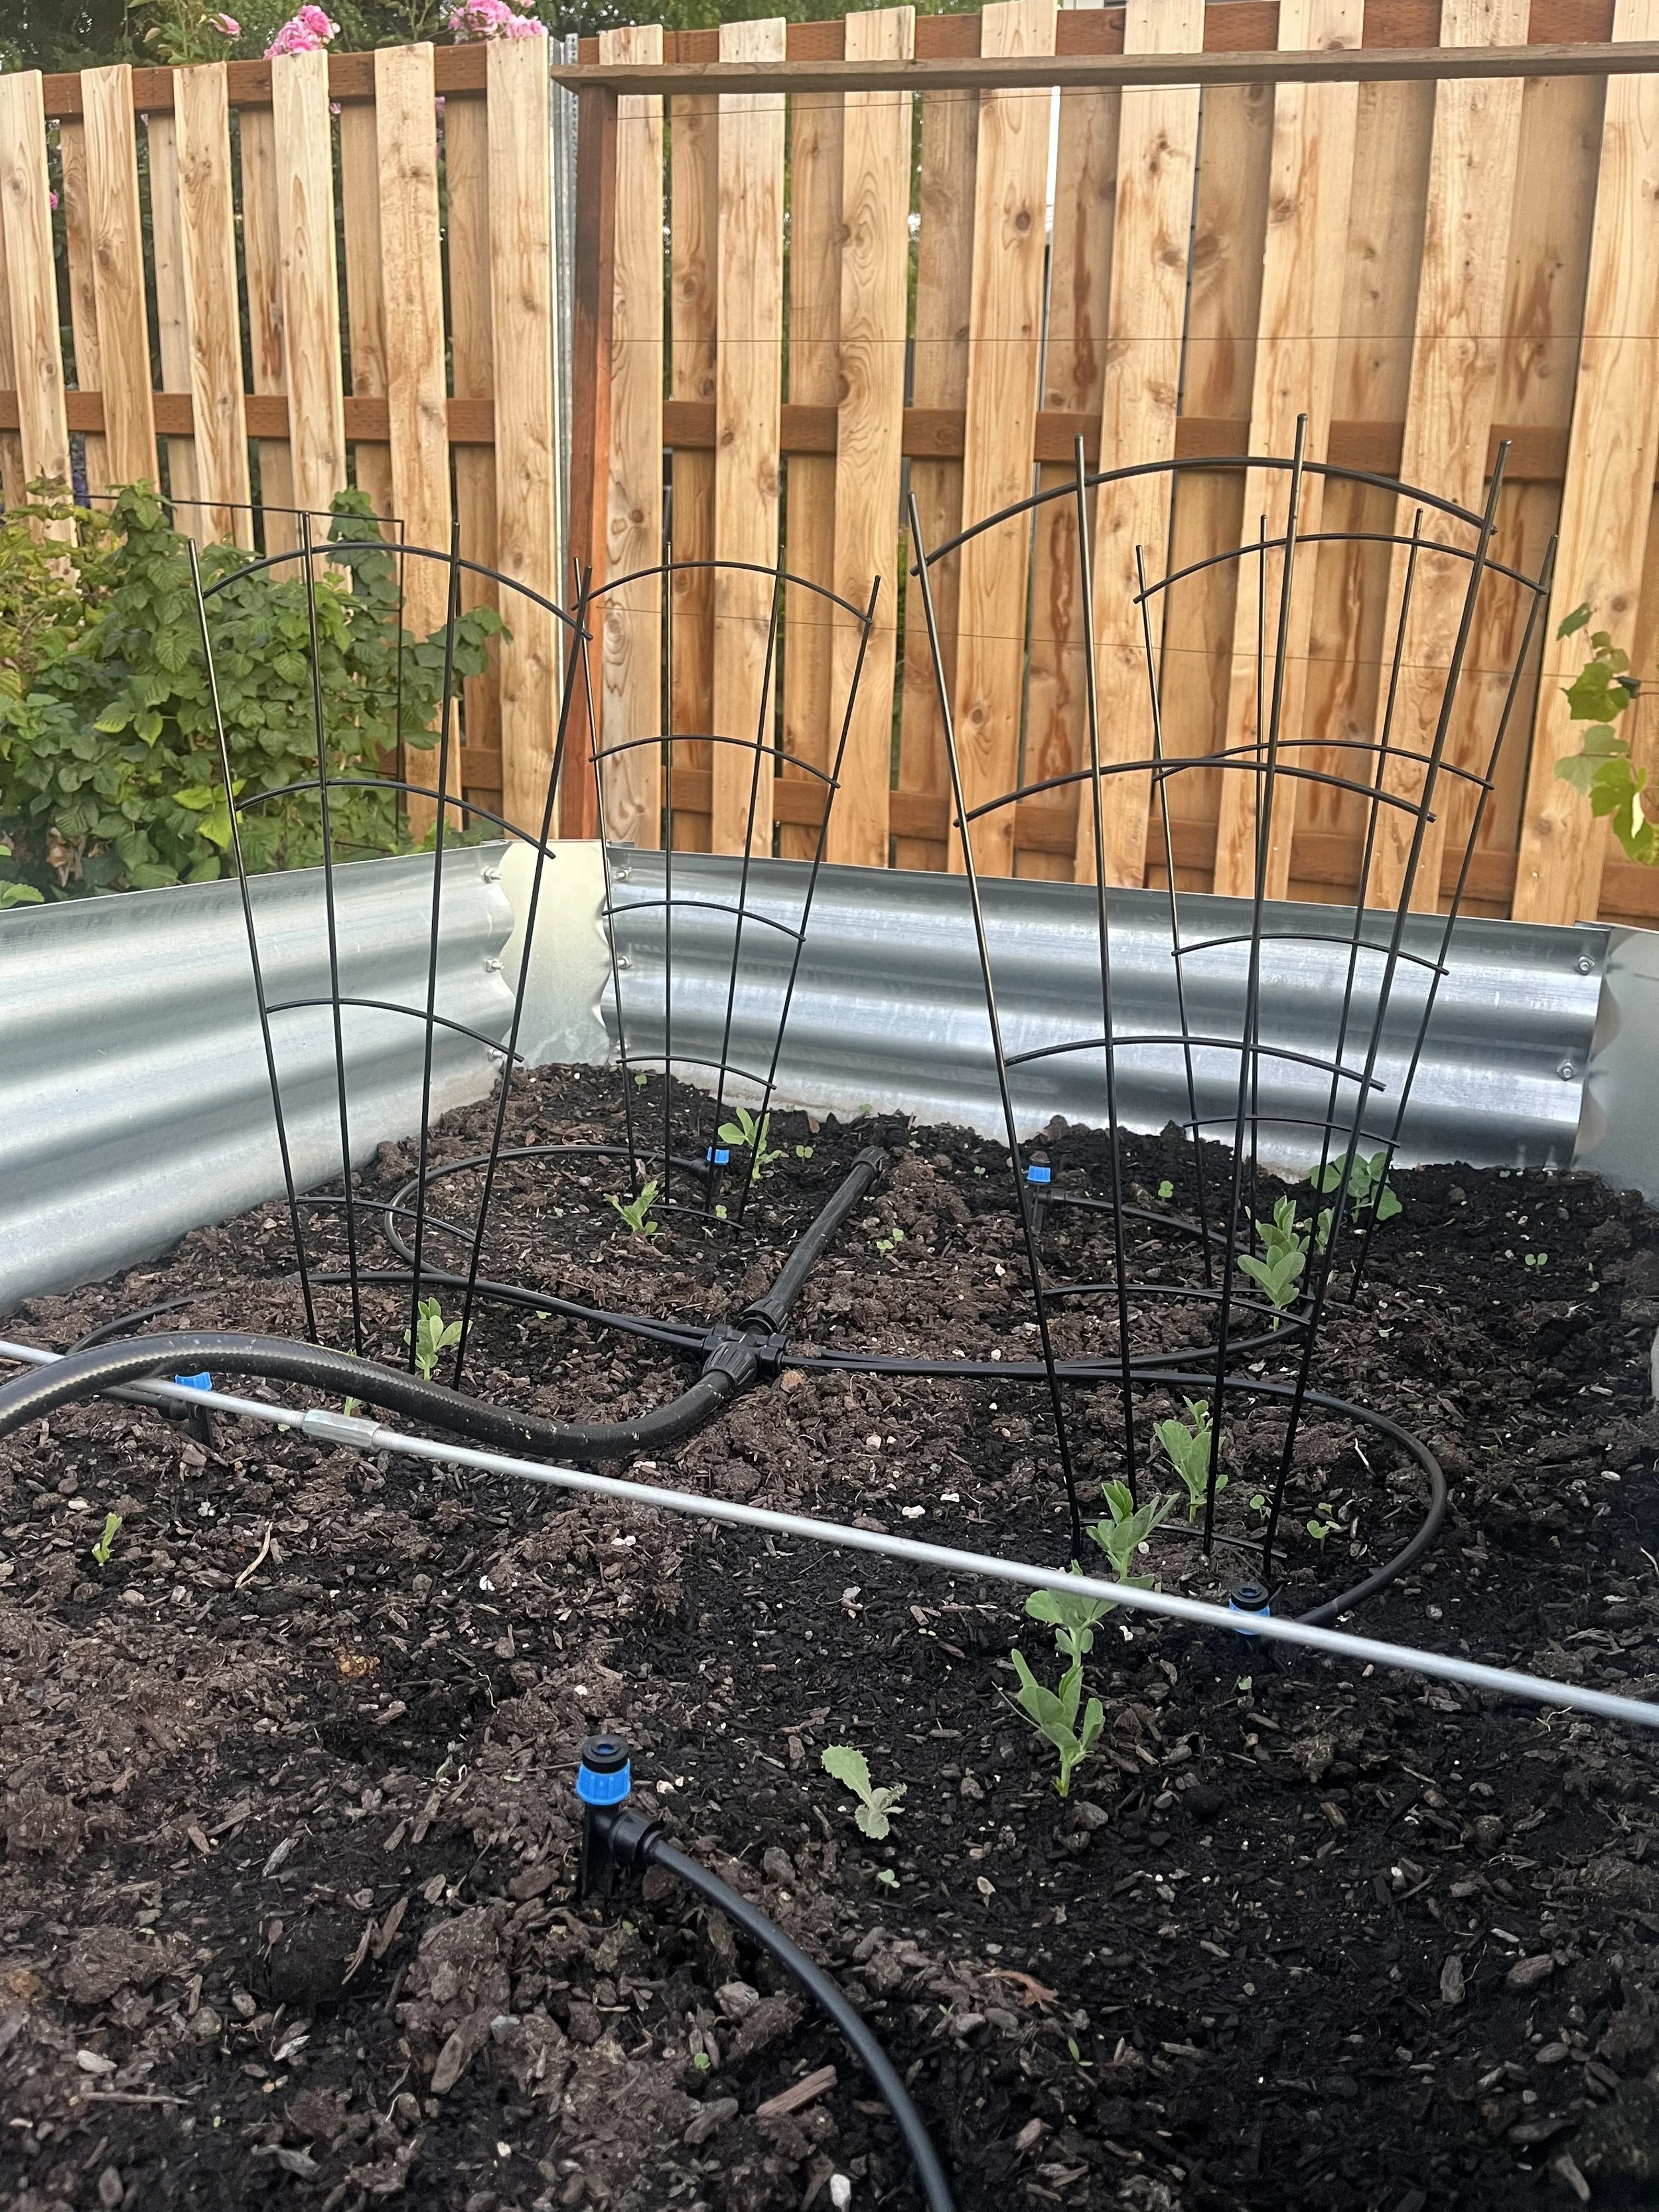
I know summer is almost over, but it’s never too early to start planning ahead to next spring’s gardening! Stay tuned for my blog next year to see all the rest of the fun things we plan to grow and how our garden continues to transform.
~Annie
Design Inspiration For Our Master Bedroom
*This post contains affiliate links
When we started on this master bedroom renovation, I don’t think we were quite aware of the enormity of this bedroom till we were done and sleeping in it. Don’t get me wrong- it’s beautiful and I love it, but those windows are bright and let in a lot of light!
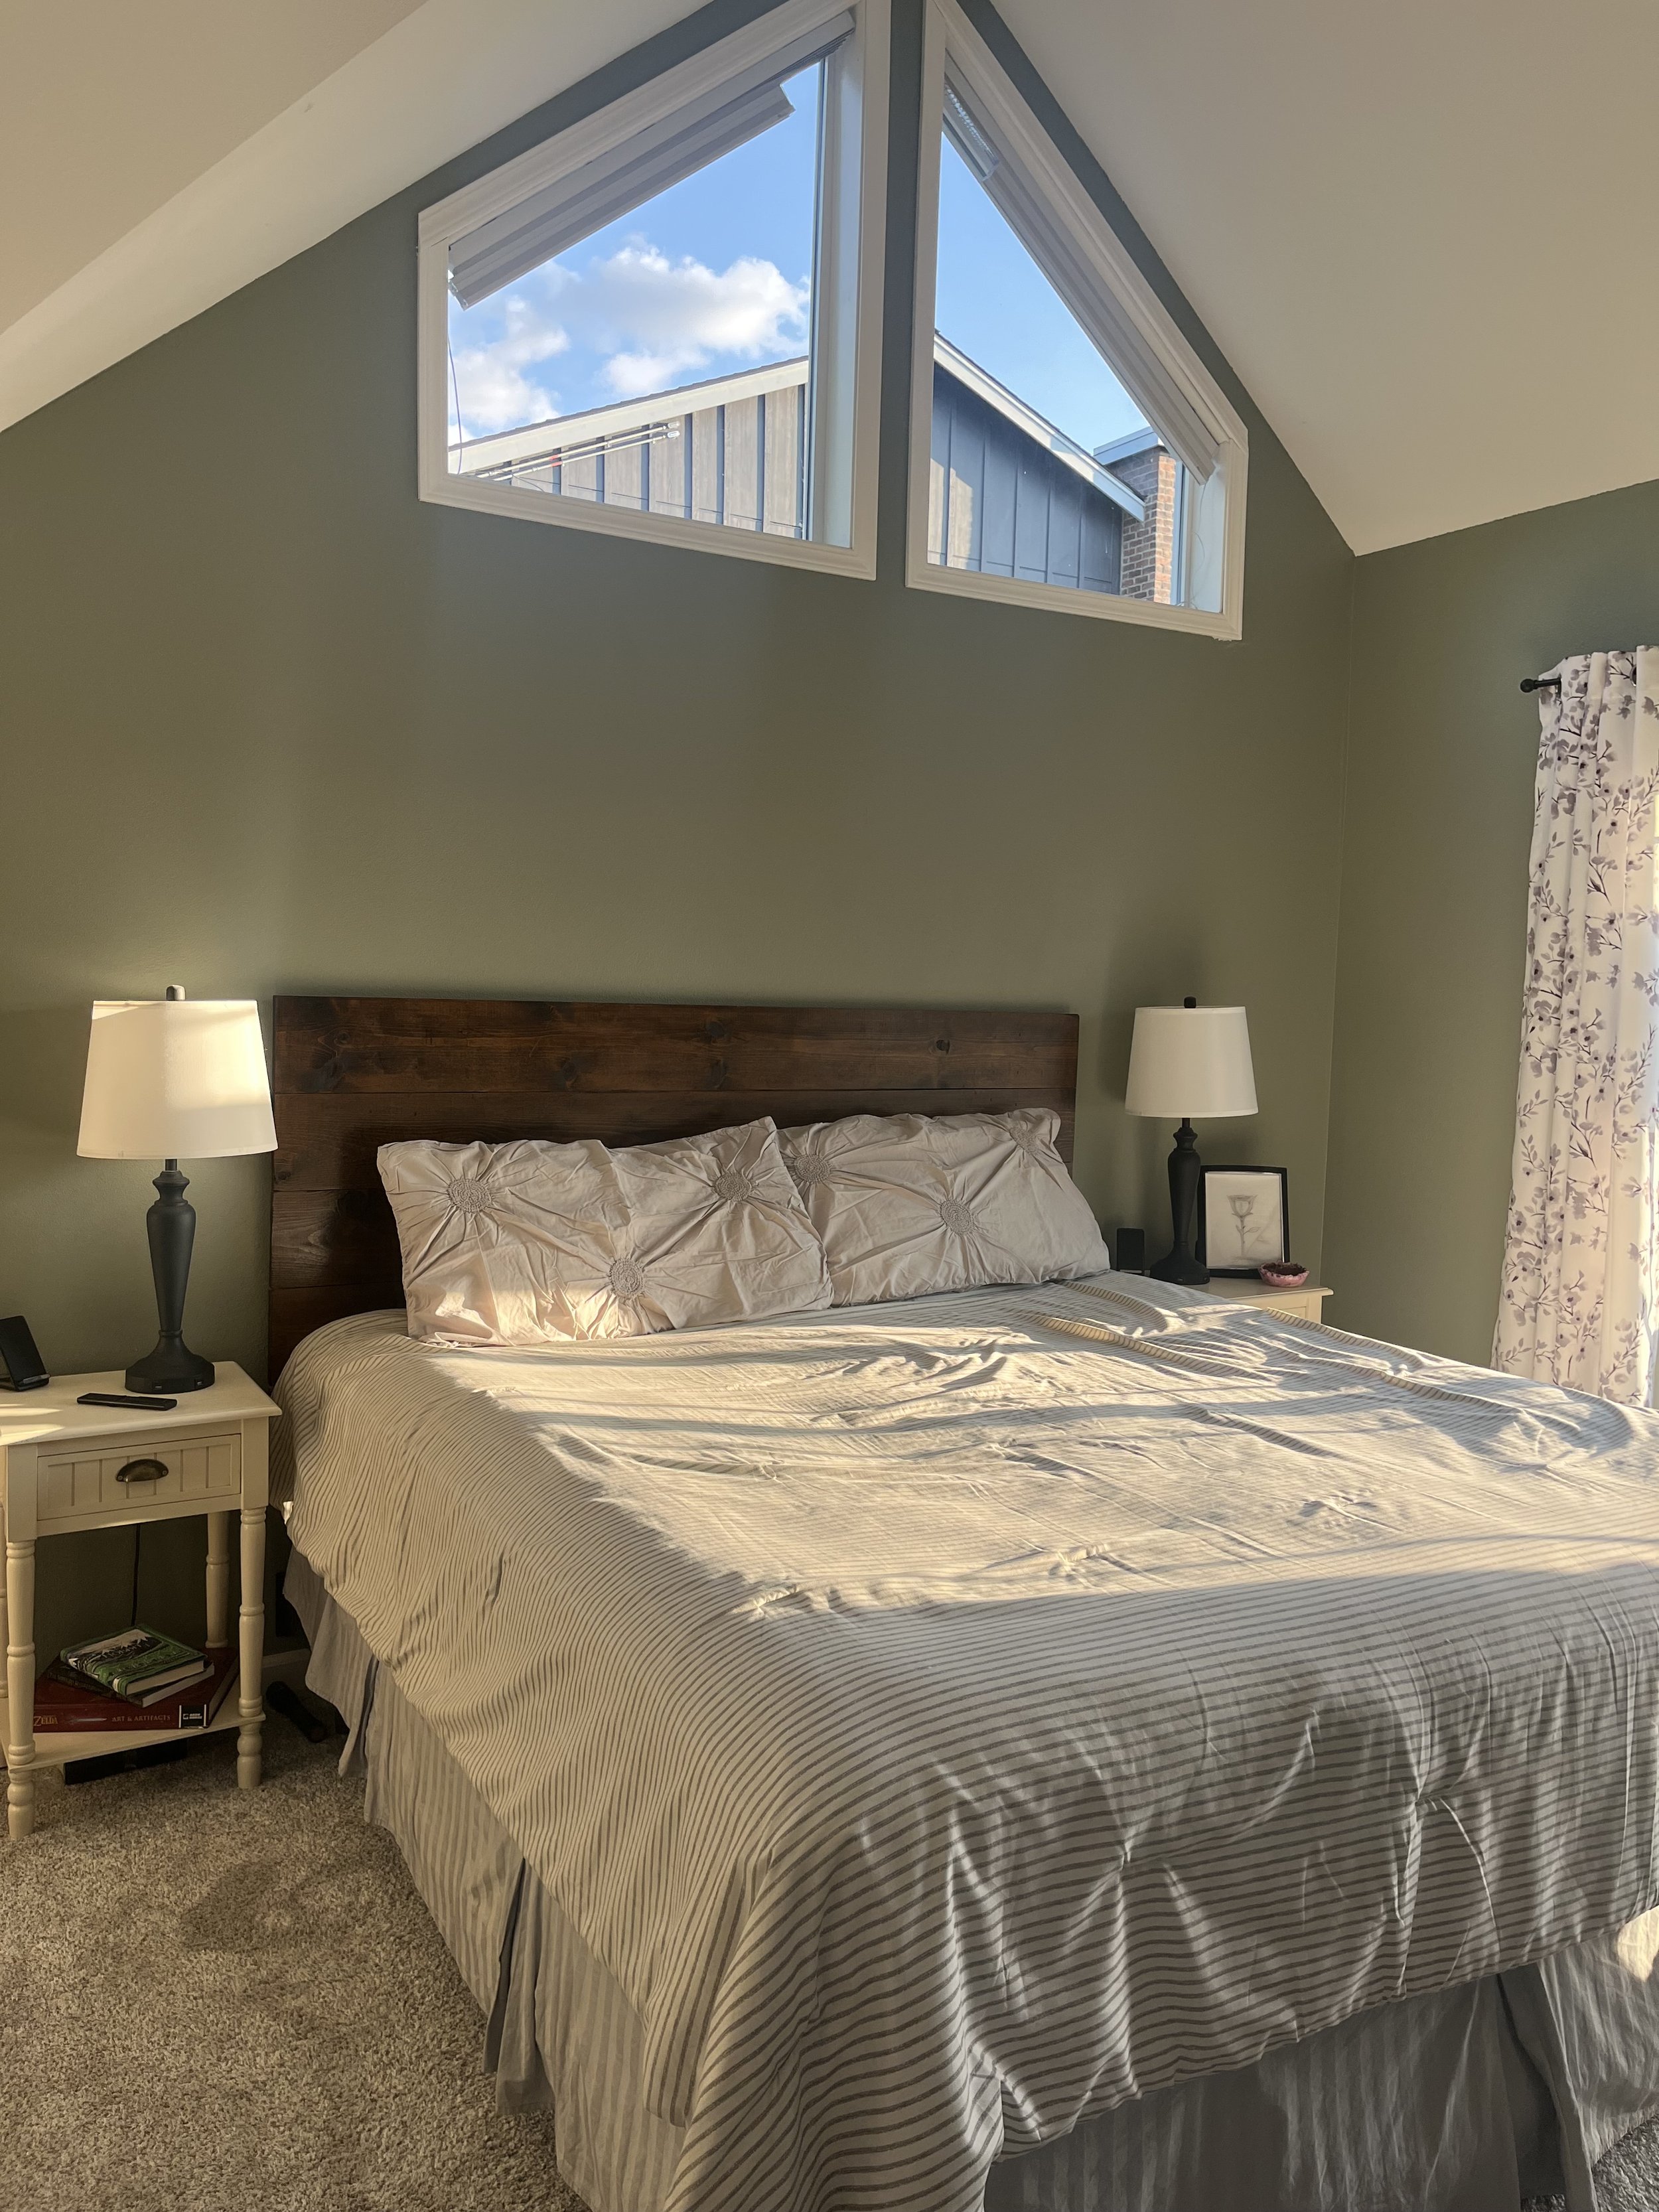
In a quest to find better sleep quality since those windows aren’t very conducive to a good sleeping environment, my husband and I started researching blinds for extra large, trapezoid shaped (and very high up) windows. As you can imagine, it was a little difficult. We checked out a couple local places that could install custom blinds for us, but one- they would have had a string hanging down the wall, and two- the quote was insanely expensive! Enter in my extensive Amazon search. I finally landed on these black-out, wireless remote controlled blinds. Check out this video!
We were both skeptical at first, but I am here to tell you that these are a total game changer!! They also only cost half the price we were quoted from the local custom blind shop, plus no strings- they are completely wireless! Best decision ever! Click the link below to find them on Amazon!
Allesin Motorized Trapezoid Cellular Shades, Blackout Light Filtering Fabric- https://amzn.to/4feDajM
I designed this bedroom with muted, earthy tones to create a relaxing environment. I painted the walls Evergreen Fog by Sherwin Williams, which is also incorporated into the bathroom to make it feel more cohesive. I’m absolutely in love this shade of green! Next, I added soft accents of grays and neutral whites in the bedding, curtains and the furniture we chose.
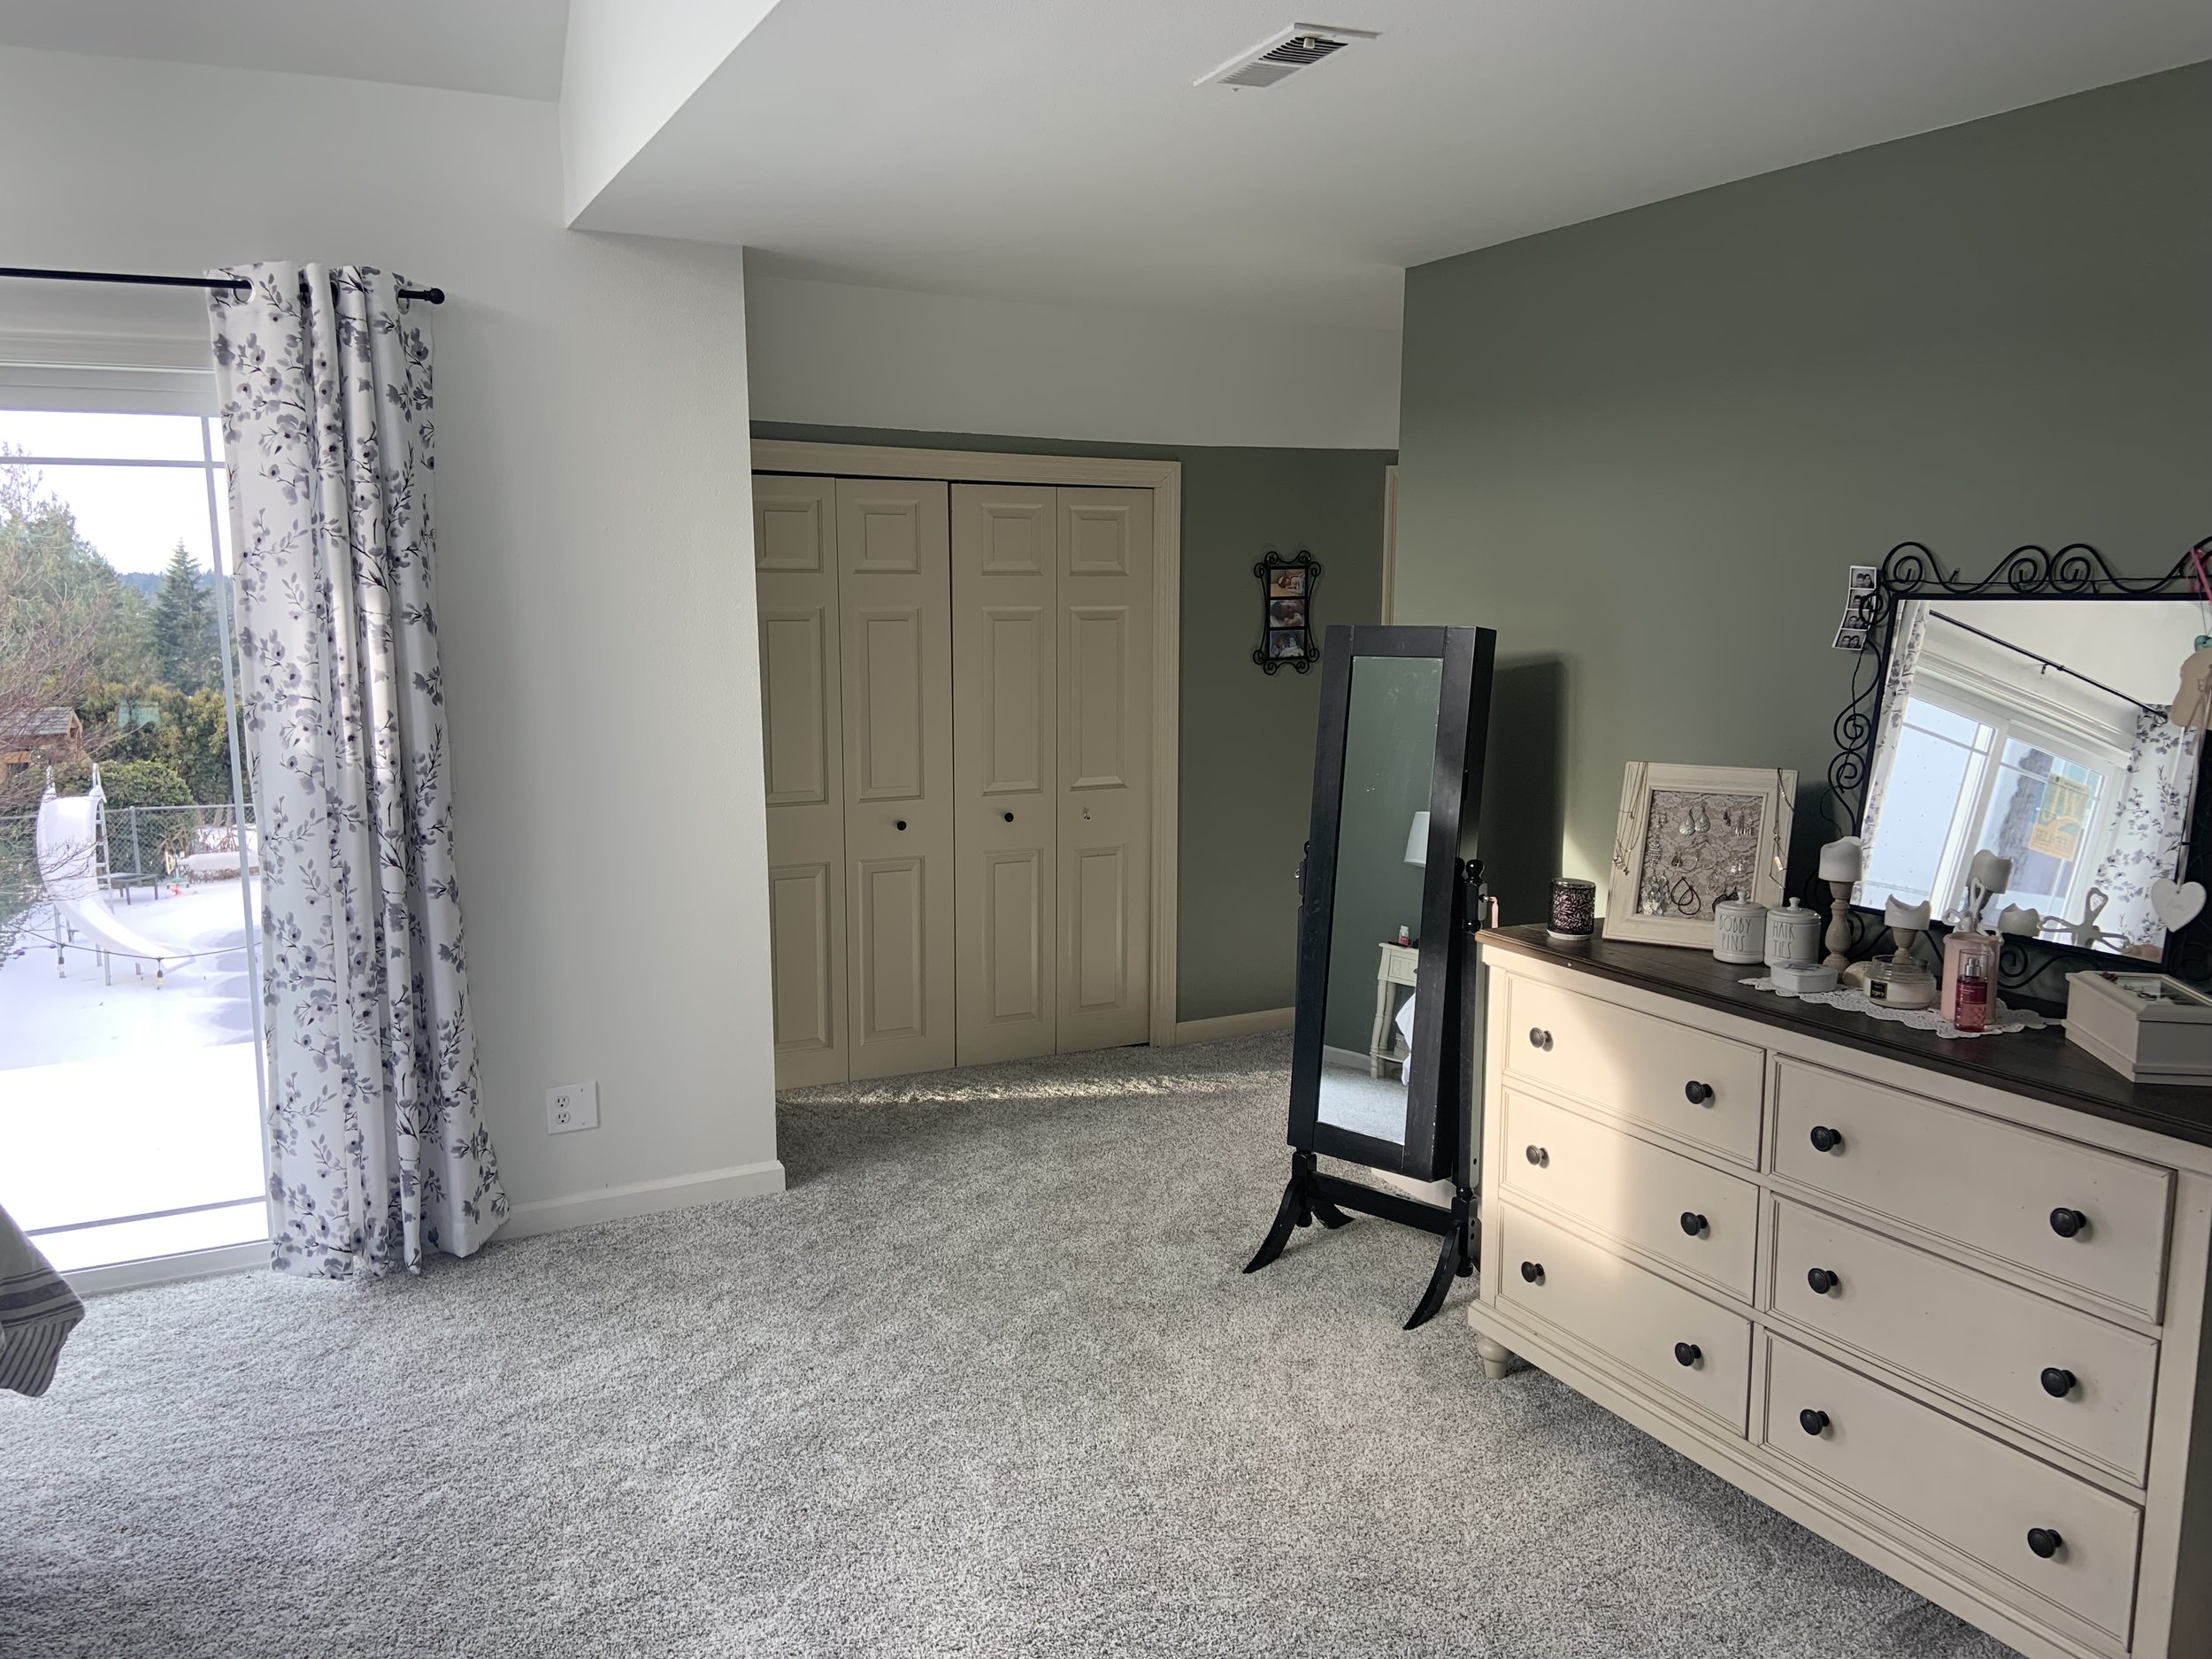
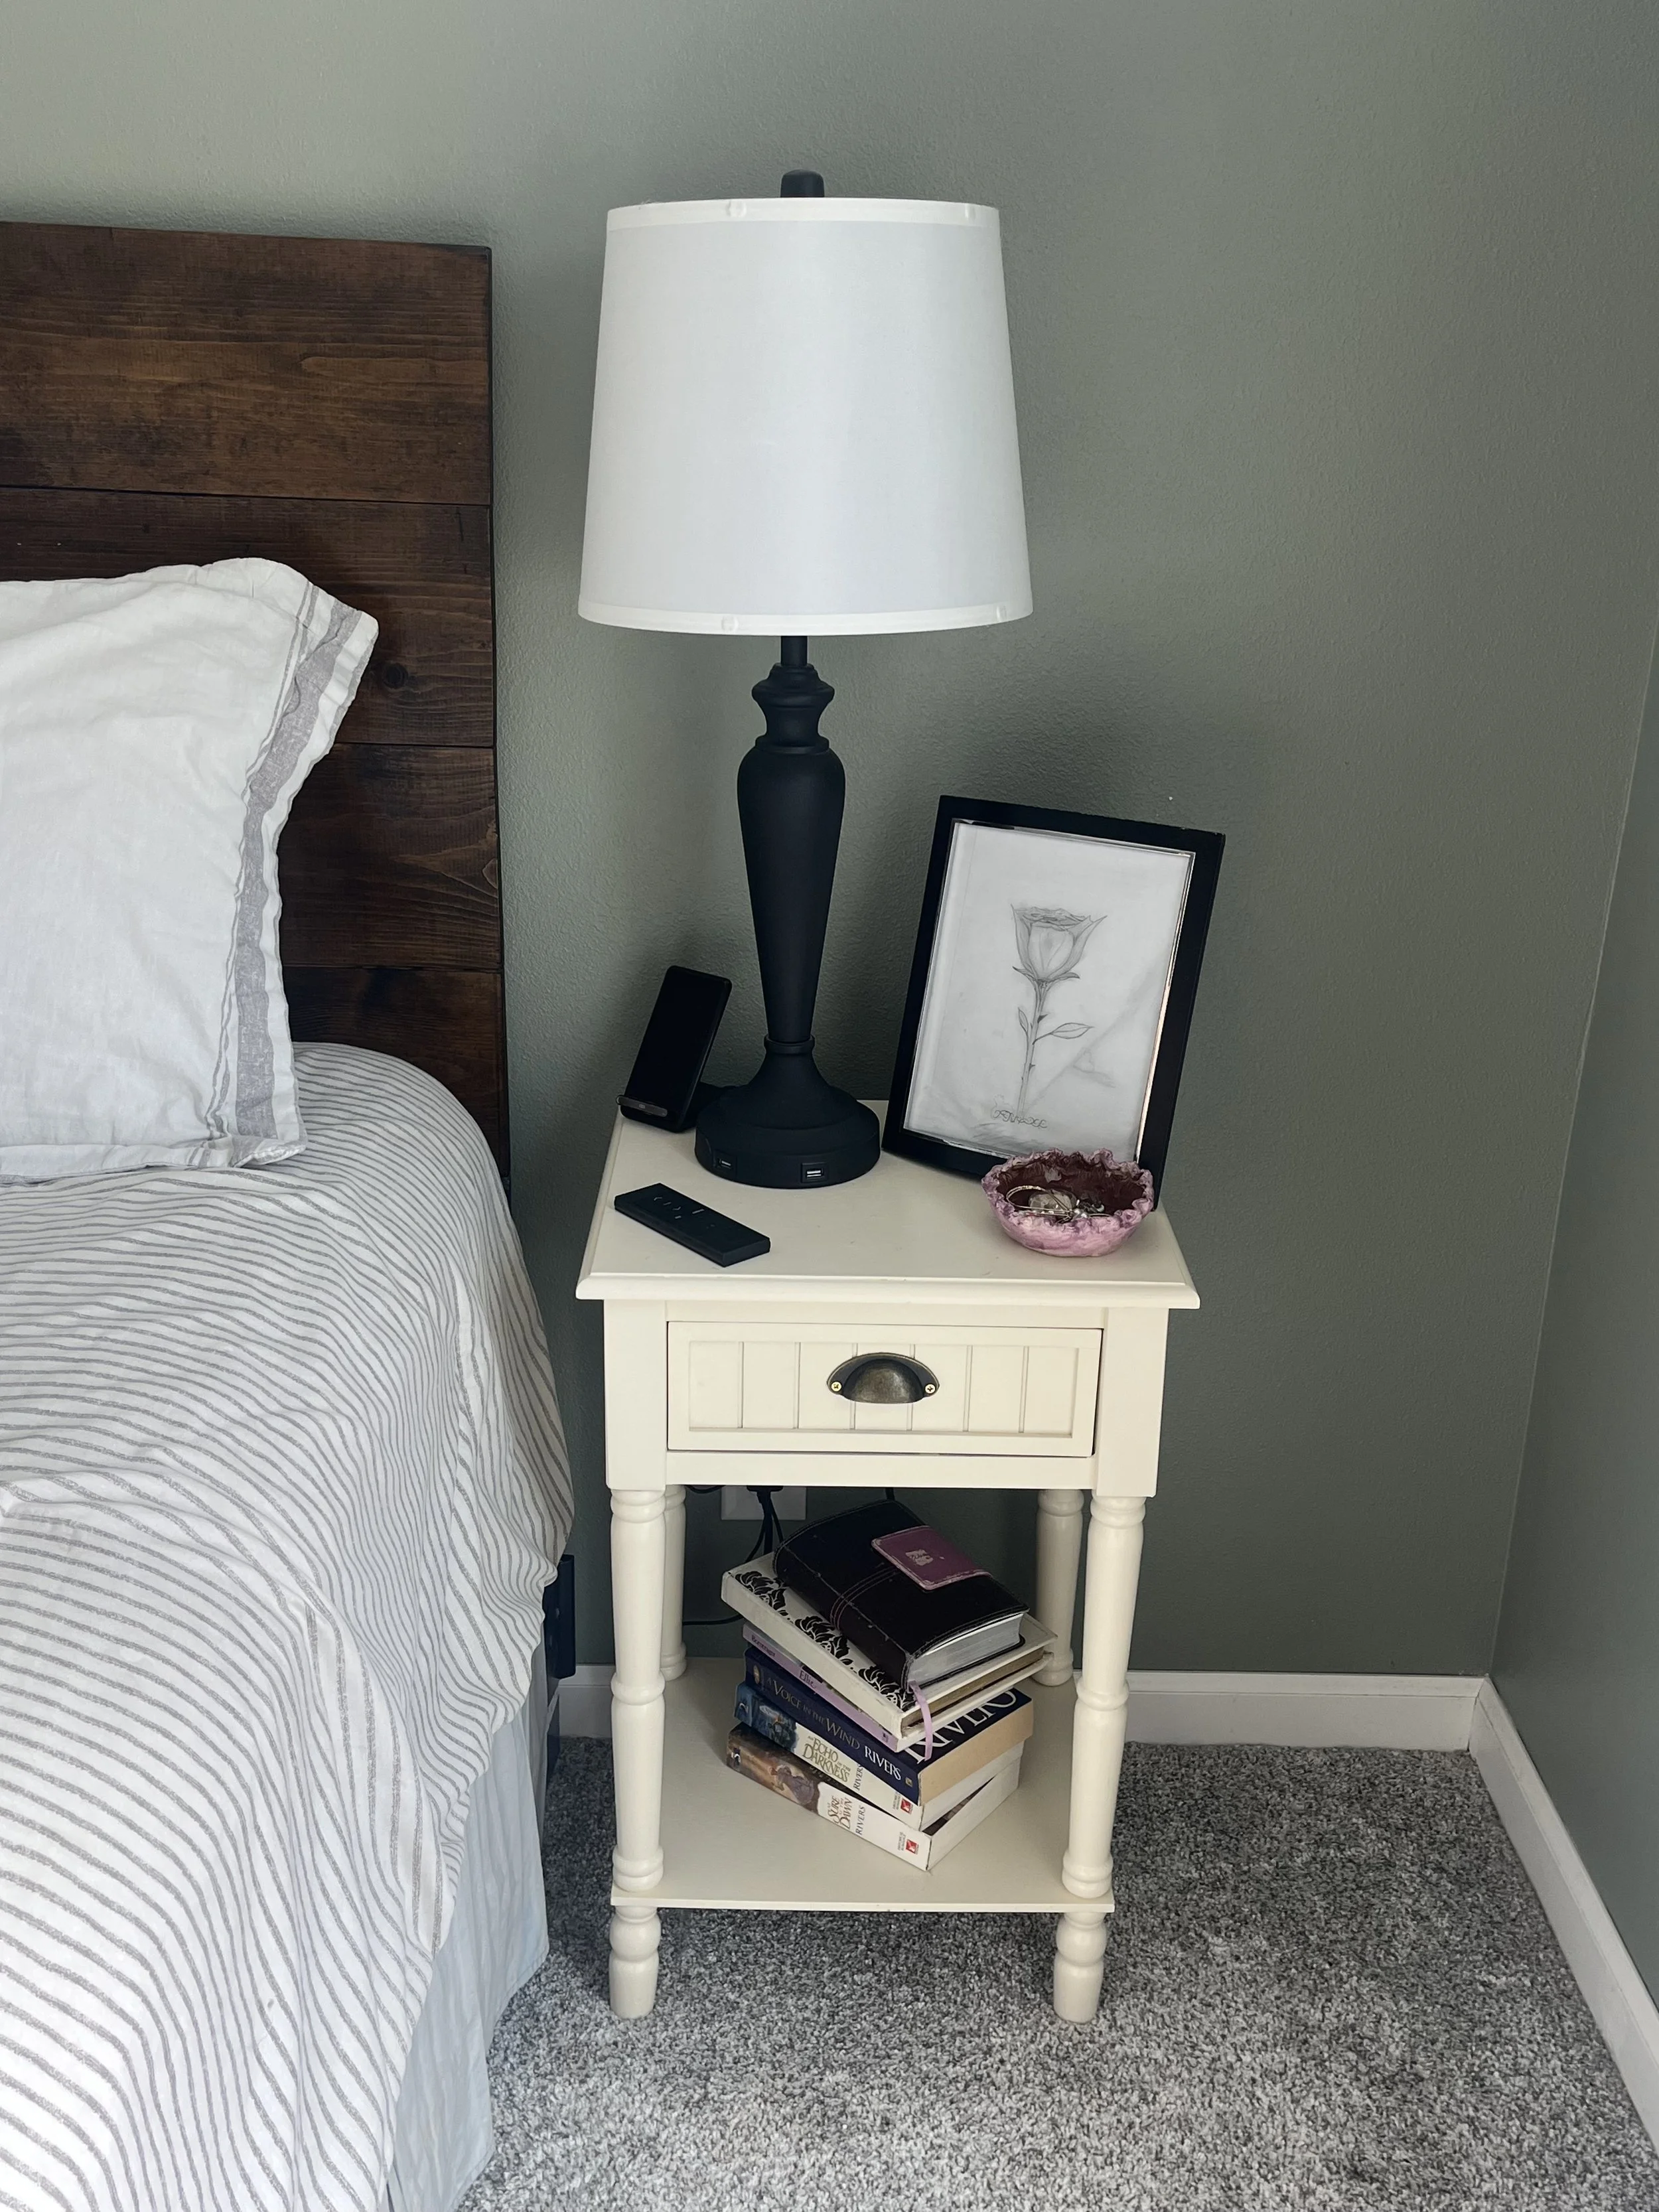
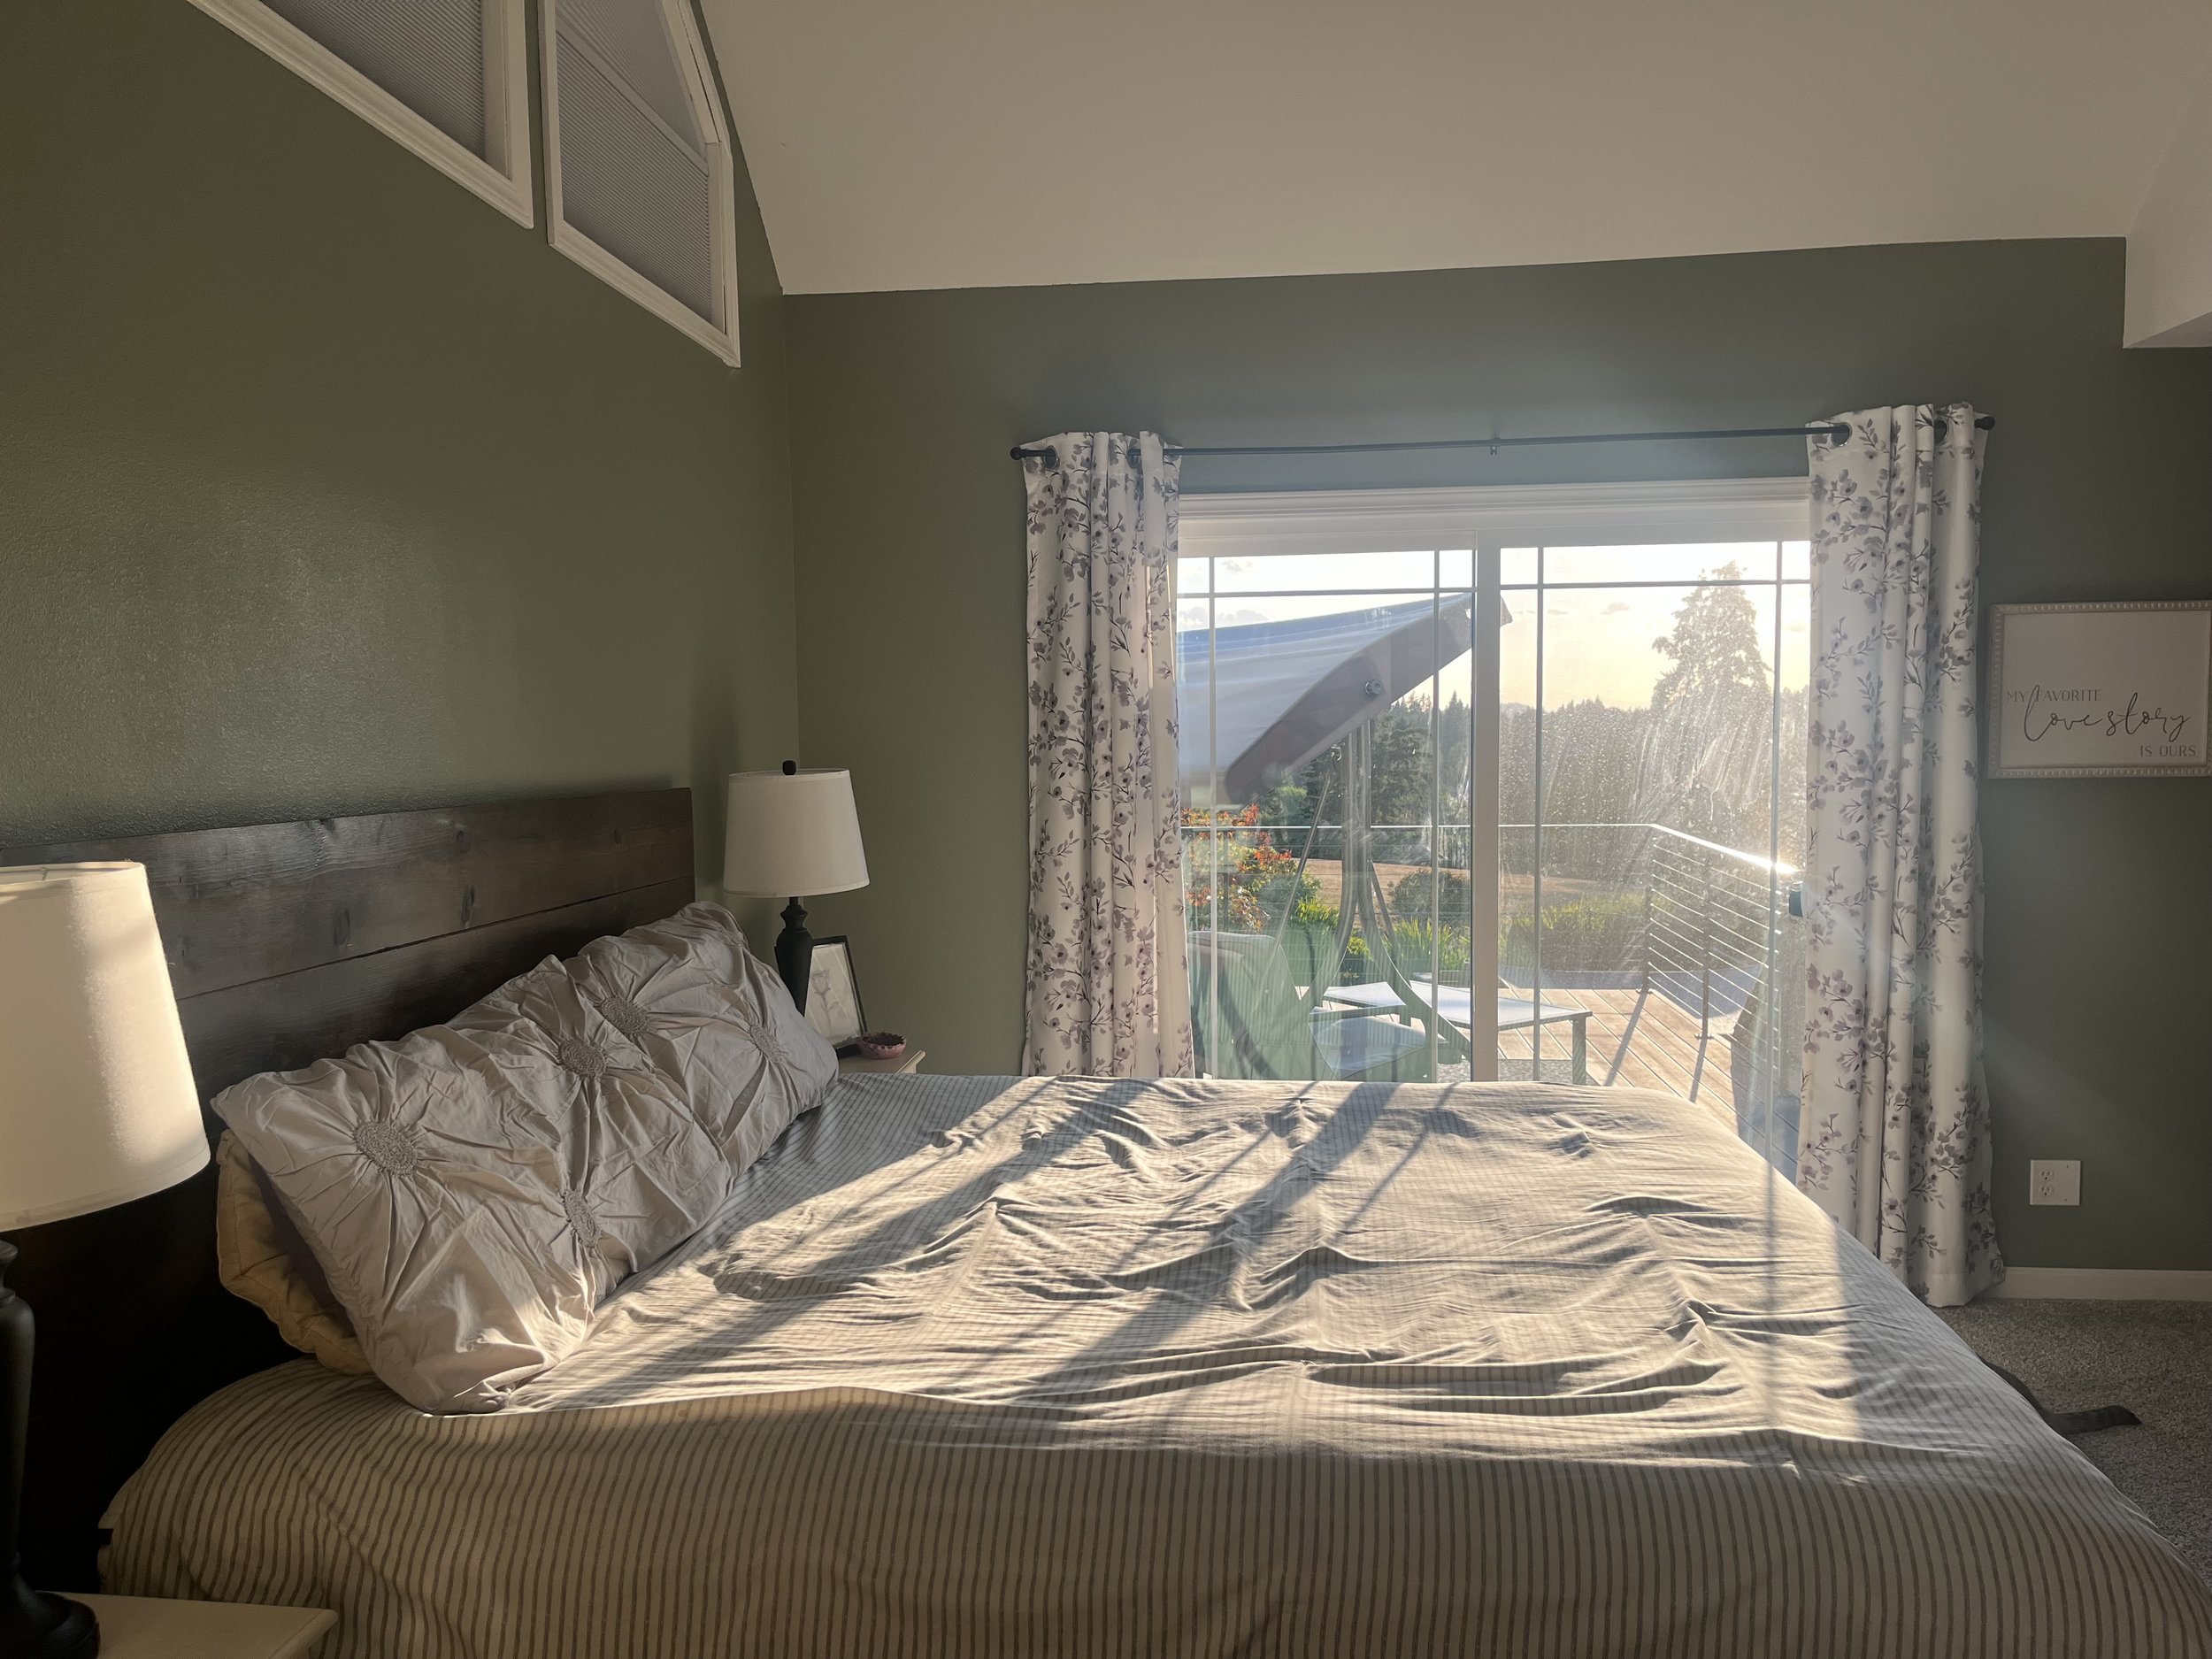
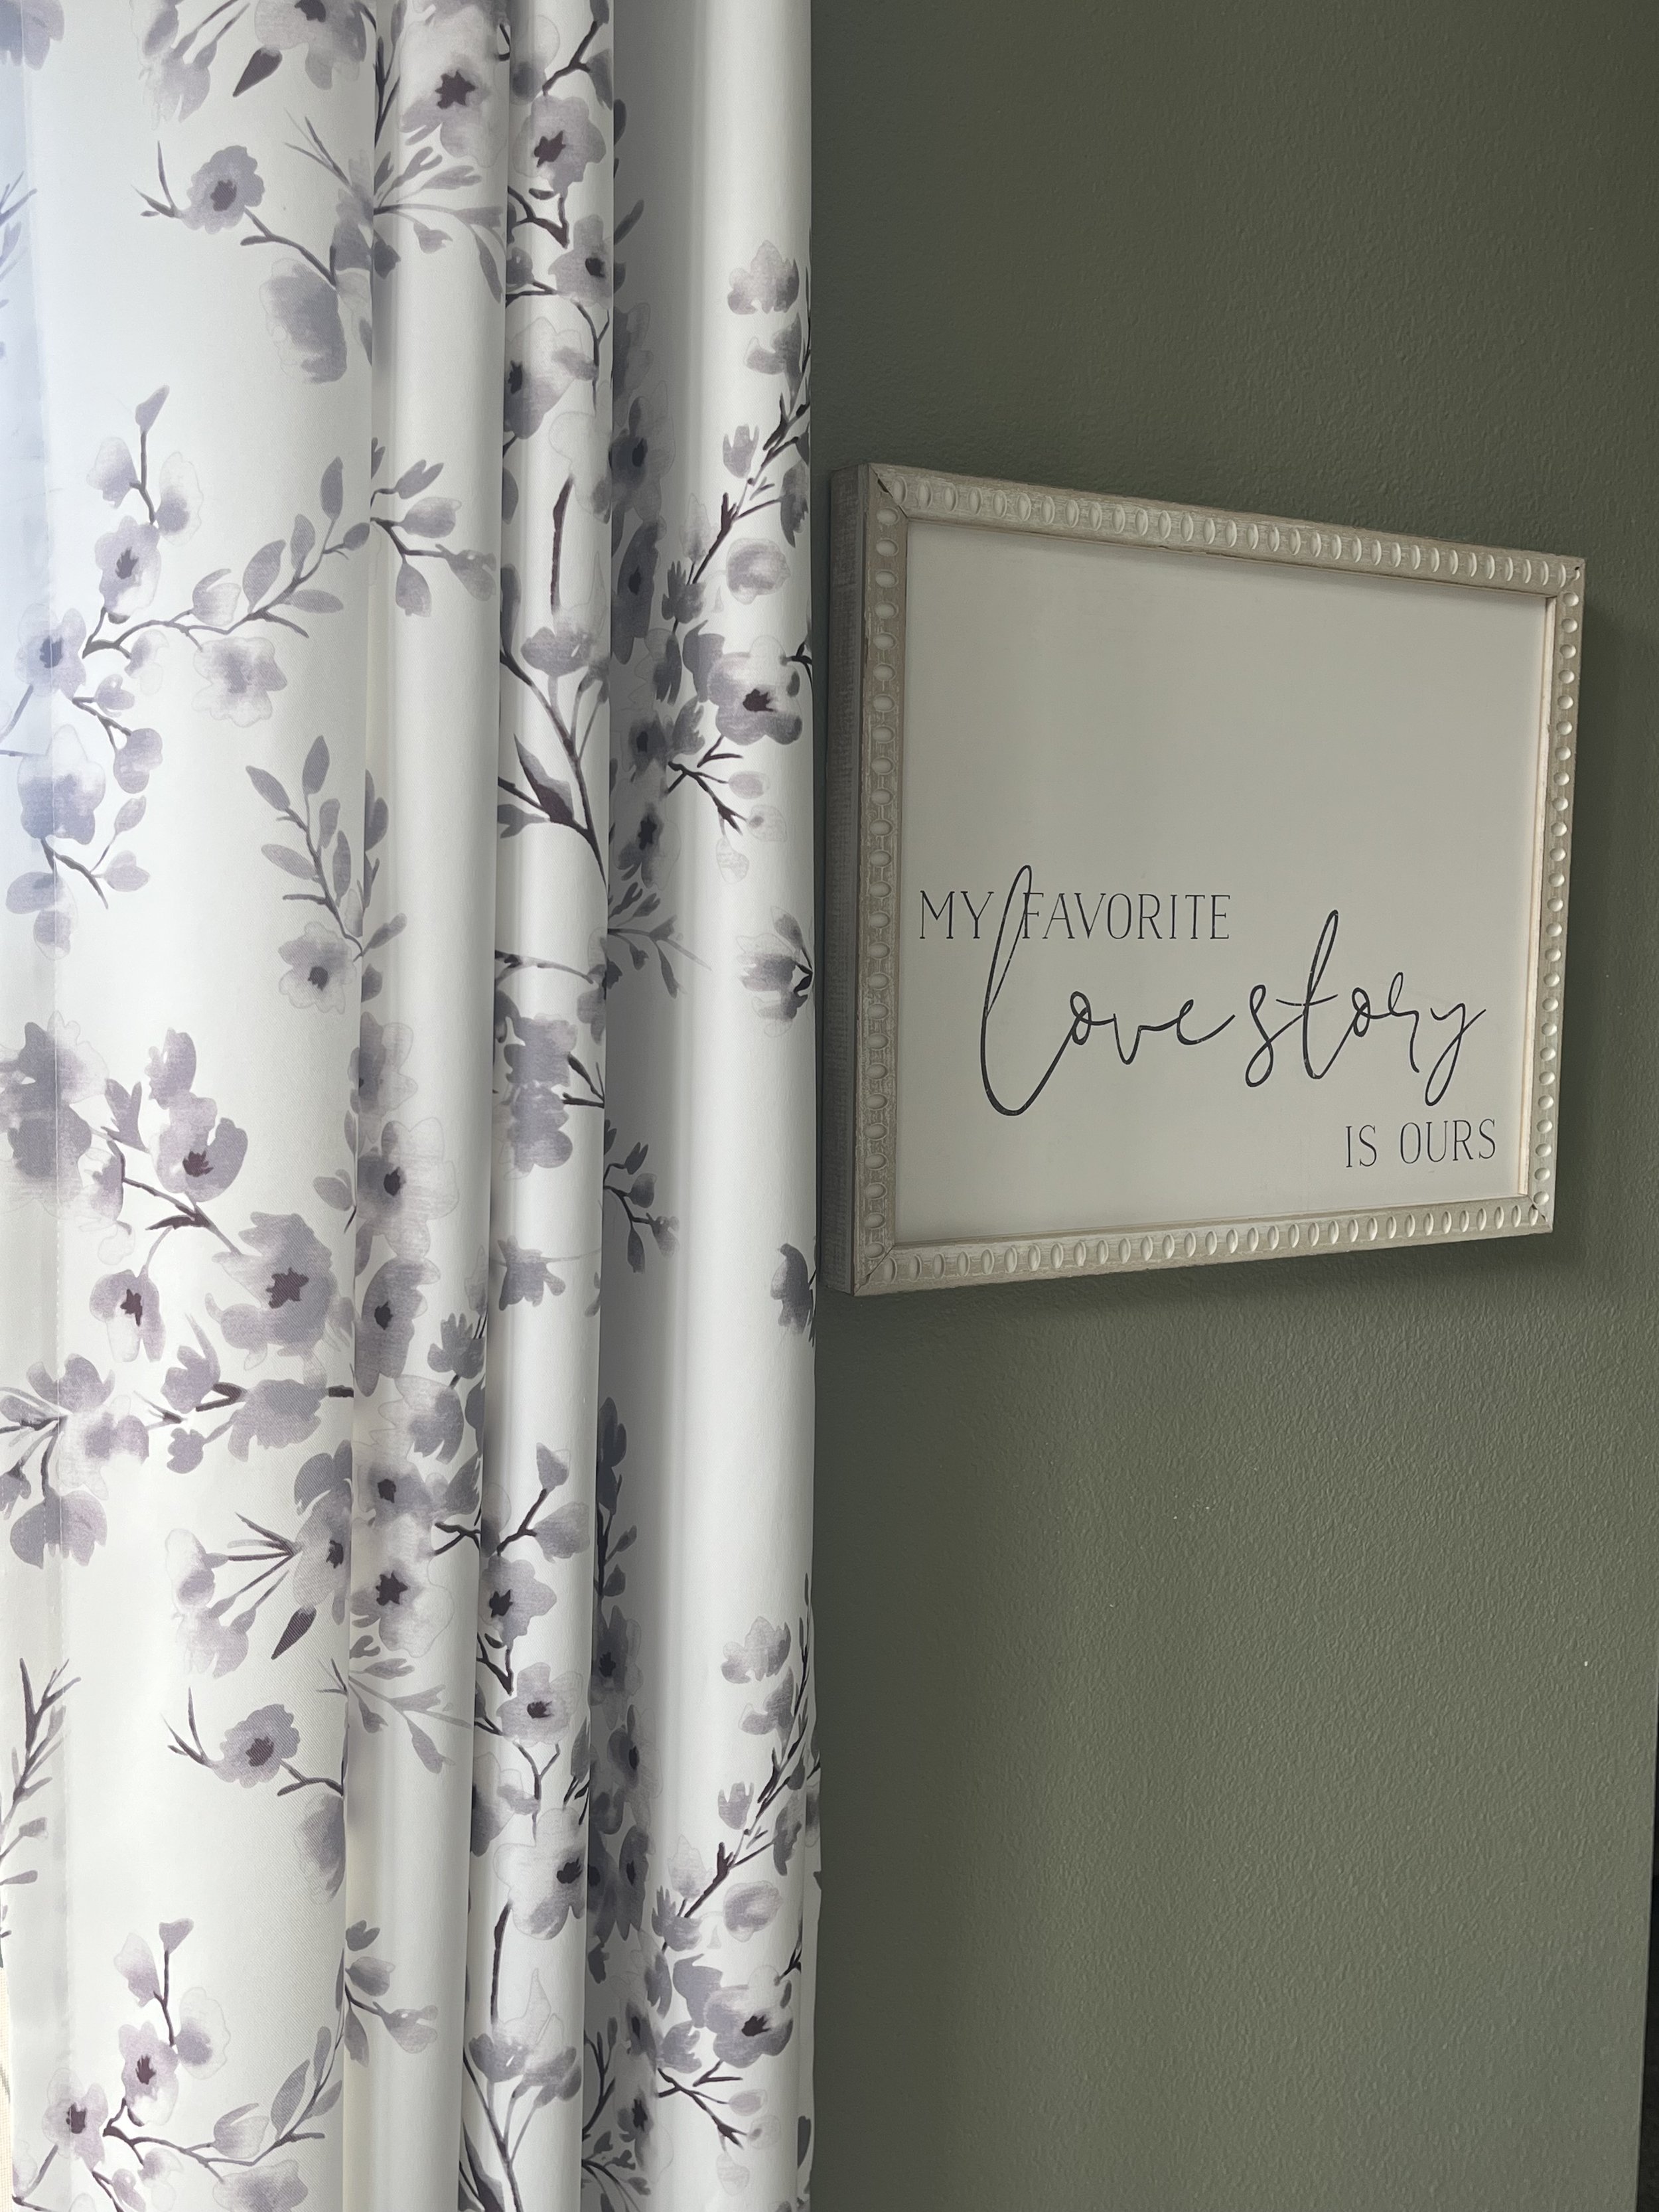
If any of these pieces I used to design our bedroom inspire you in any way, check out my Amazon links below to shop for them:
Curtains: https://amzn.to/4fyaAeJ
Nightstands: https://amzn.to/4bmXxKI
Lamps: https://amzn.to/4z2qBRV
Bedding: https://amzn.to/4wCtdEh
Dresser: https://amzn.to/4xjBMUw
How to Make a Delicious, Kid-Approved “Green” Smoothie
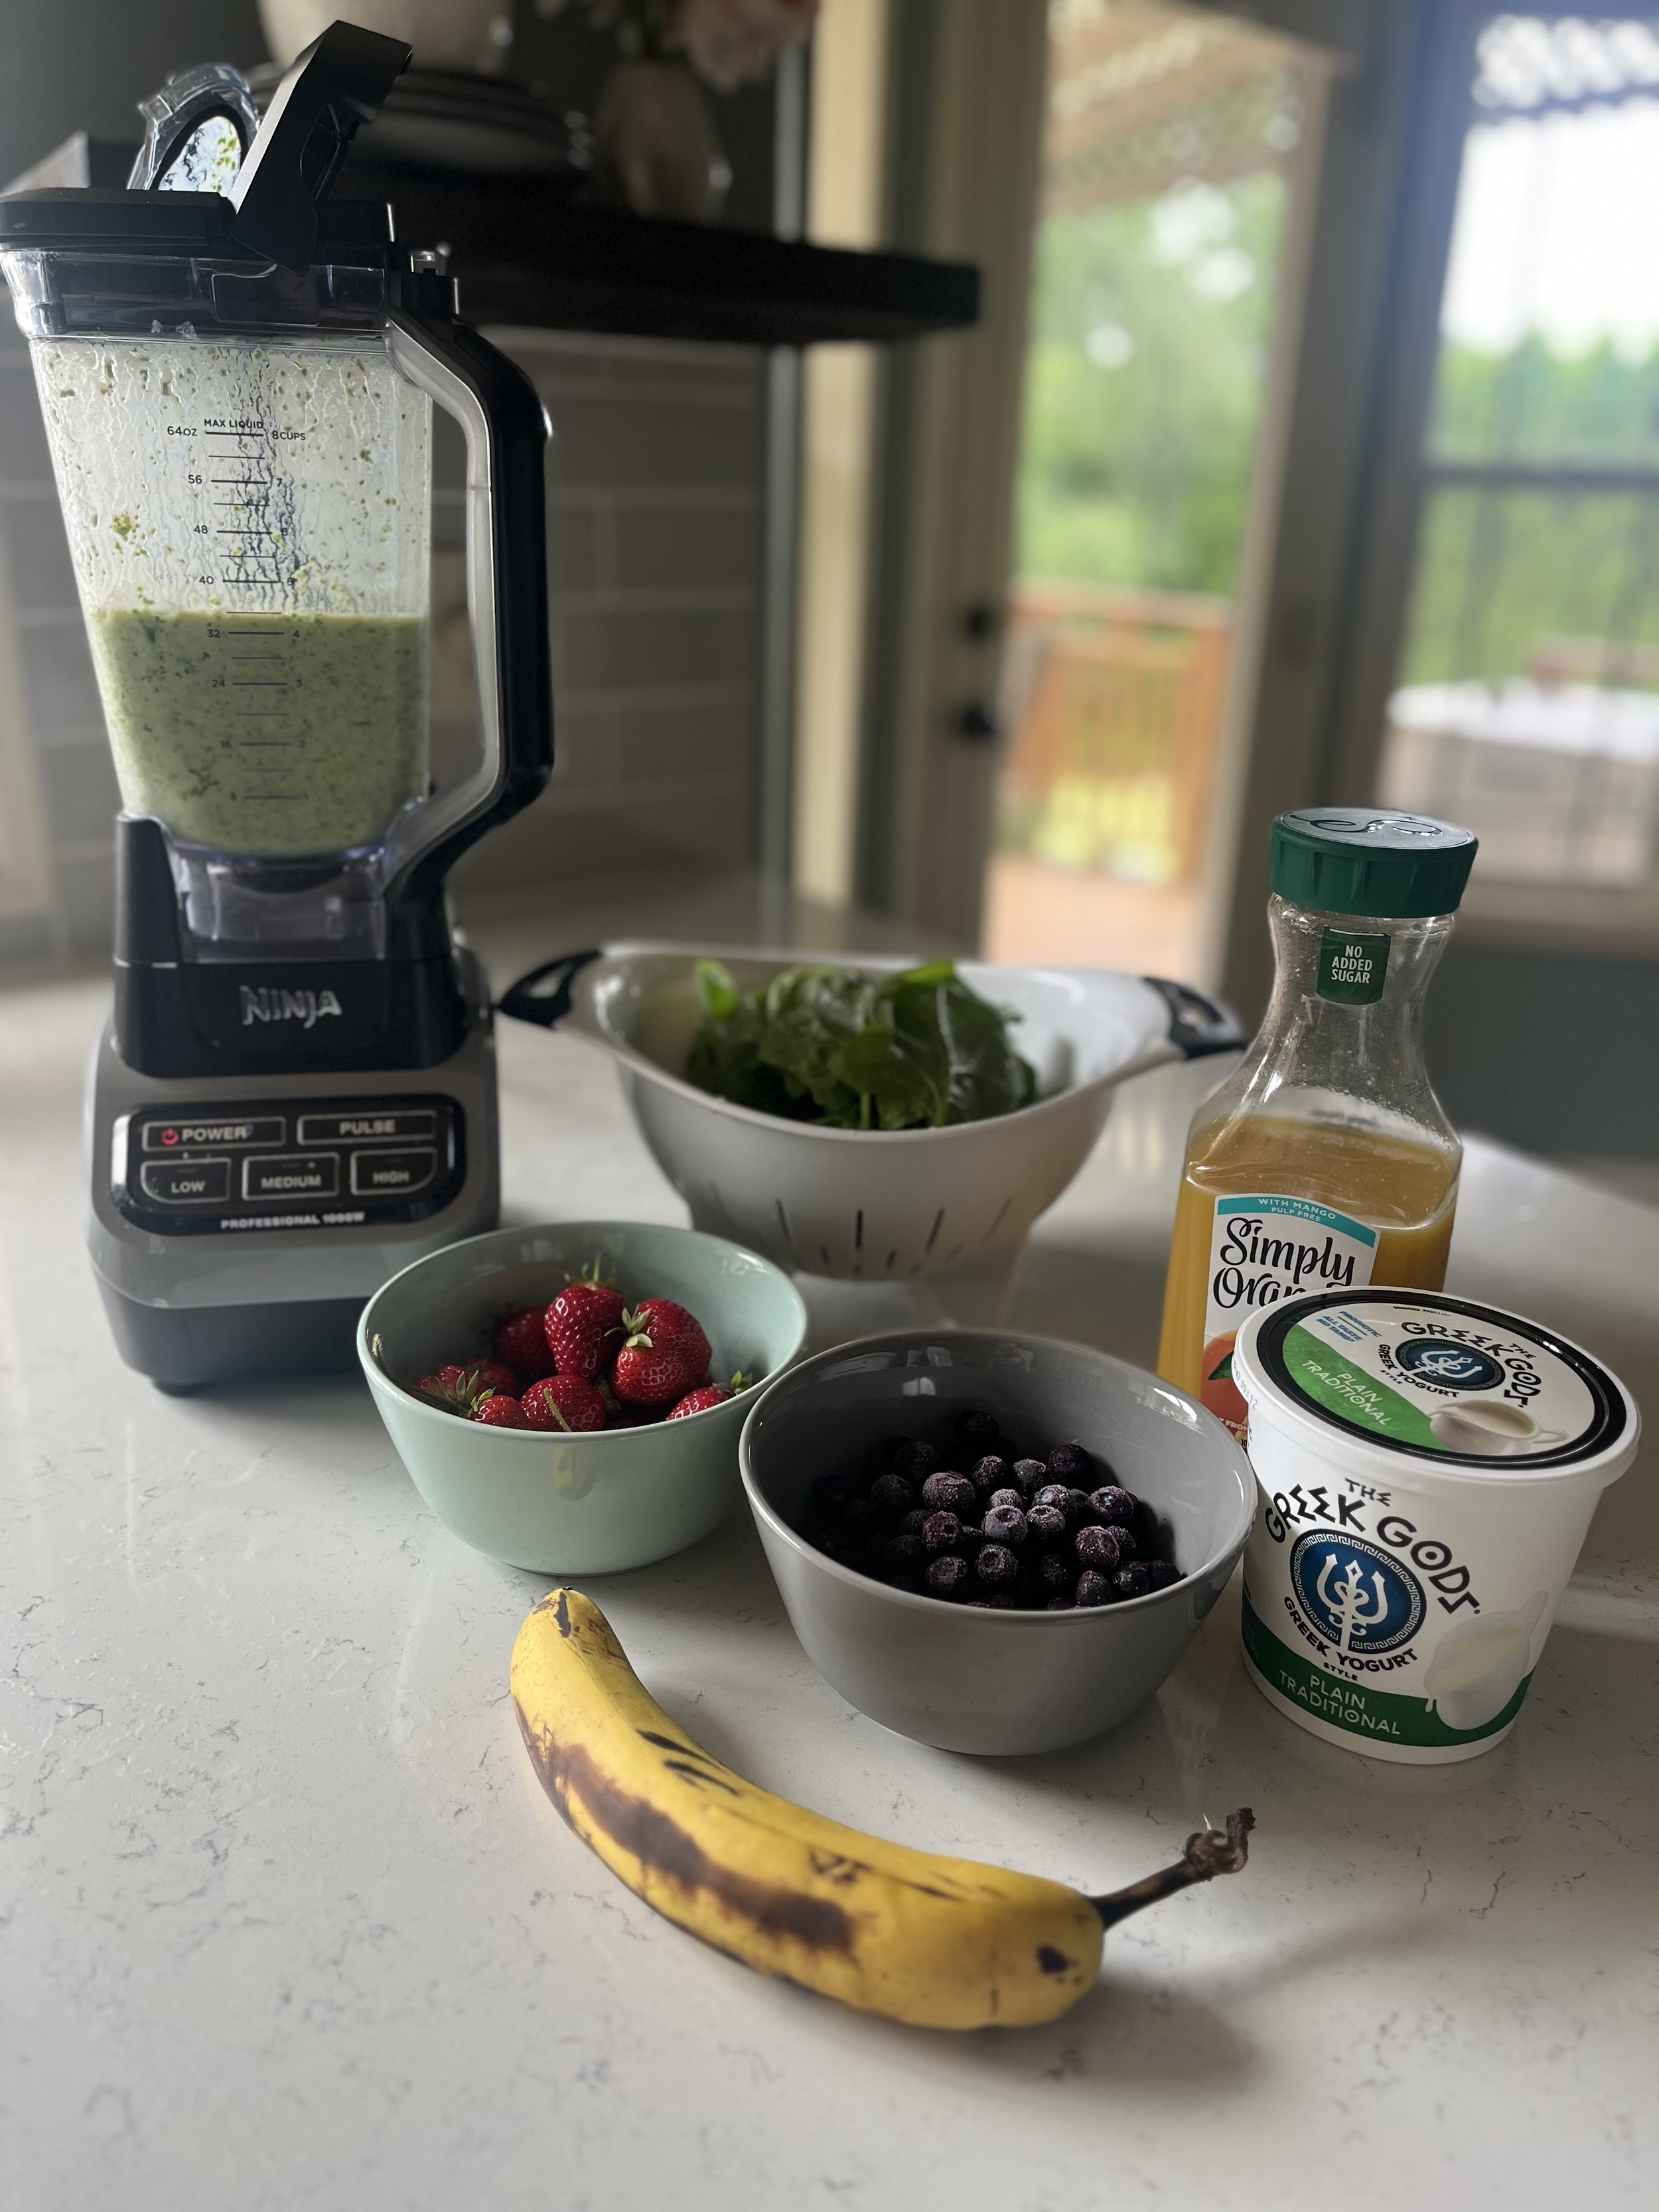
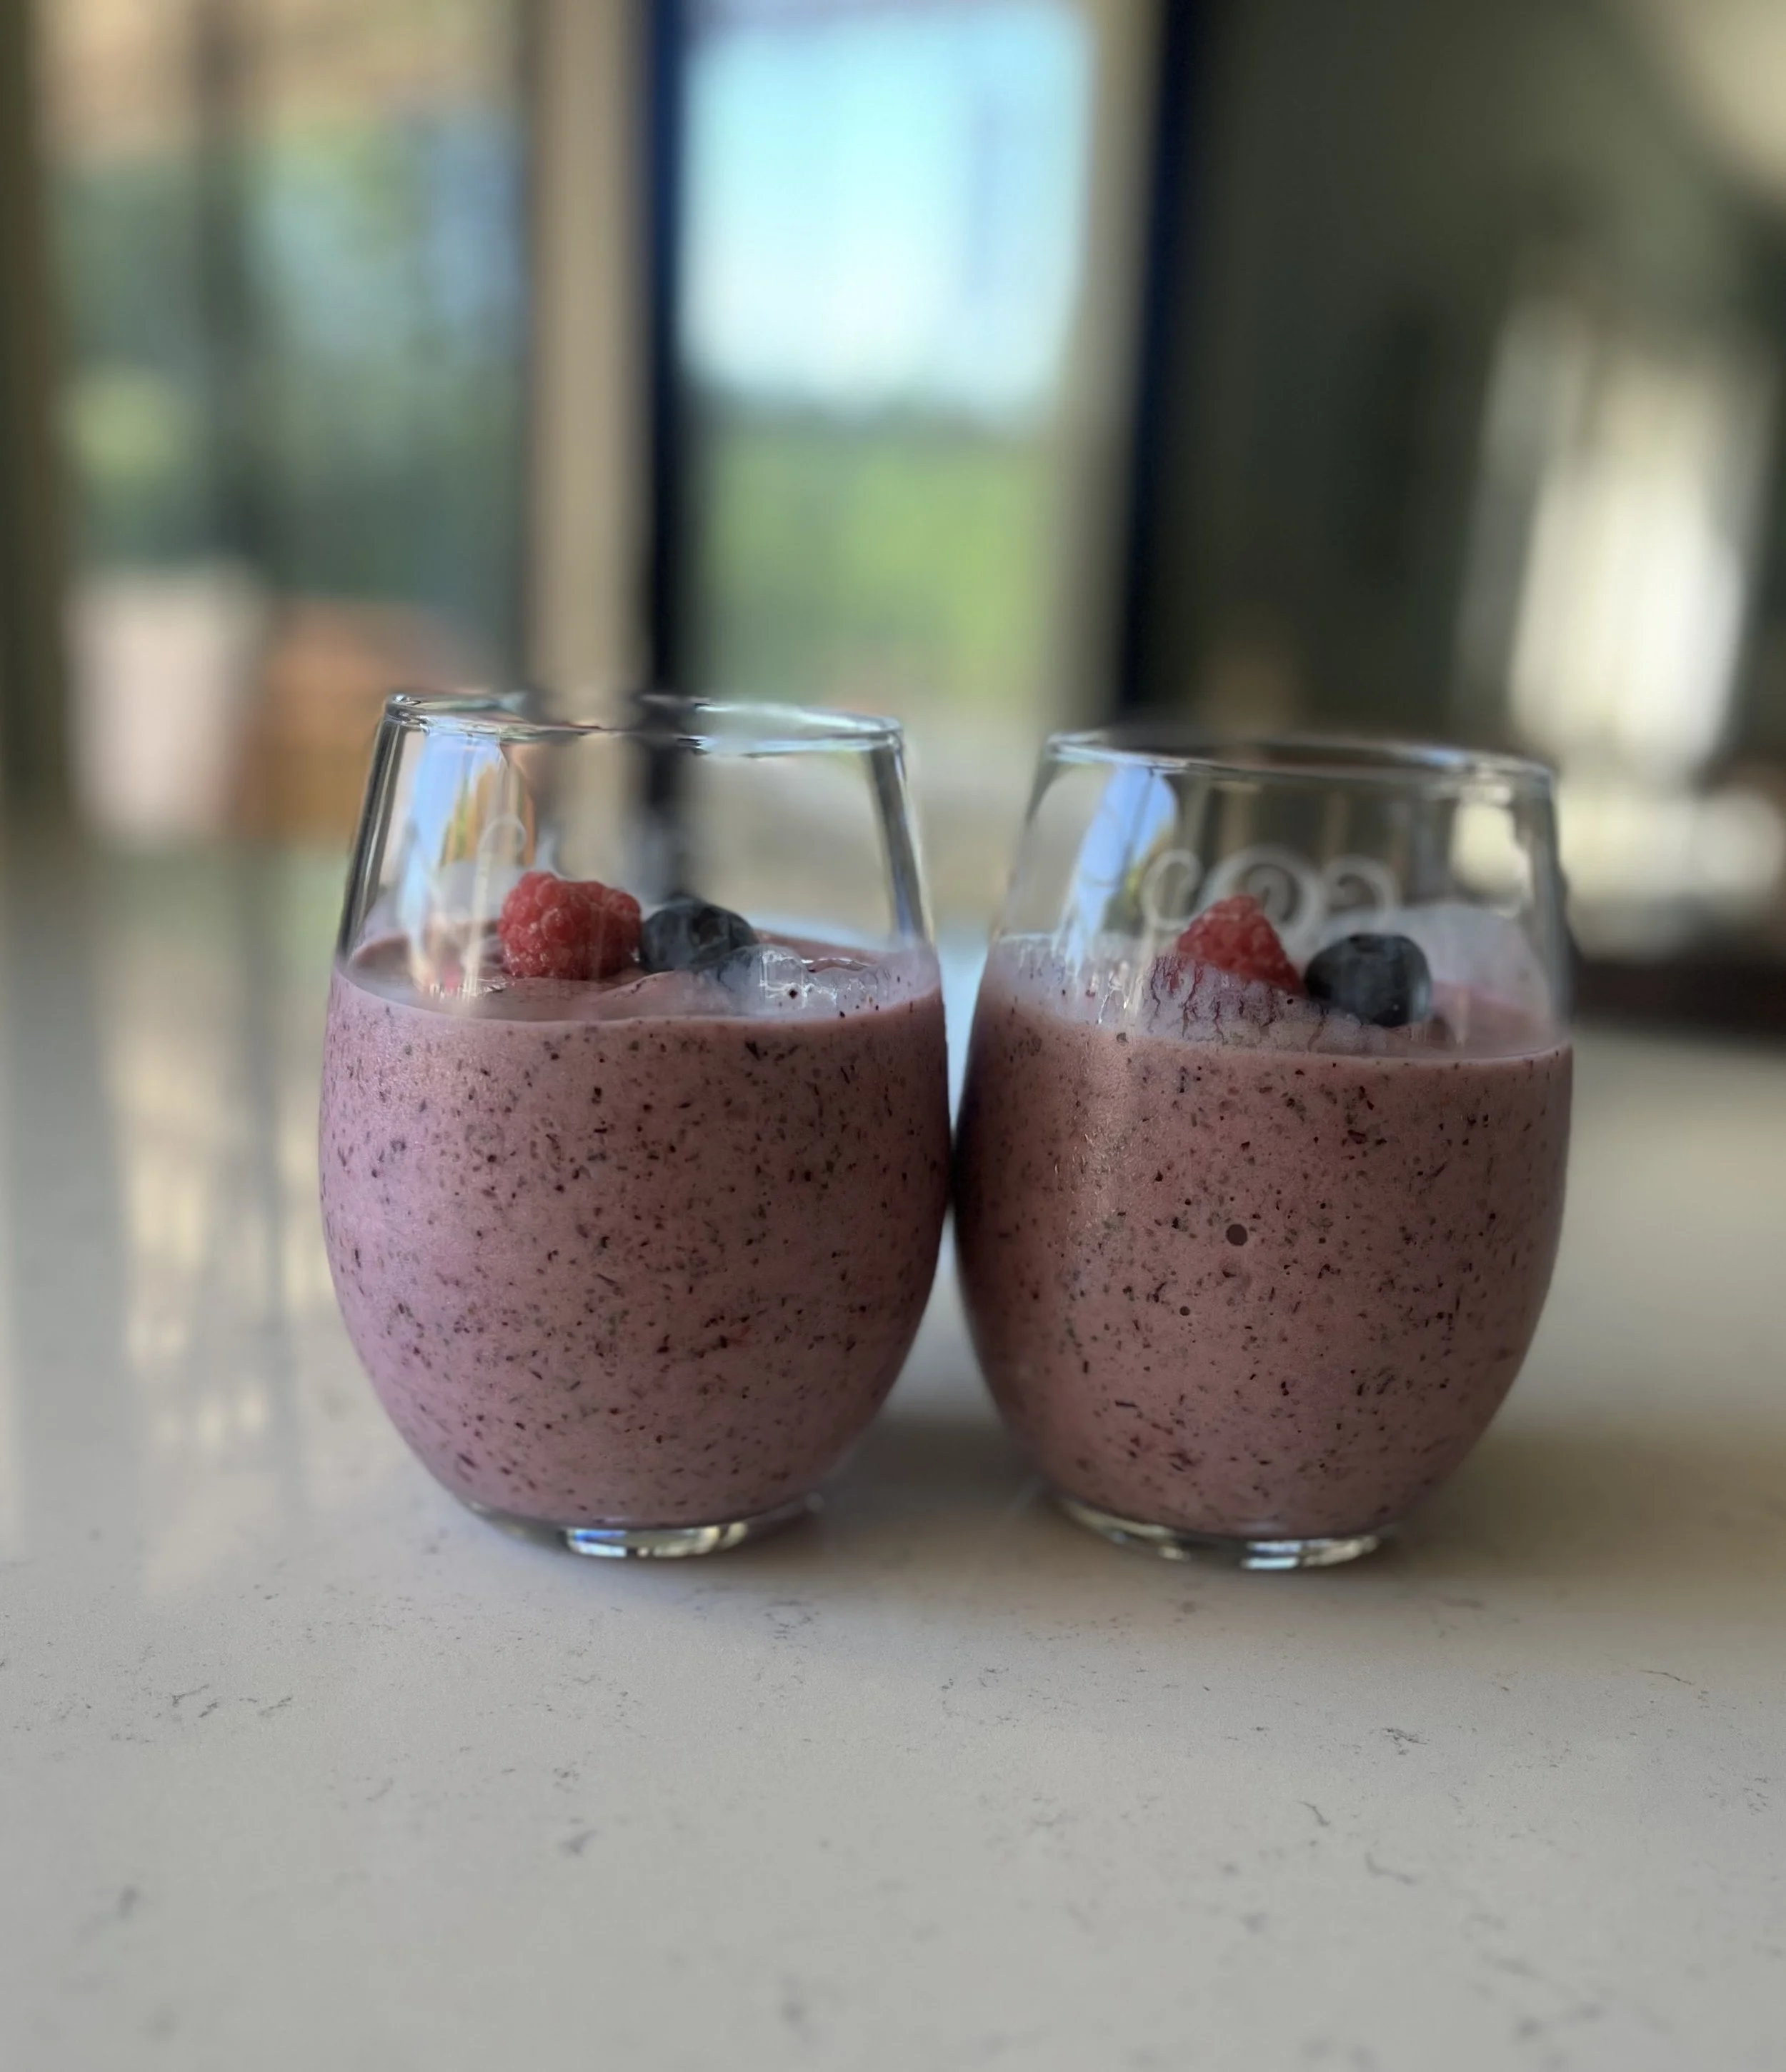
Do you struggle trying to get your kids to eat their veggies? Out of all three of my kiddos, I’ve only ever been able to get one of them to be somewhat good at this, but with the other two, the struggle is real! Several years ago, I finally found a way to get them to get at least some fresh greens. It’s a “green” smoothie because of the spinach, but the berries cover that up, which is a plus with picky eaters! Here’s the recipe:
3 handfuls of fresh spinach
3 cups of ice
1 cup orange juice
¾ cup greek yogurt (or any yogurt works)
1 banana
I cup fresh or frozen berries (I use strawberries, blueberries and raspberries)
You could alternatively use frozen mangoes instead of berries for a more tropical twist
Tip: Add an extra banana and some more yogurt for a smoother texture!
Throw everything in a blender, blend it up and voila! You have yourself a healthy (and super yummy) smoothie that is extremely kid-friendly. Enjoy!
Master Bathroom Remodel
This master bathroom was so much fun to redo! I’m completely in love with this new bathroom and as cliche as it sounds- every day feels like a spa day!
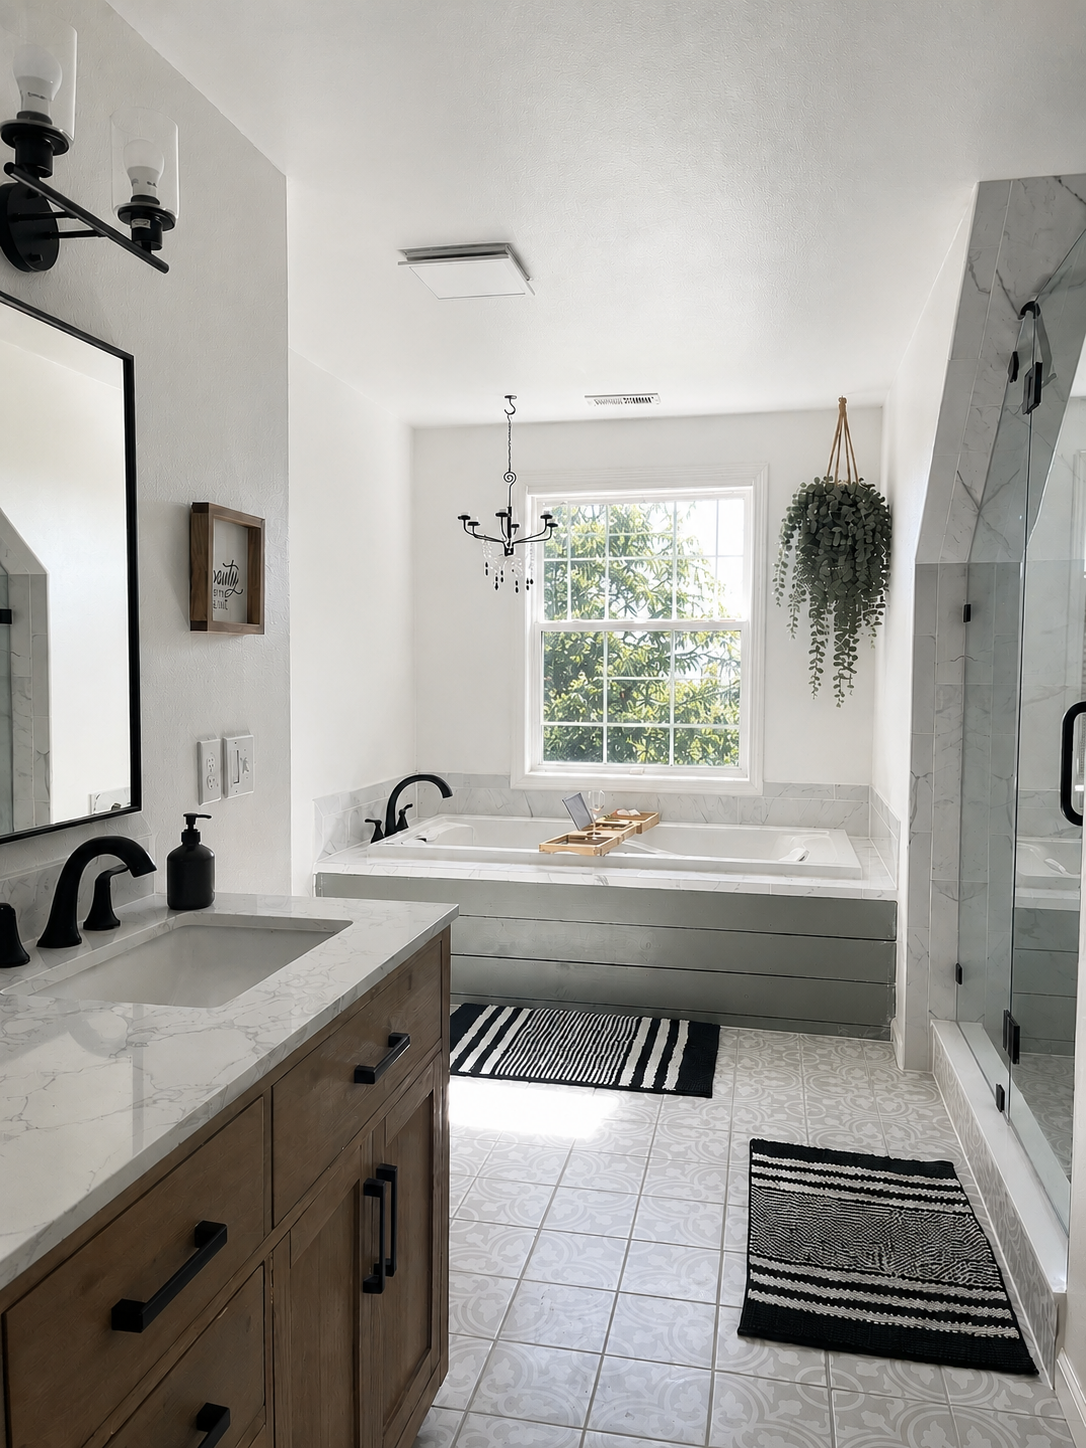
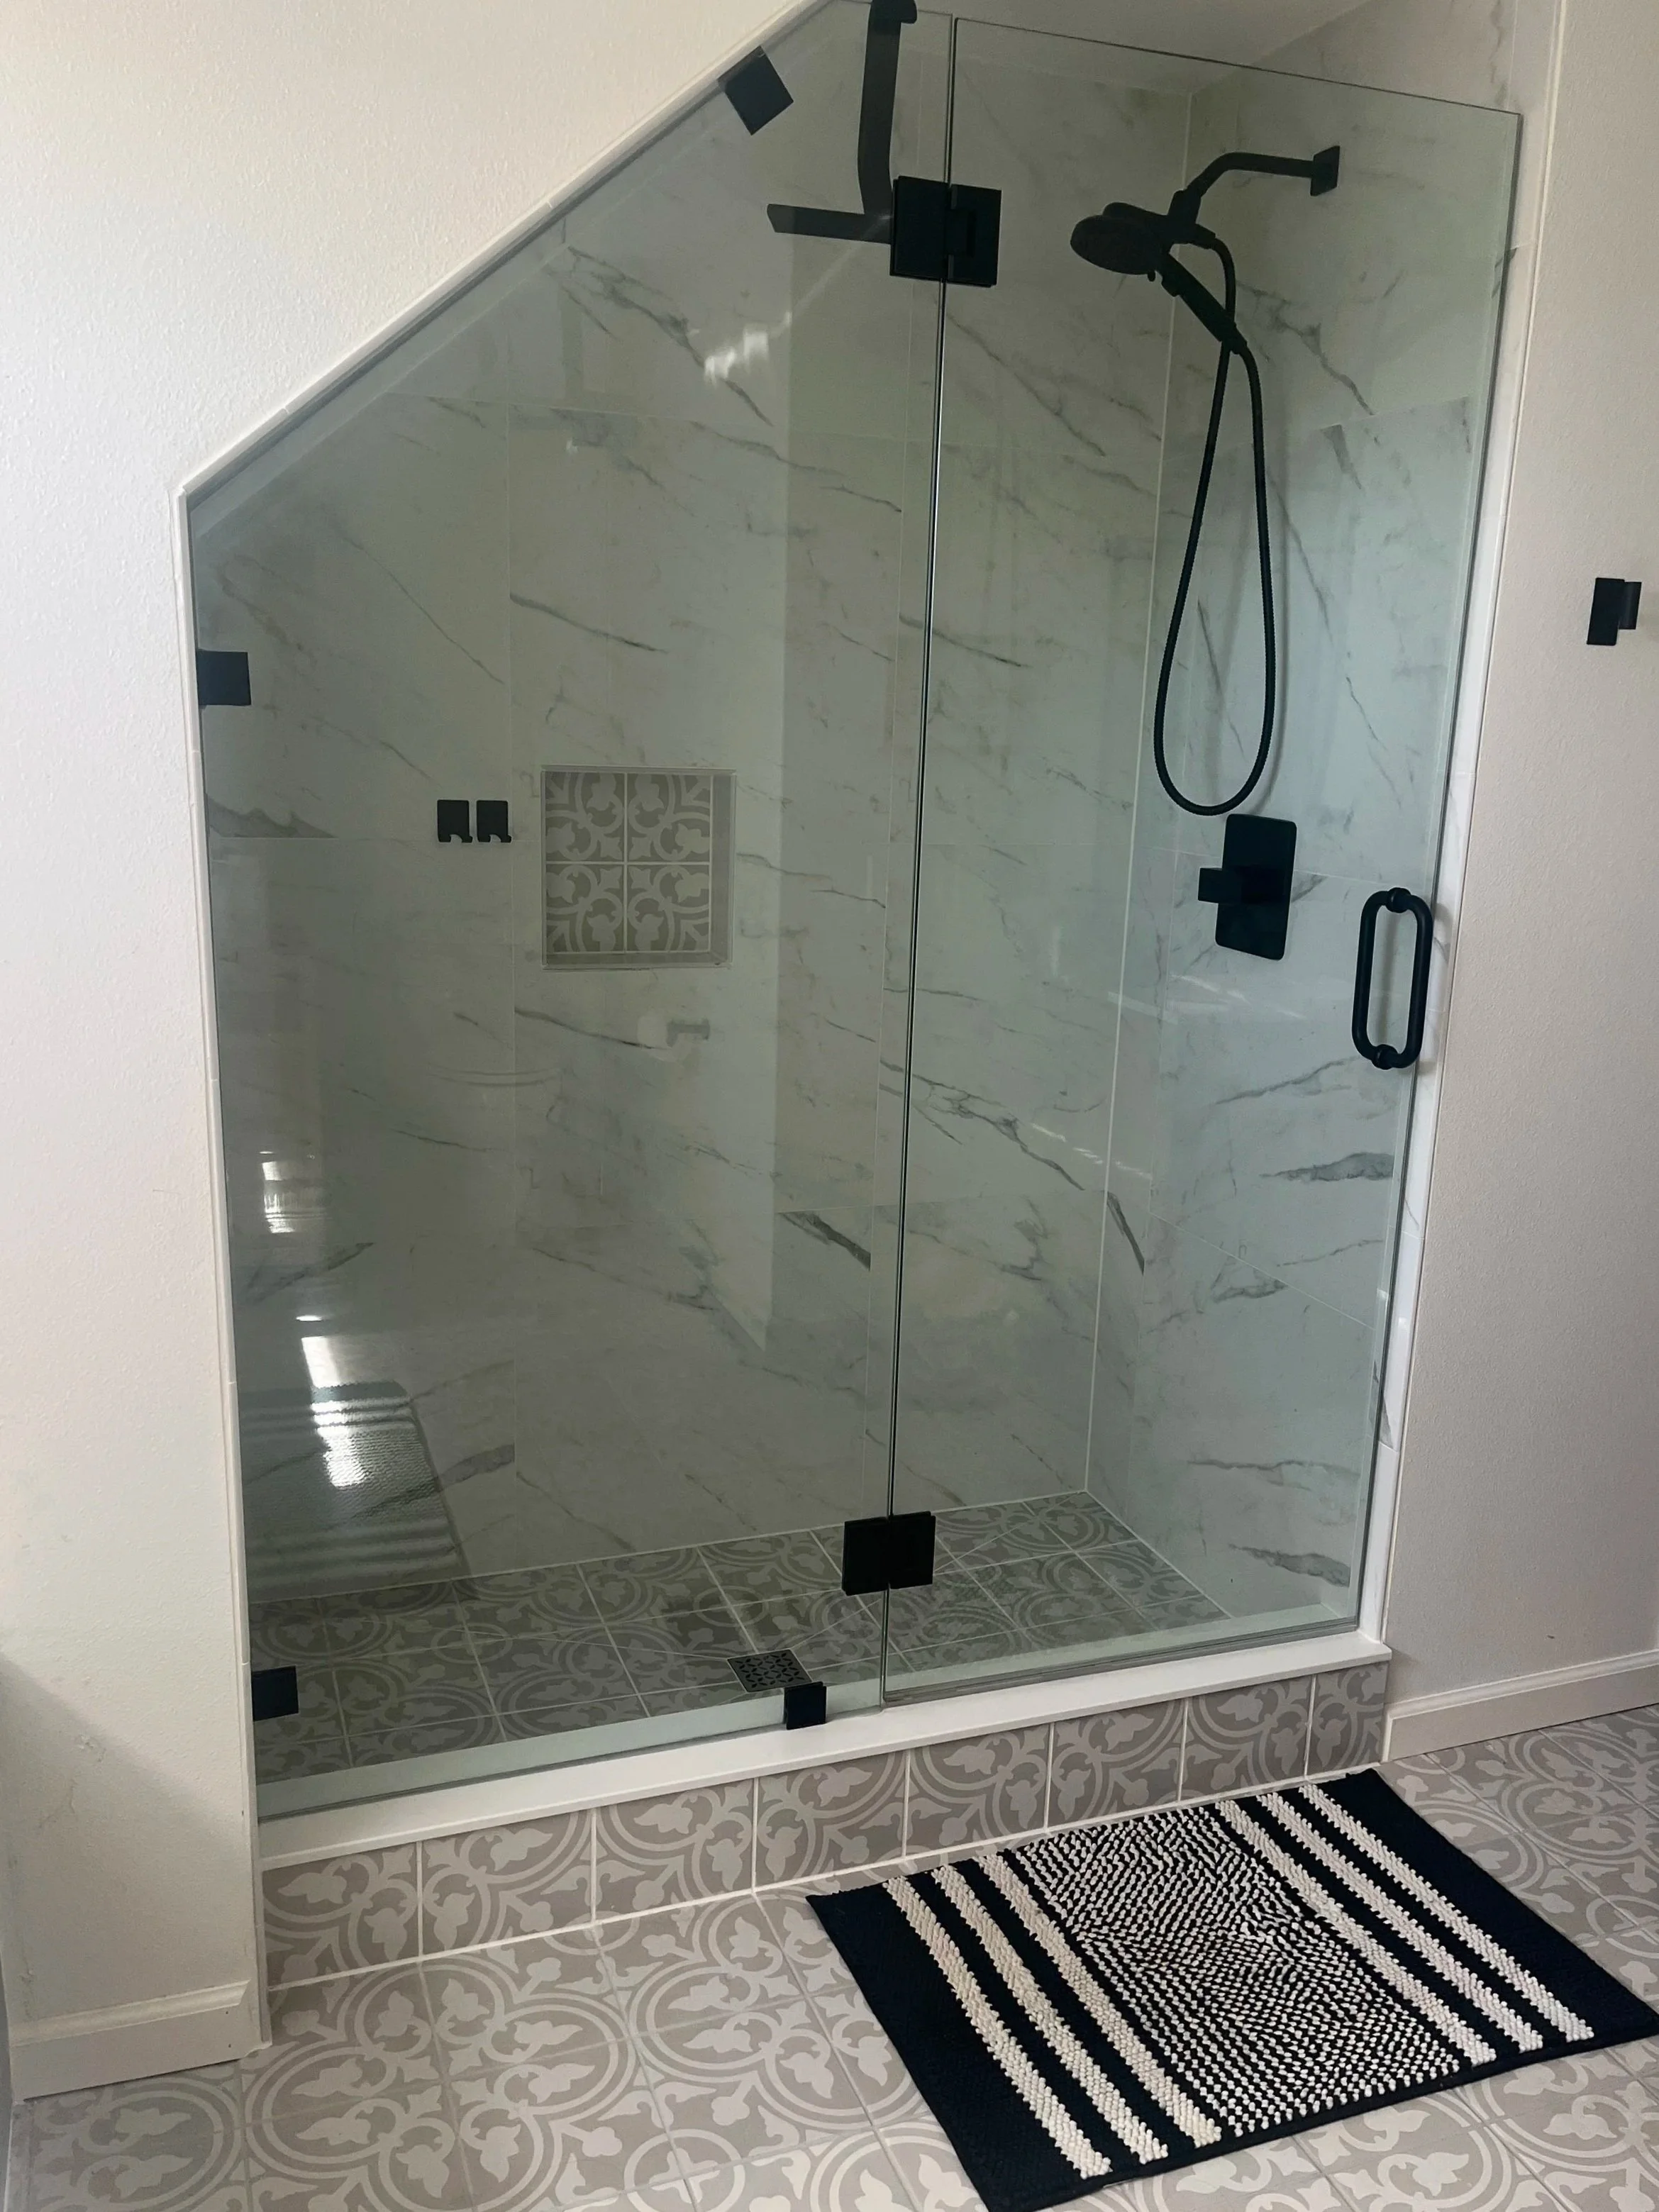
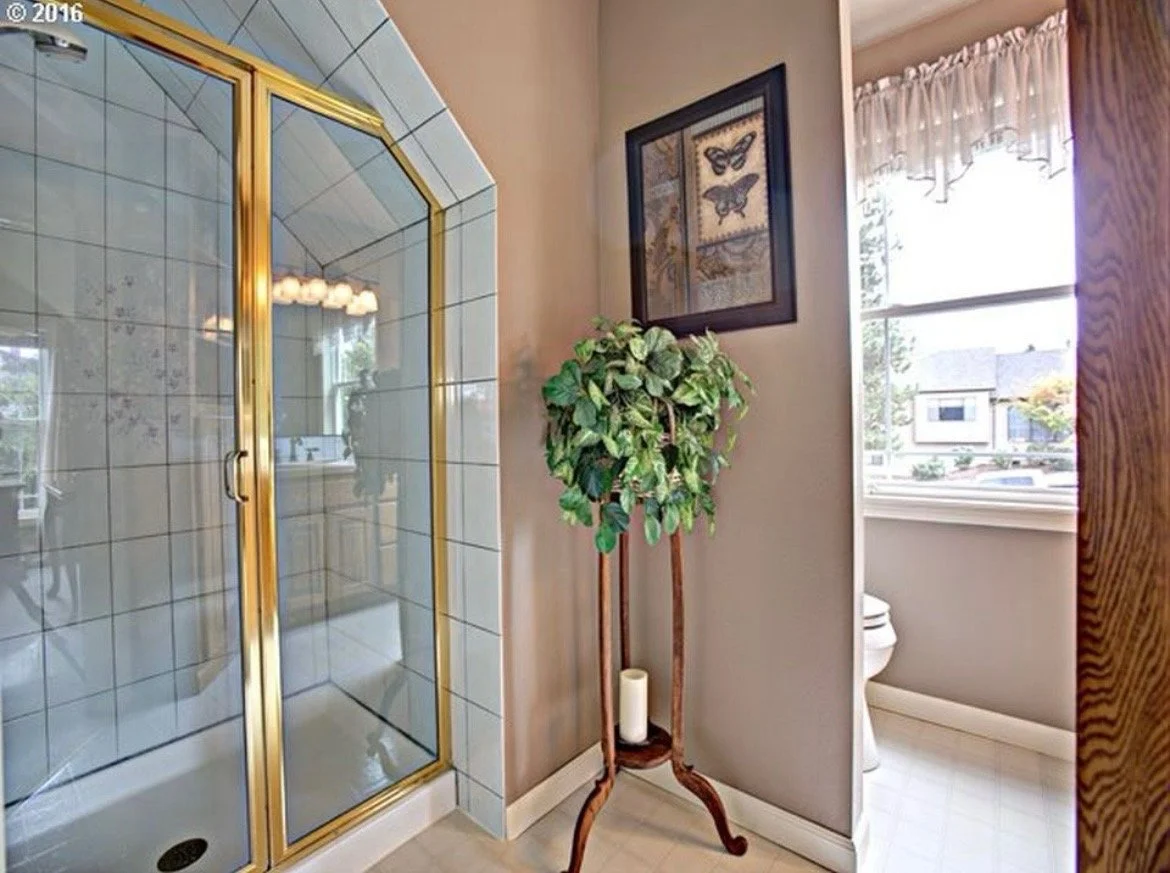
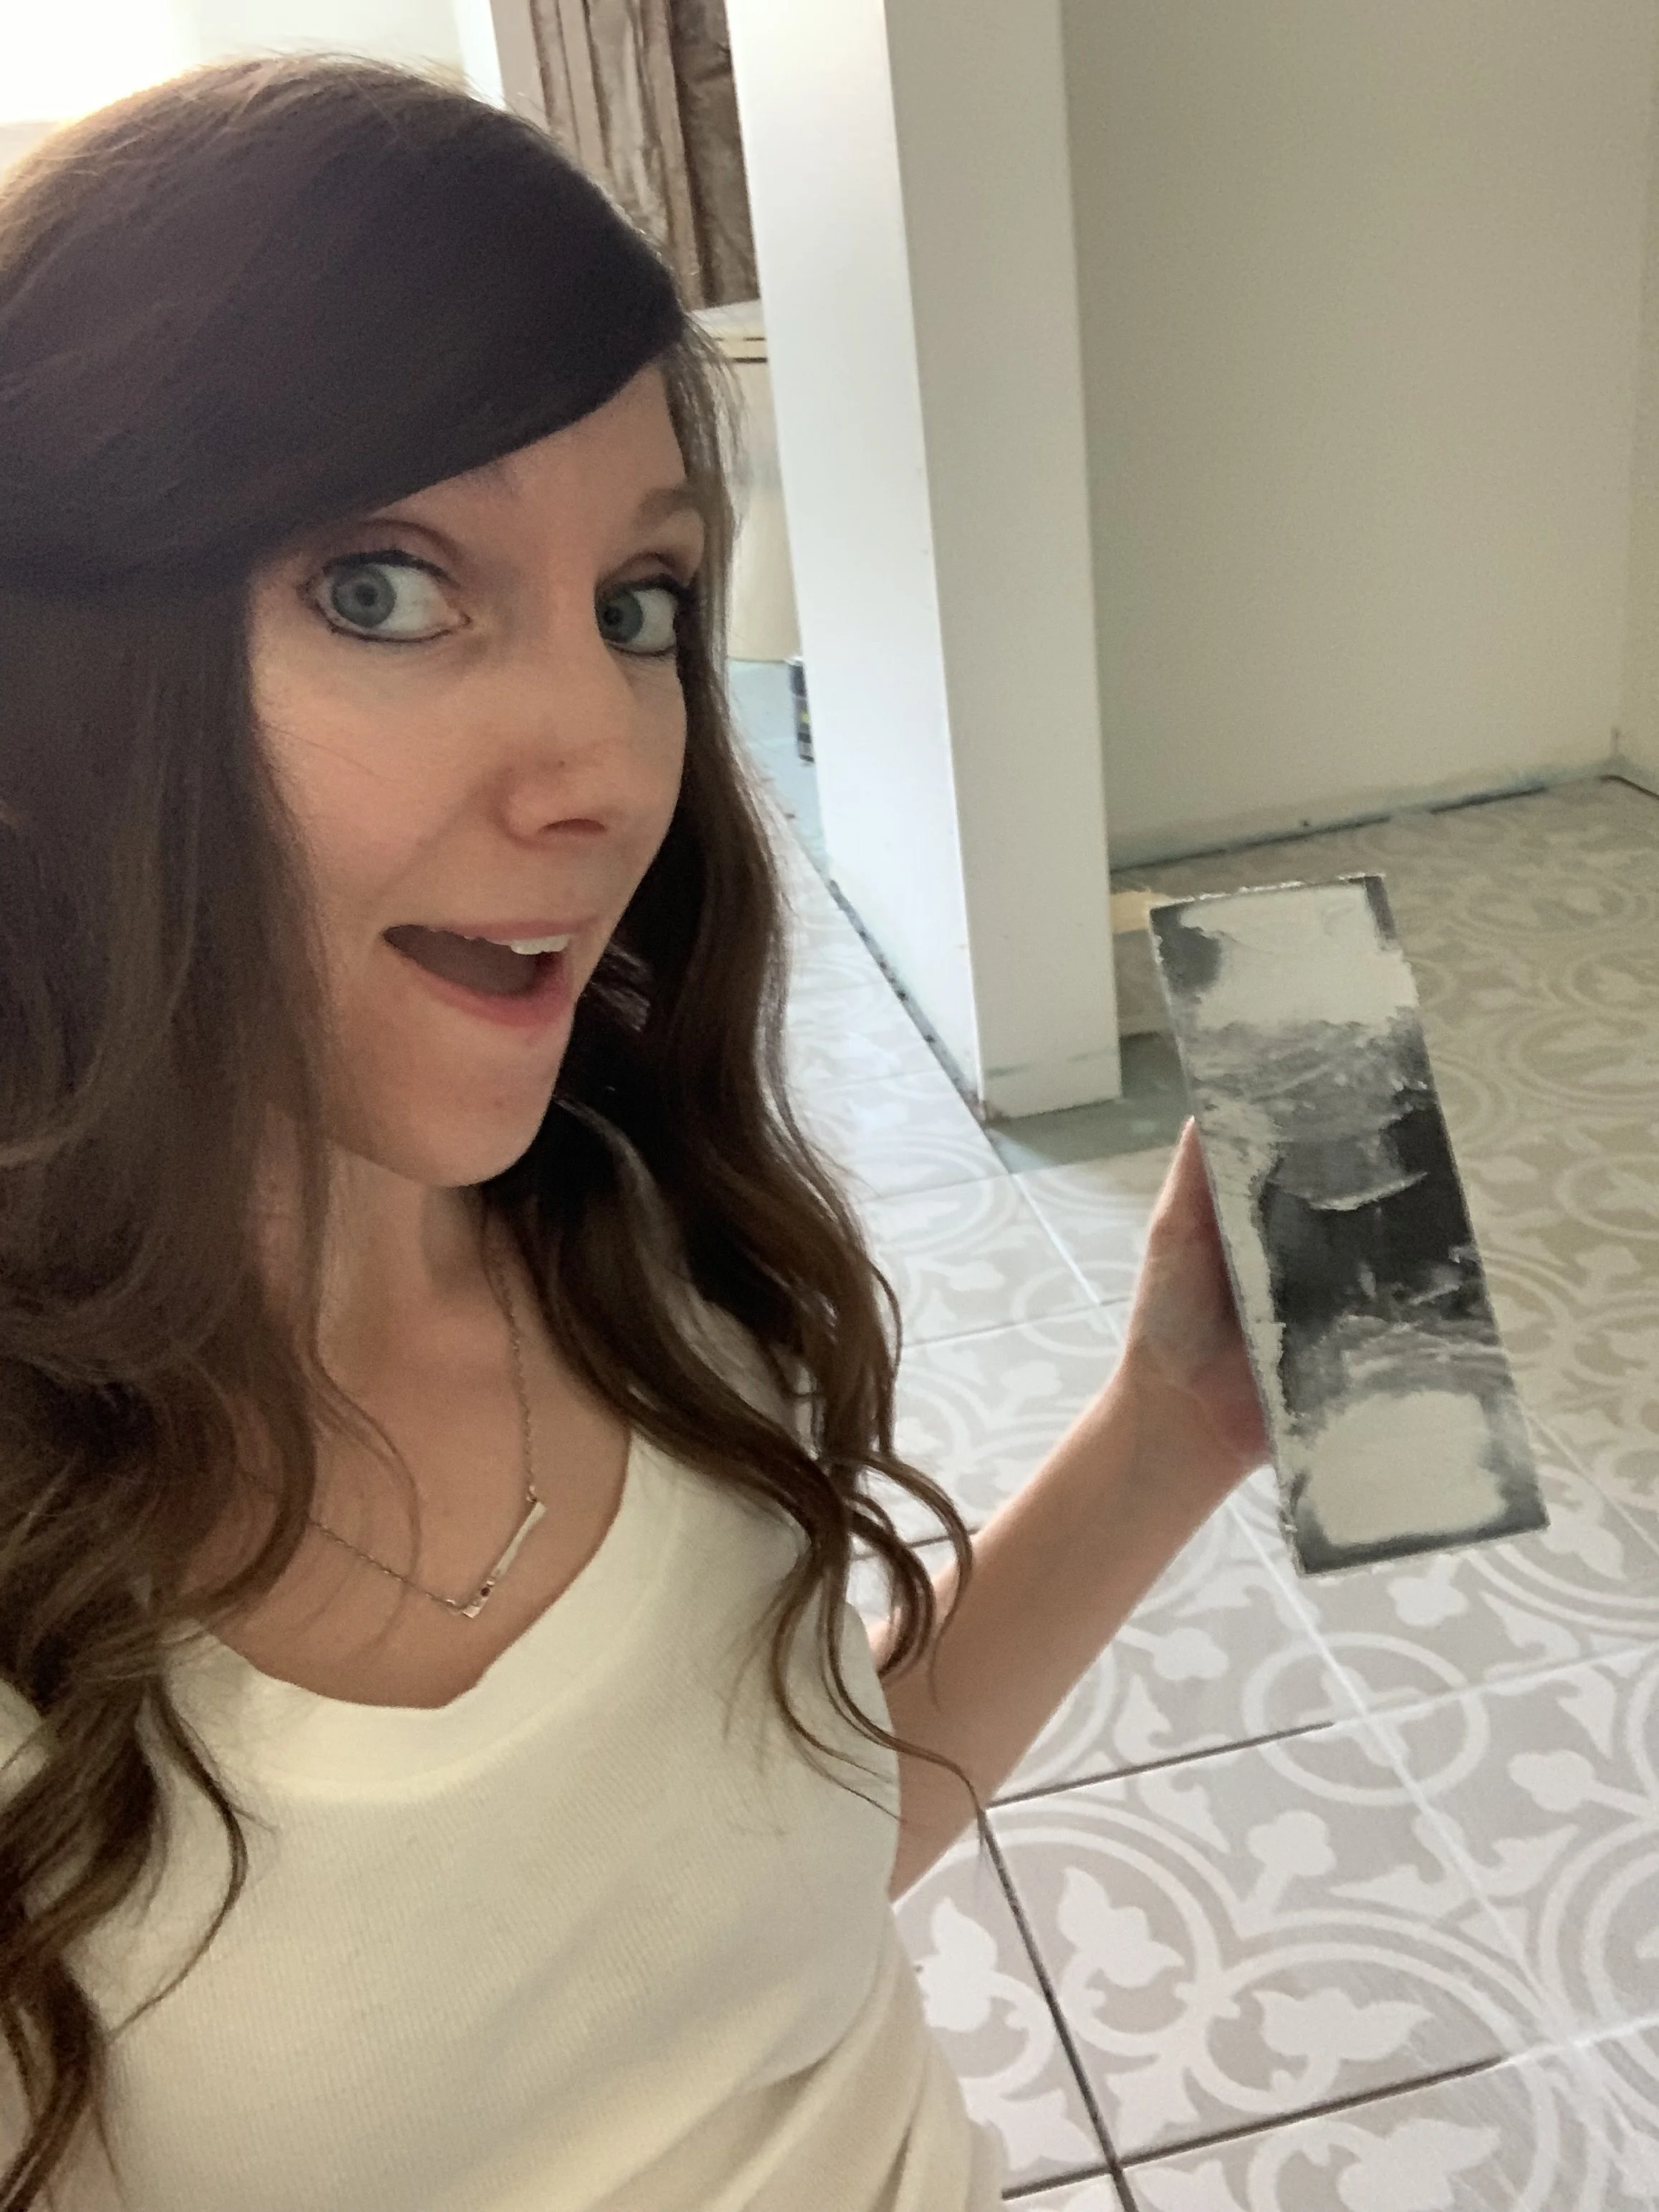
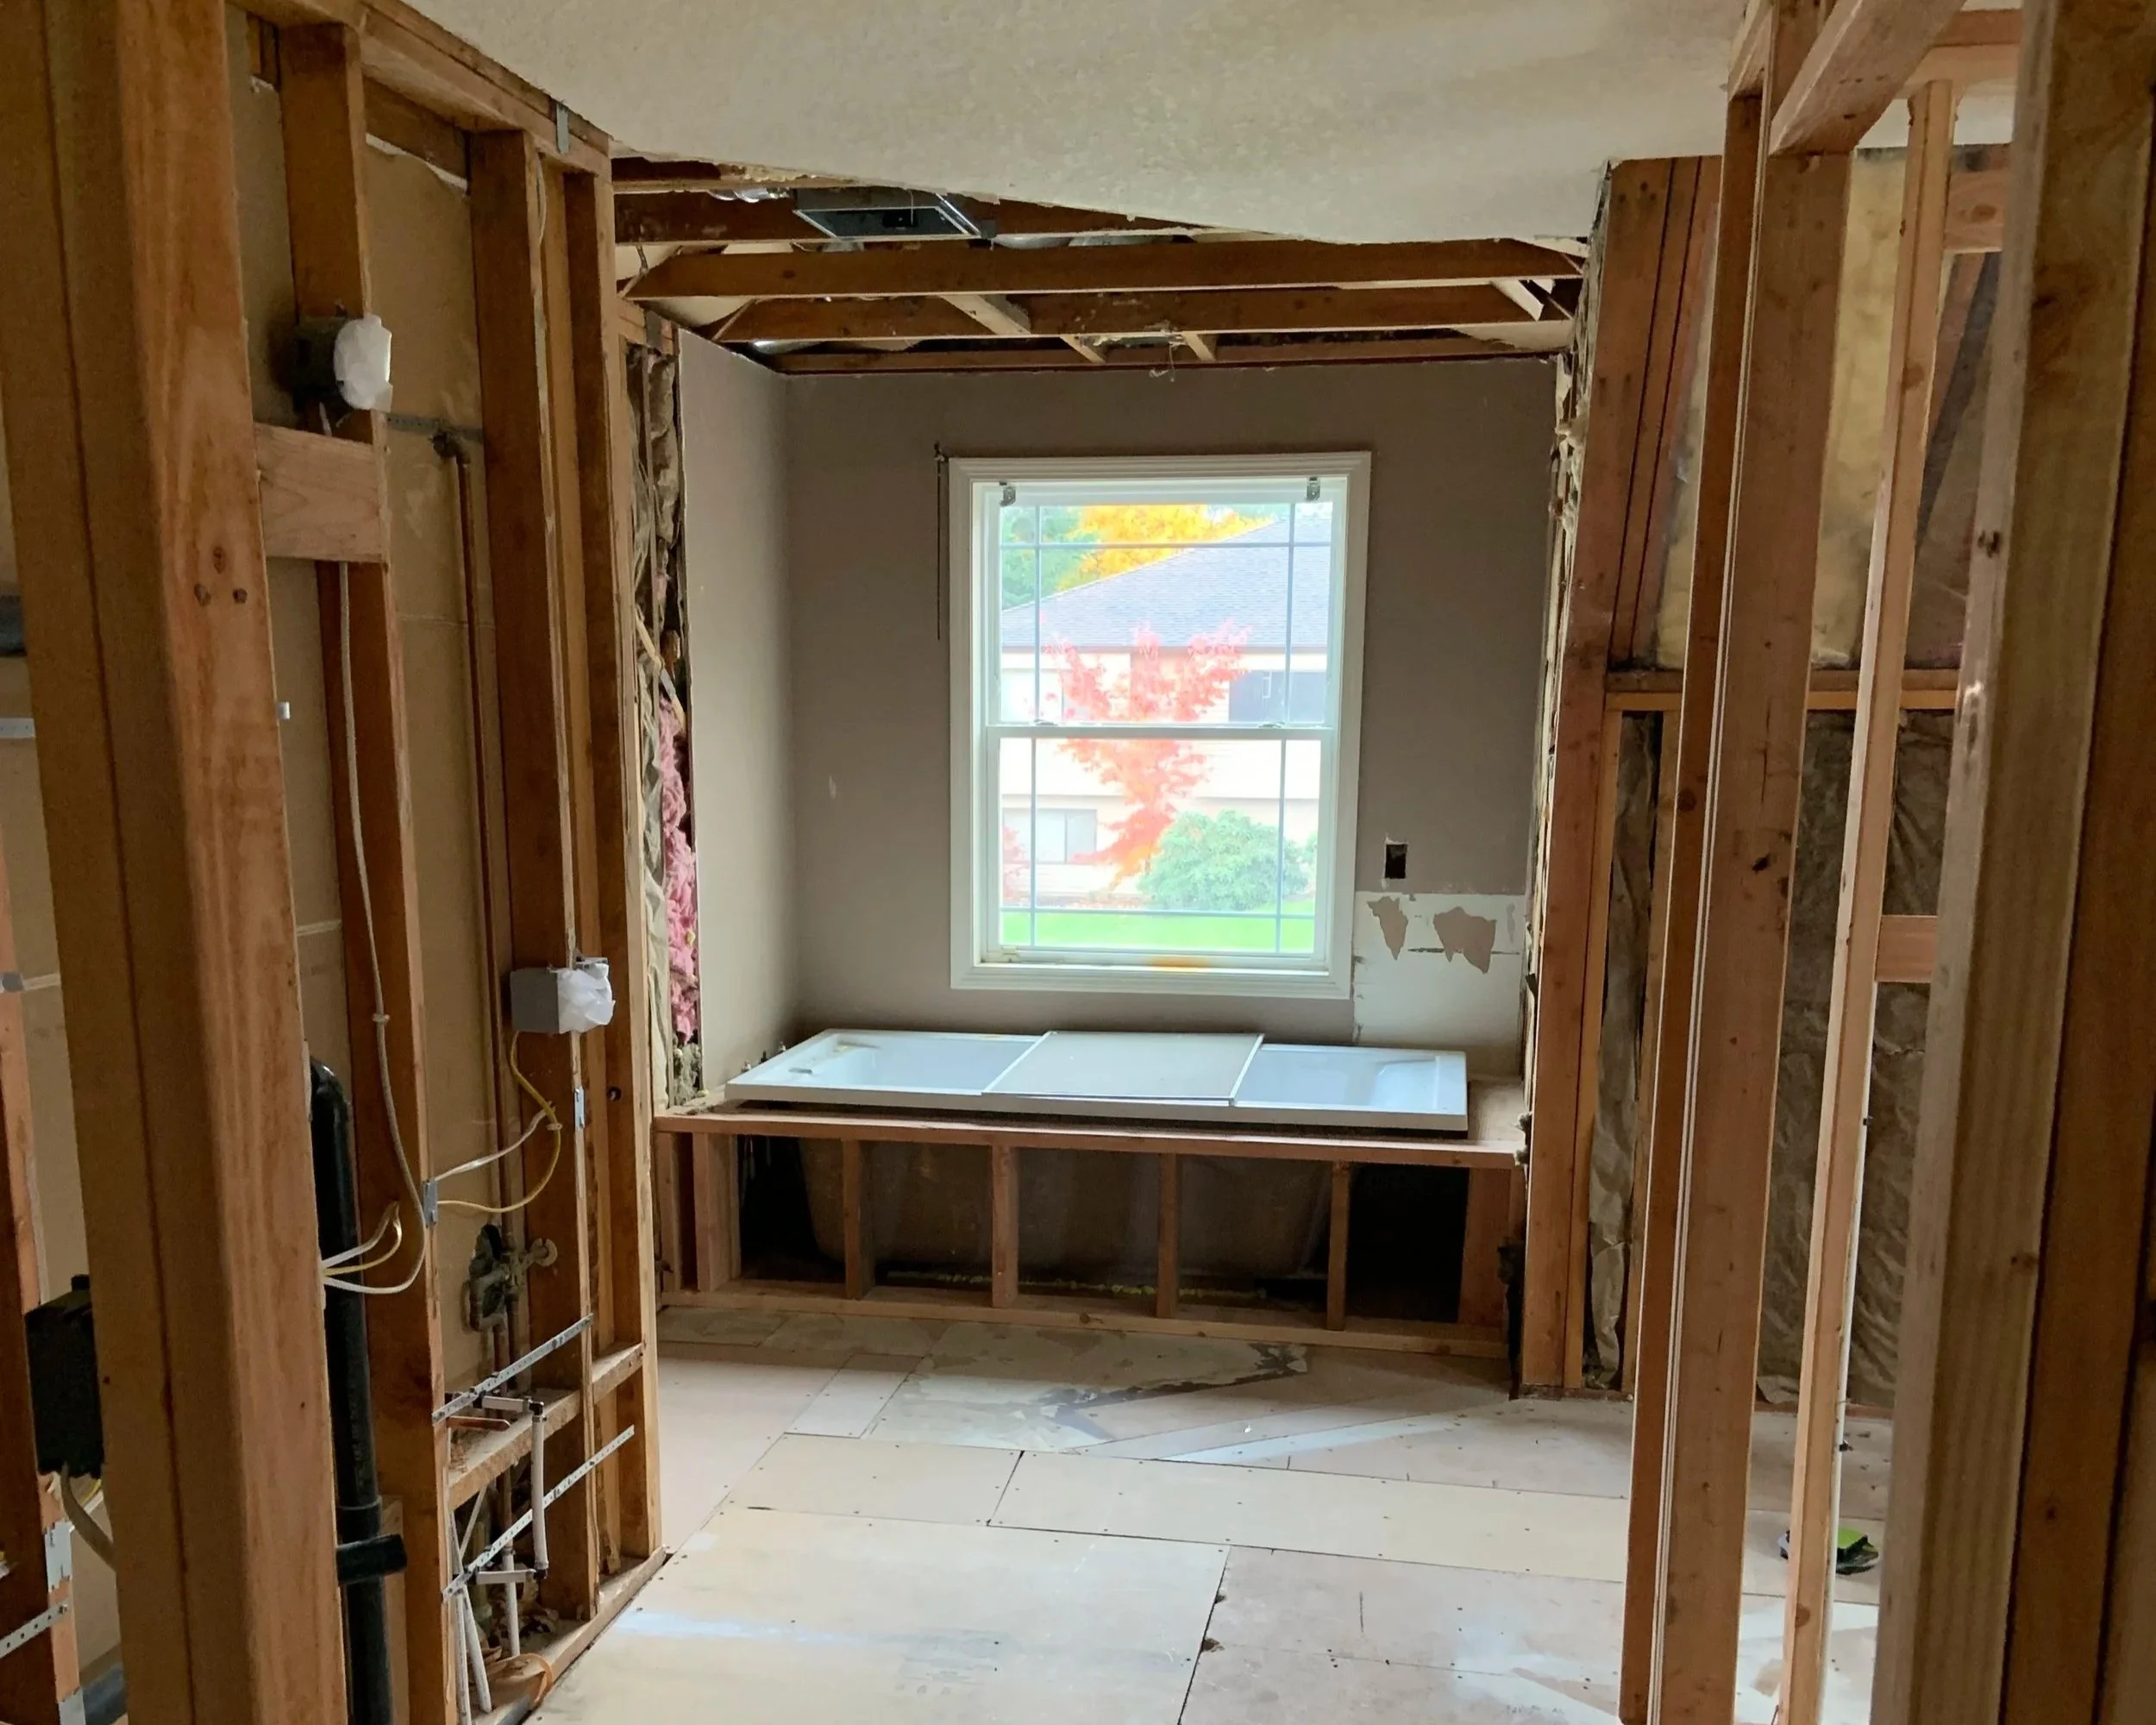
Other than hiring a professional plumber, we did most of the work on this bathroom ourselves. We re-framed it, installed the flooring, the double vanity, faucets and the bathtub on our own. We kept everything clean and modern looking then decided to add some pops of interest with the bathtub surround and the flooring. We painted the bathtub surround “Evergreen Fog” from Sherwin Williams. I love this shade of green so much! I’m also in LOVE with the flooring we picked out. Check out this before picture as well as some in progress pictures:
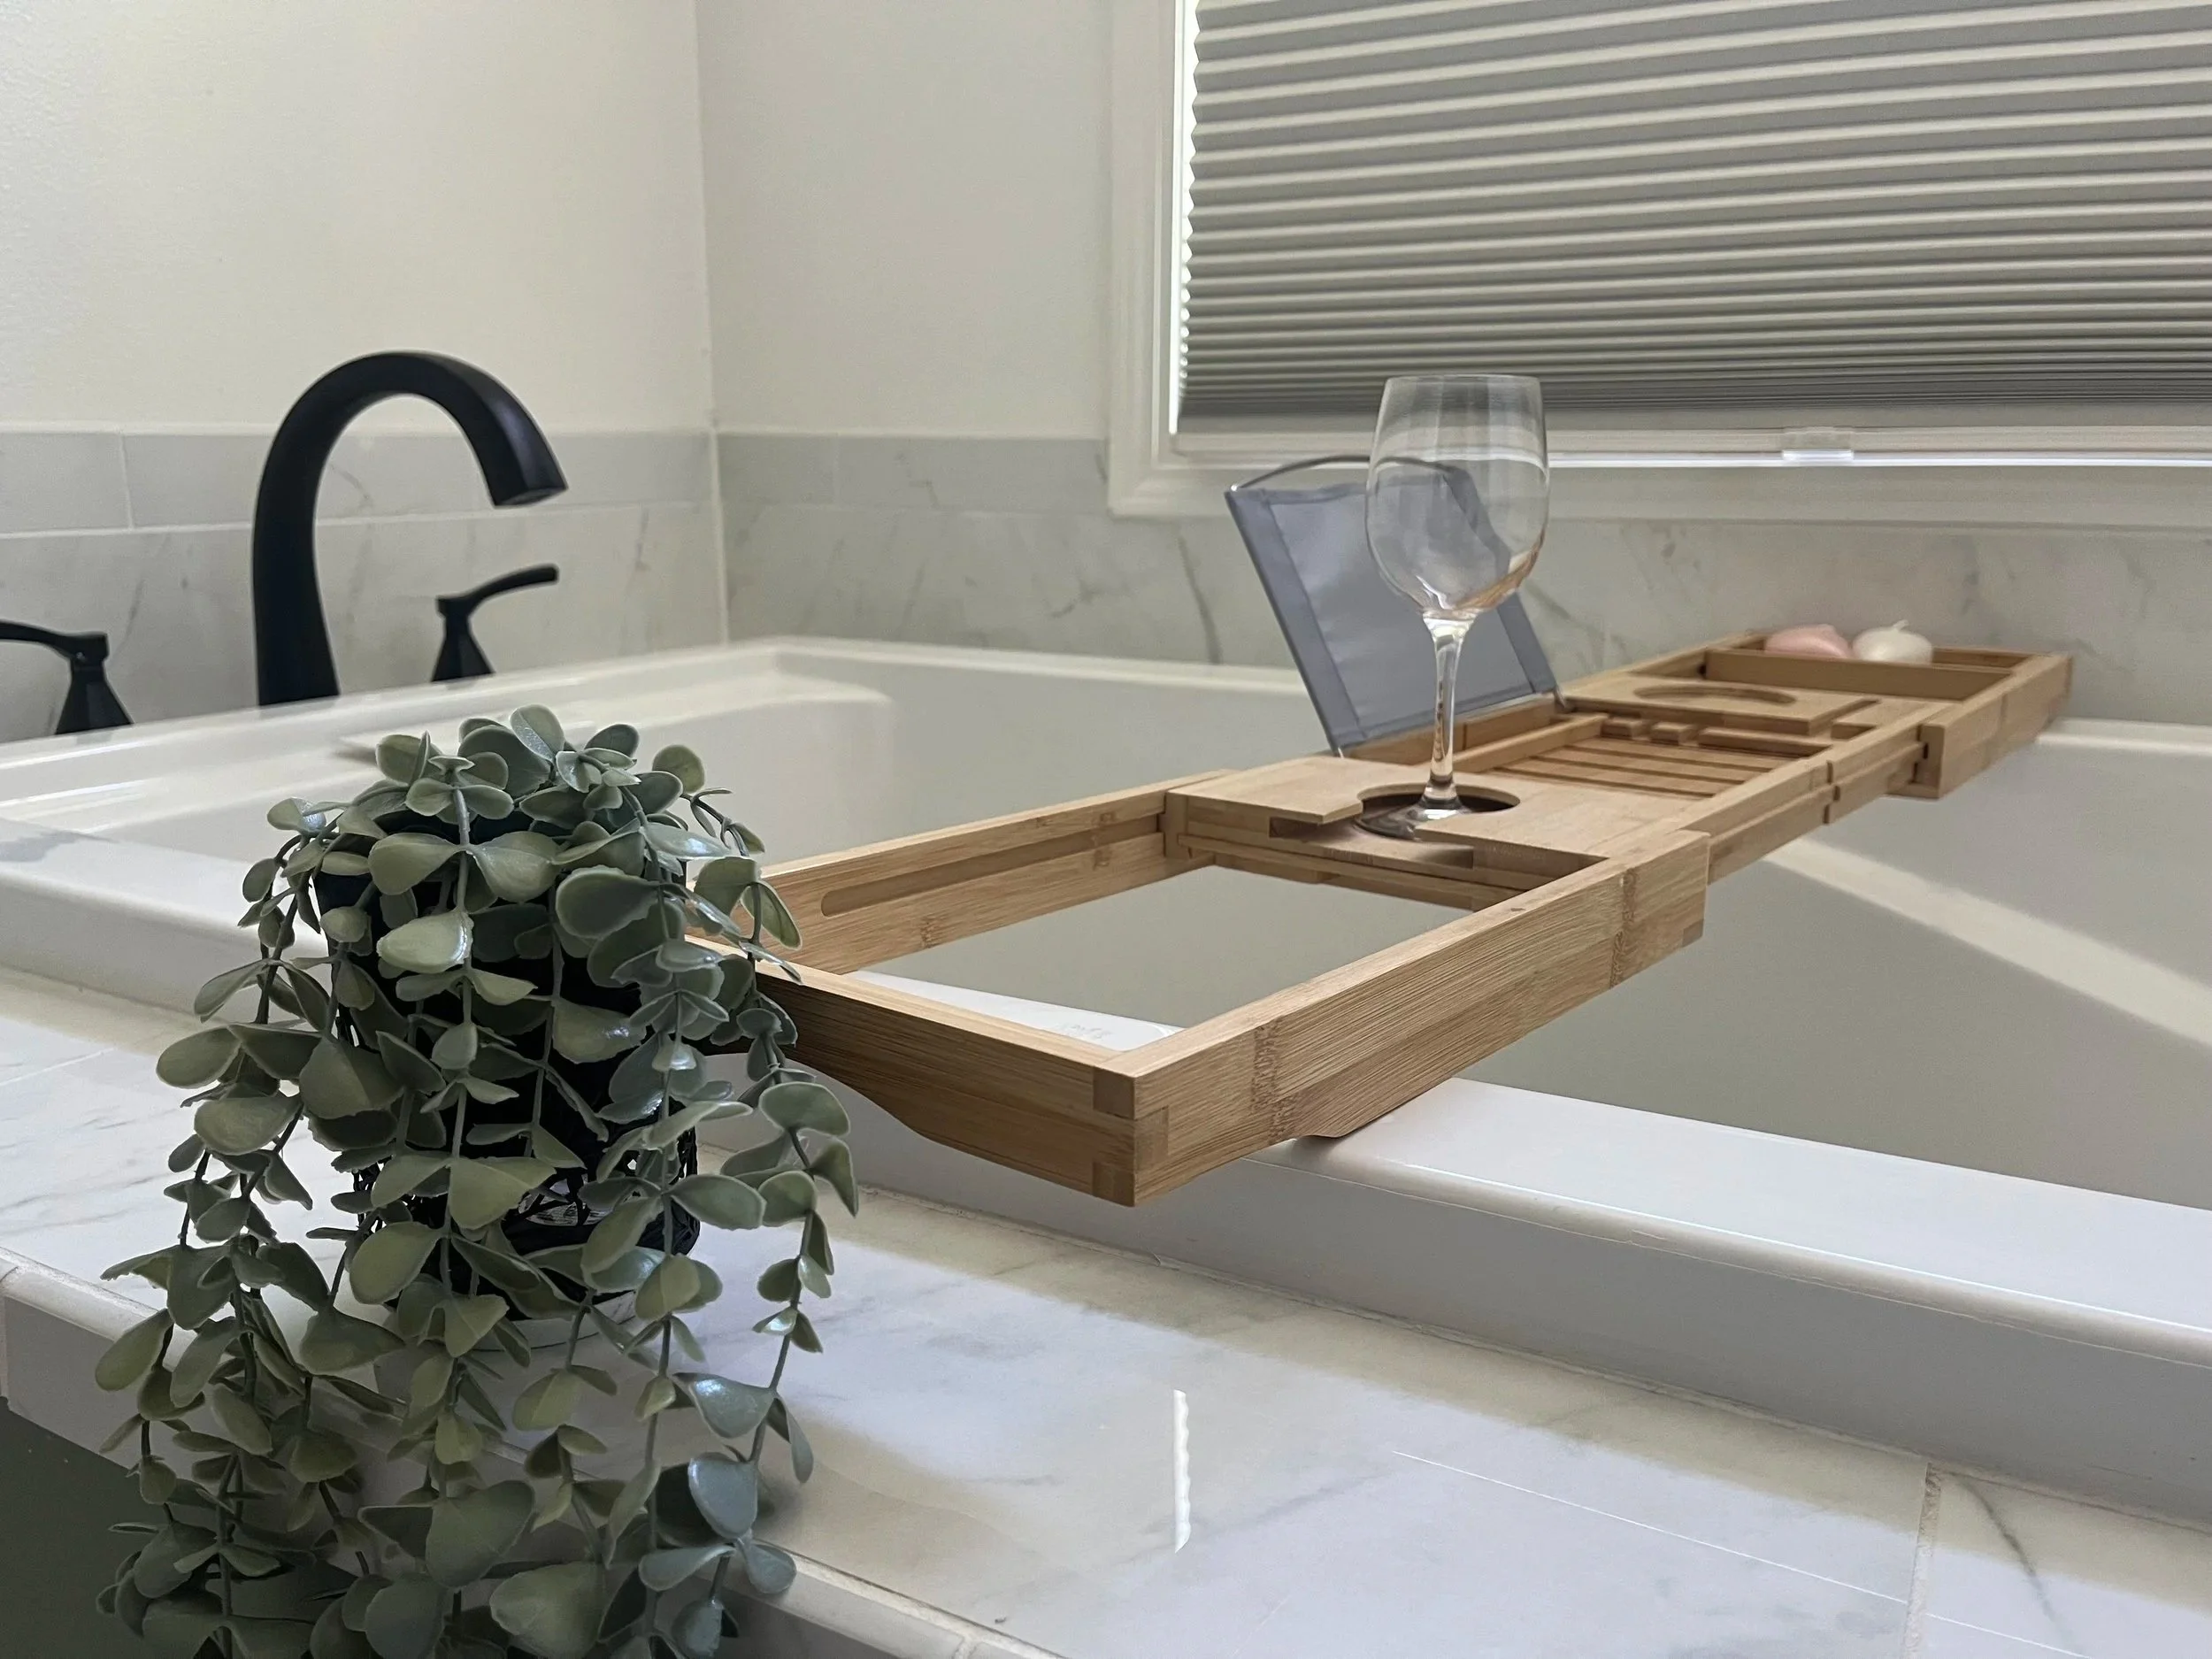
Decorating this bathroom and picking out all of the black accent hardware was a breeze. I originally really wanted a chandelier light fixture above the bathtub, but to keep things safe we ended up going with a hanging chandelier candle holder. I added some crystal garland to make it feel a little bit more fancy, but it would still be pretty even without it. I’m absolutely in love with how the chandelier turned out, and it still adds that touch of elegance I was looking for! I did most of my shopping on Amazon and found some pretty great deals. As an Amazon Associate, I earn from qualifying purchases and only recommend products that I truly love. If you’re interested in any of the items I used in my bathroom, I have them listed below. Simply click on the picture and it will take you directly to the product on Amazon.
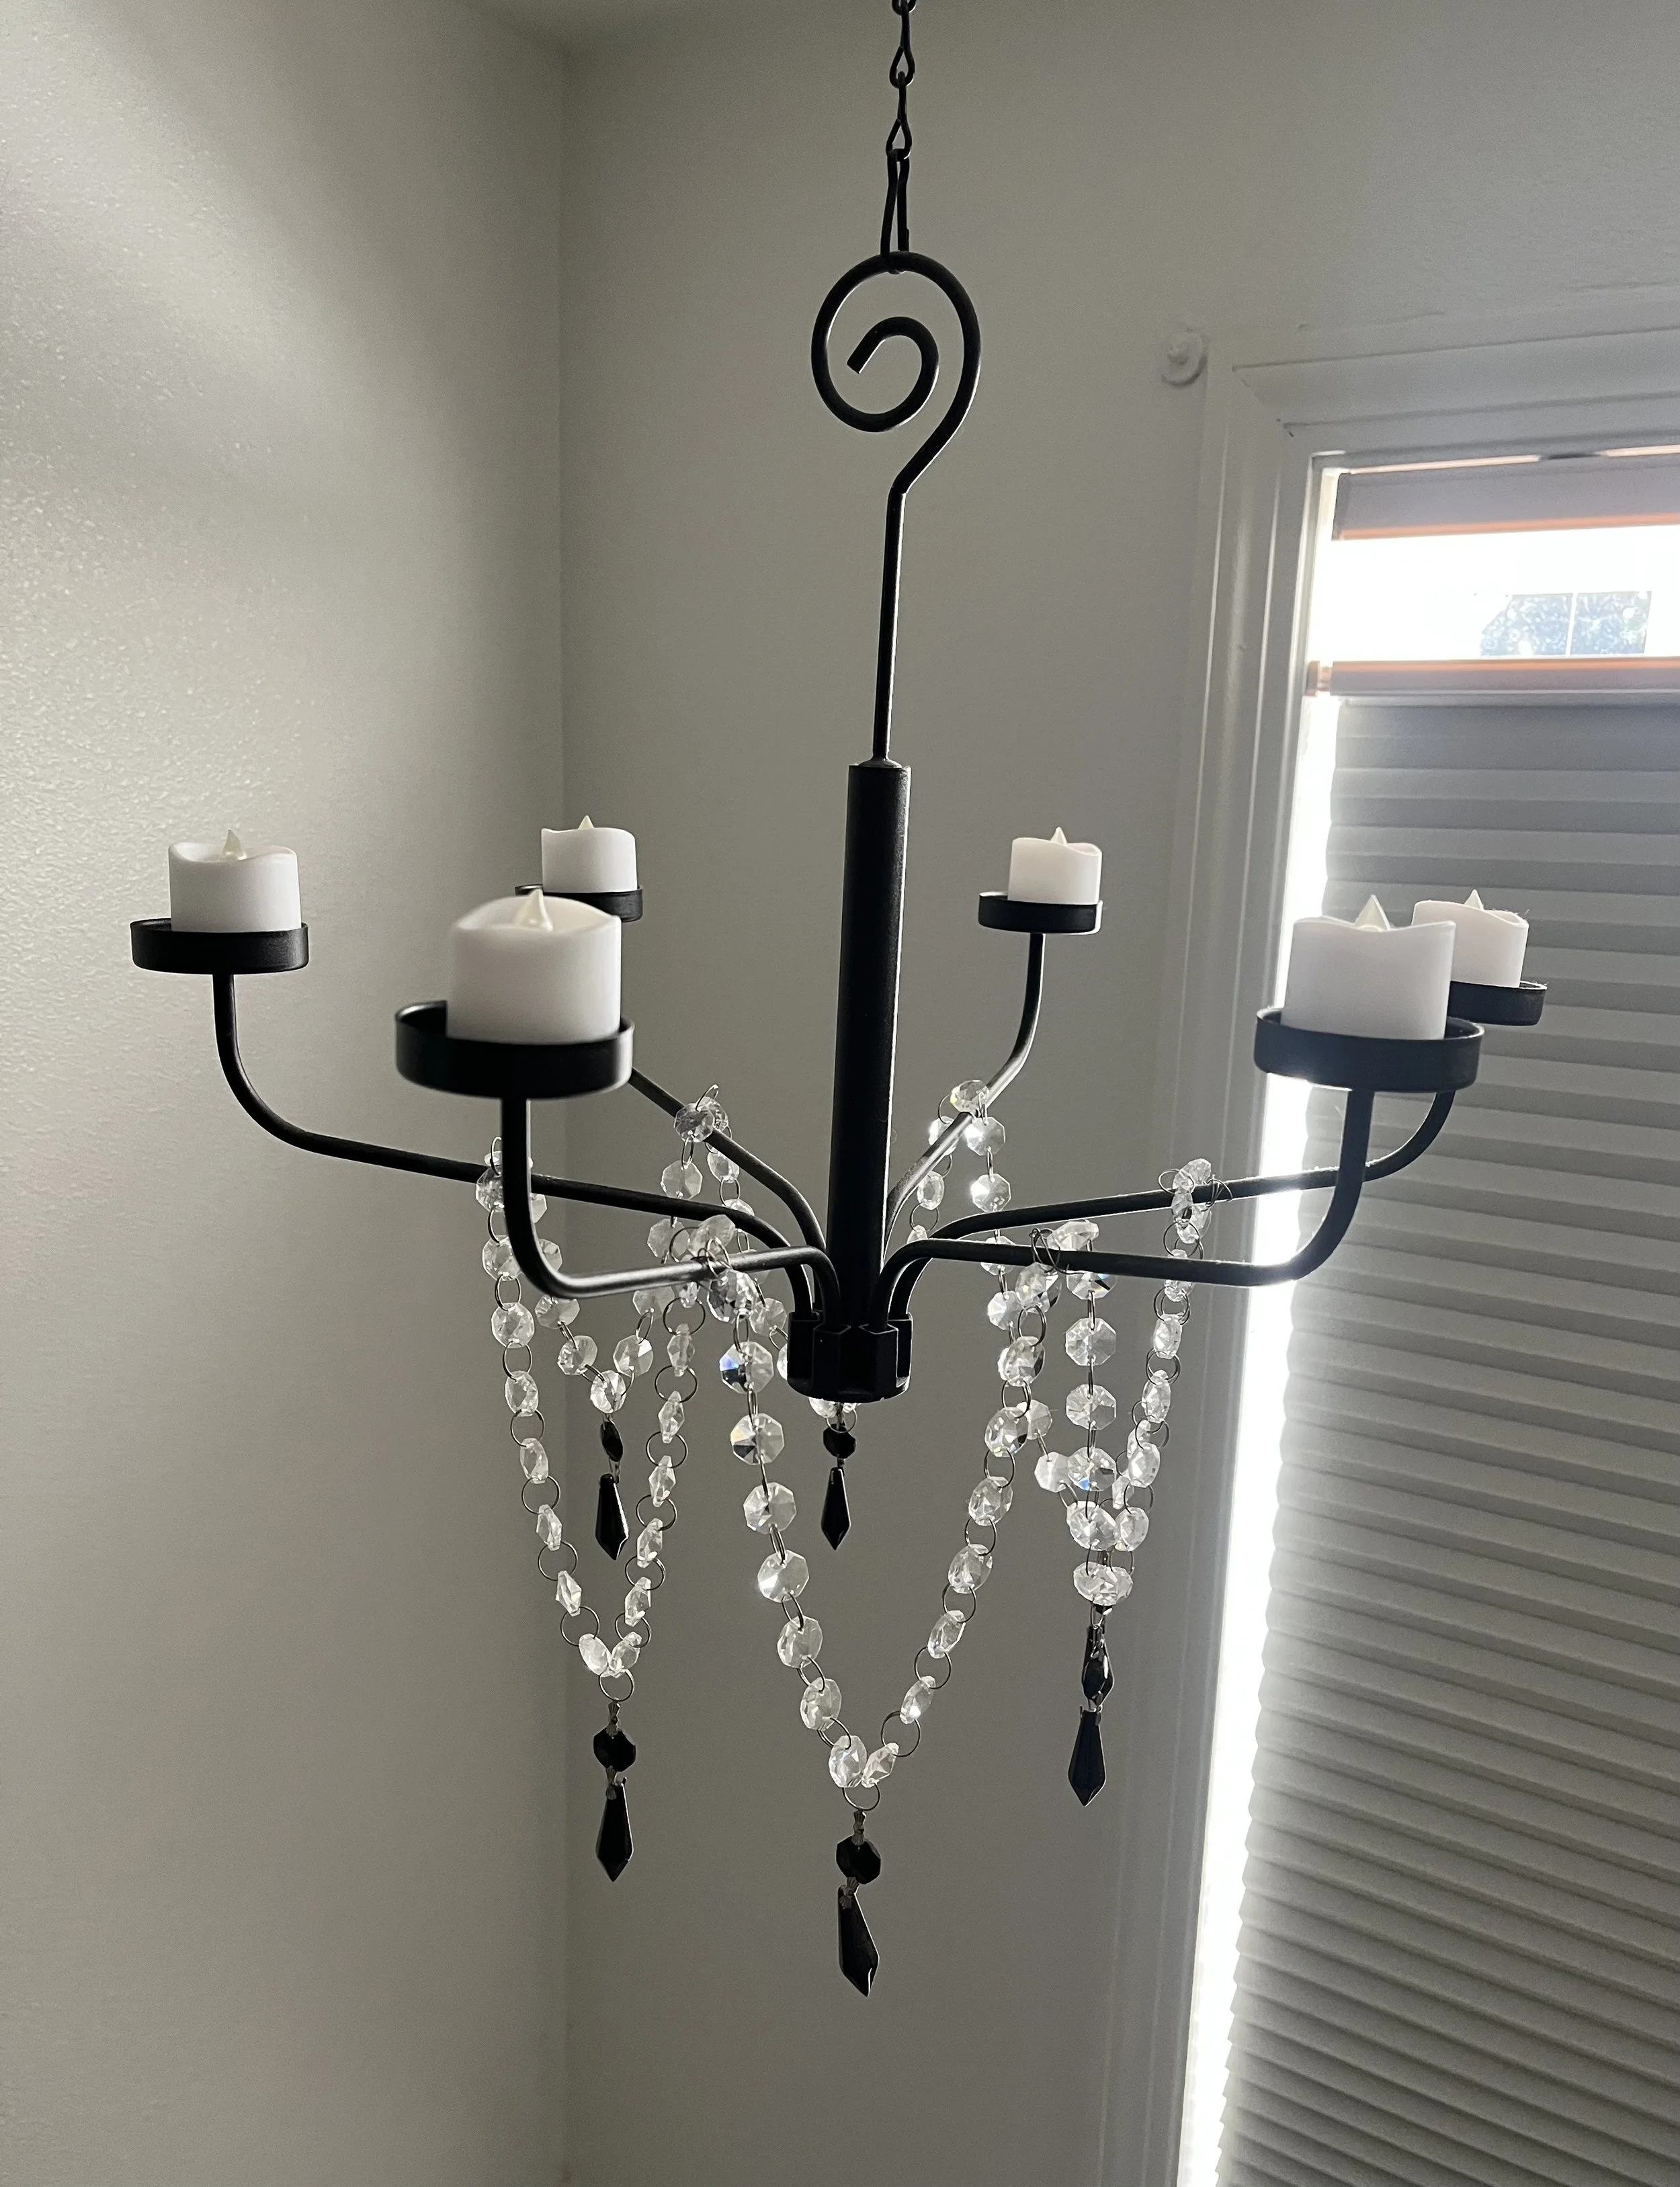
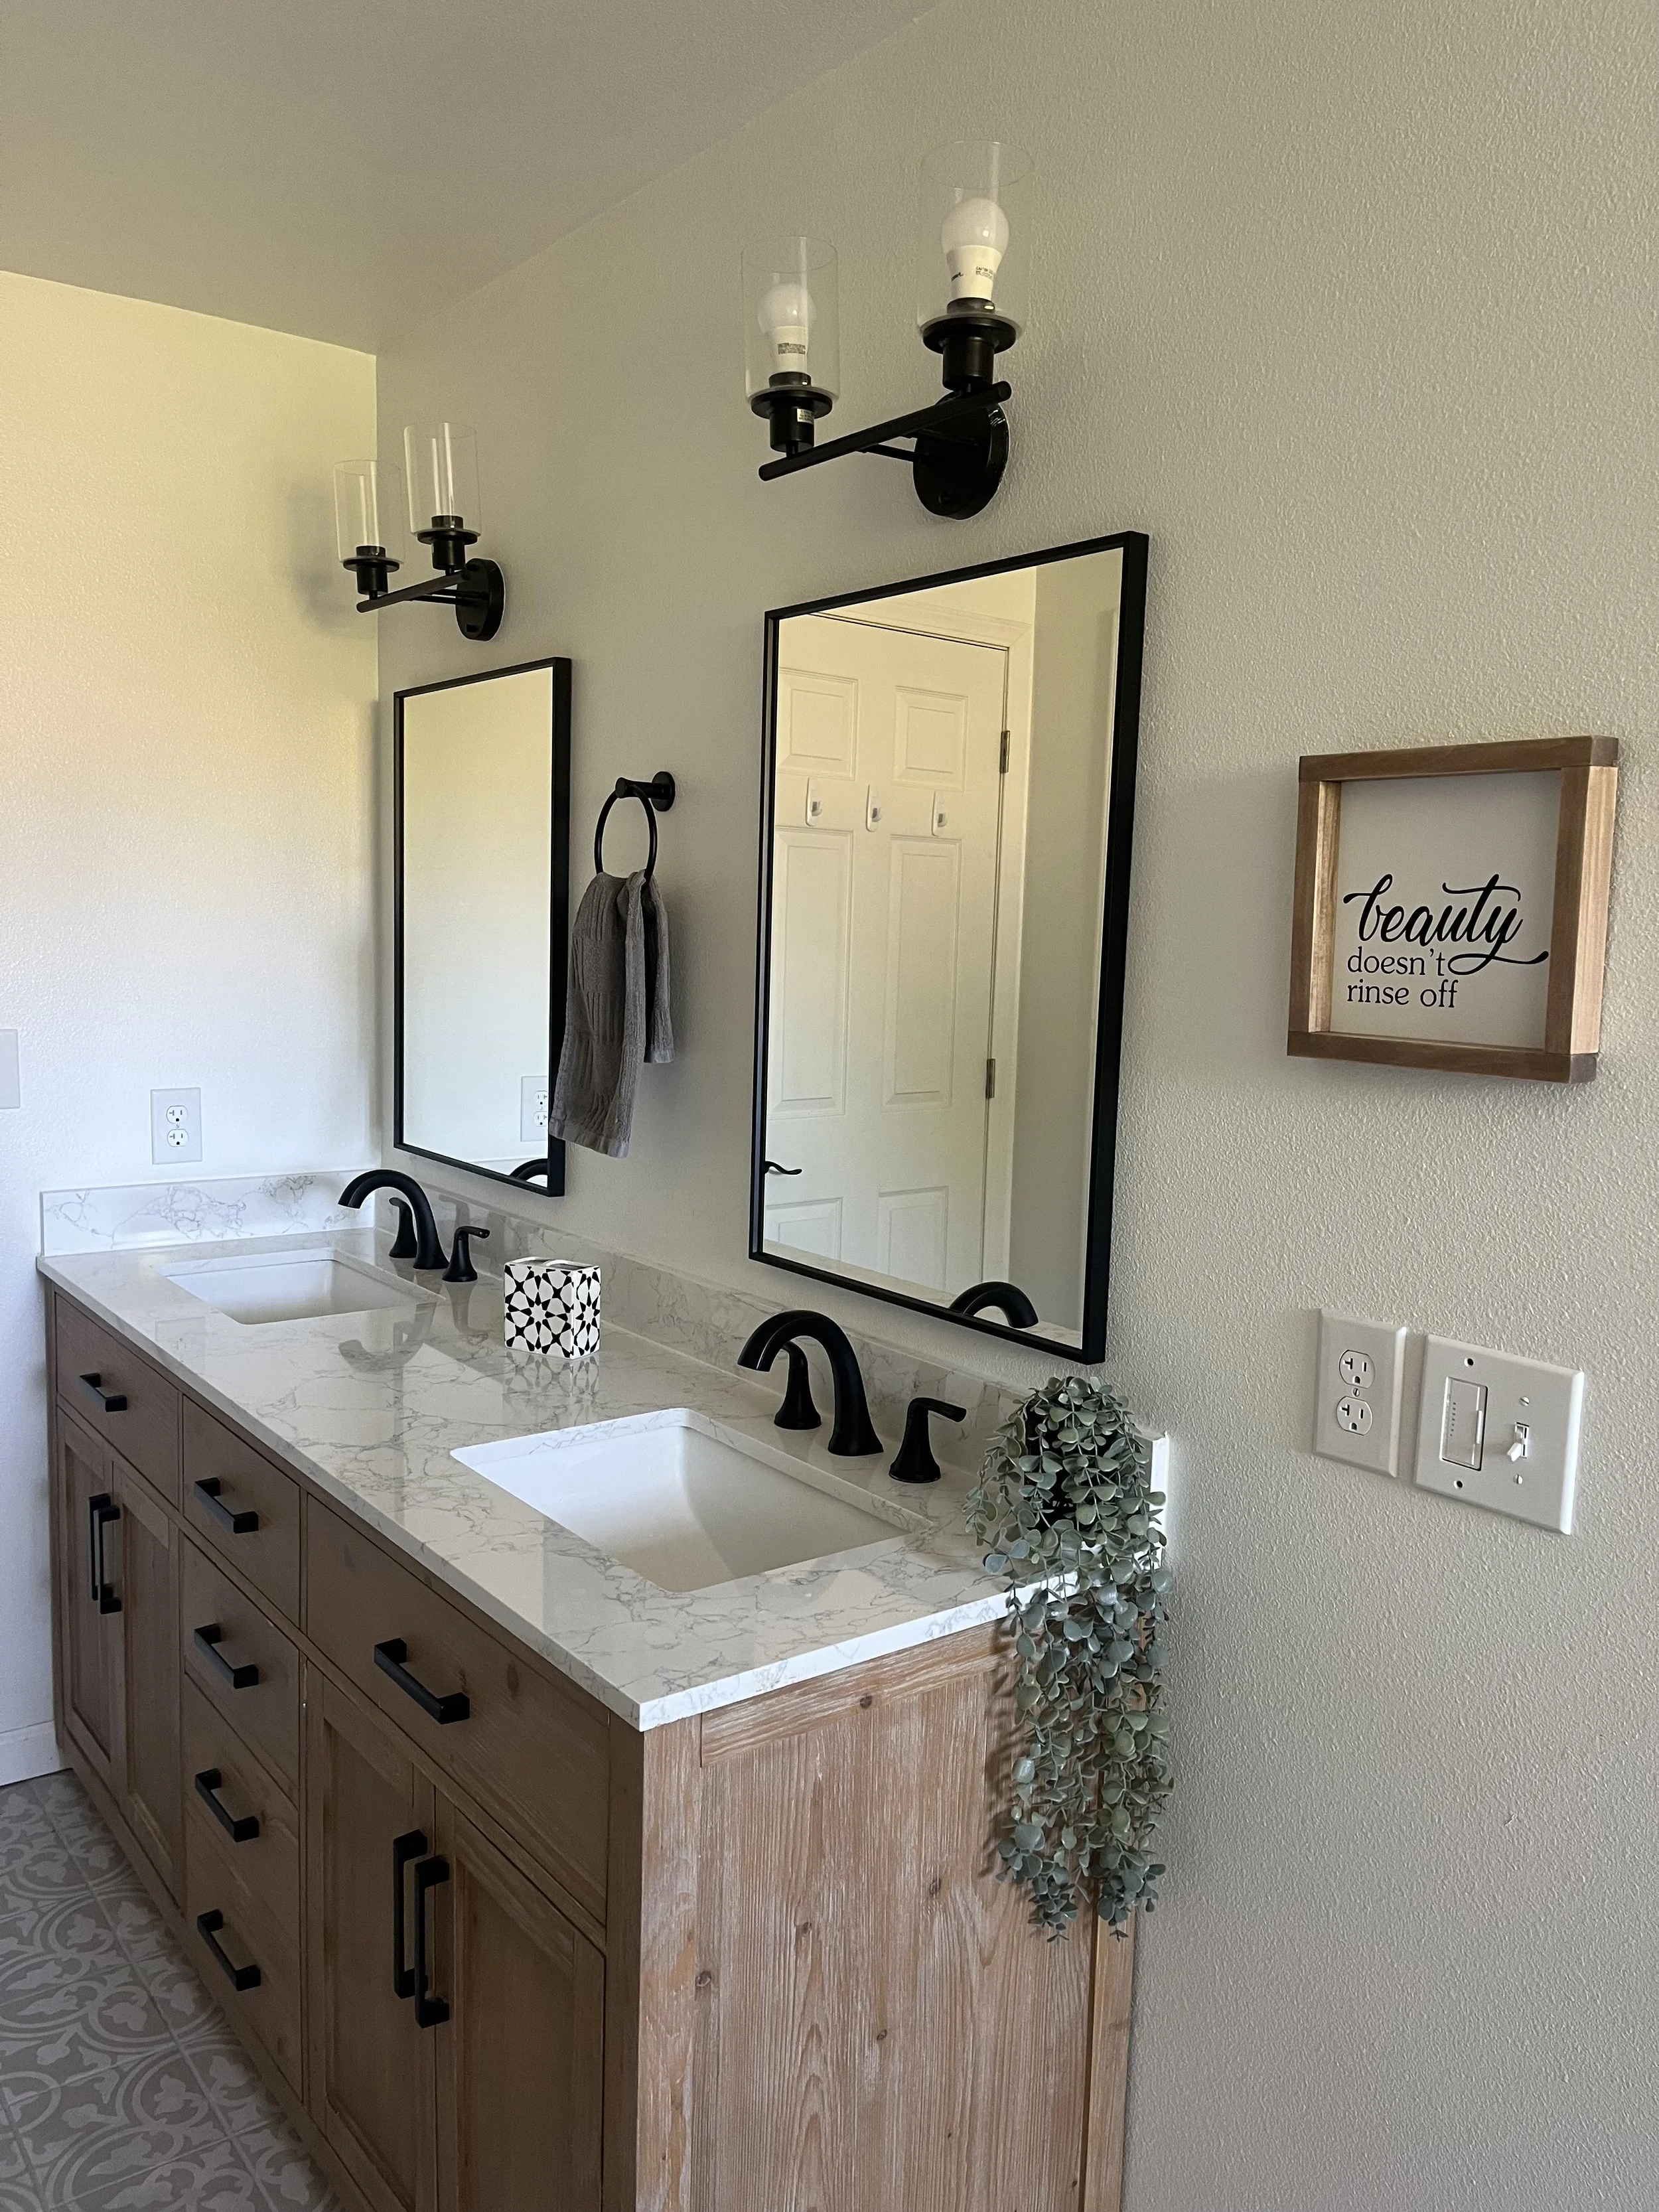
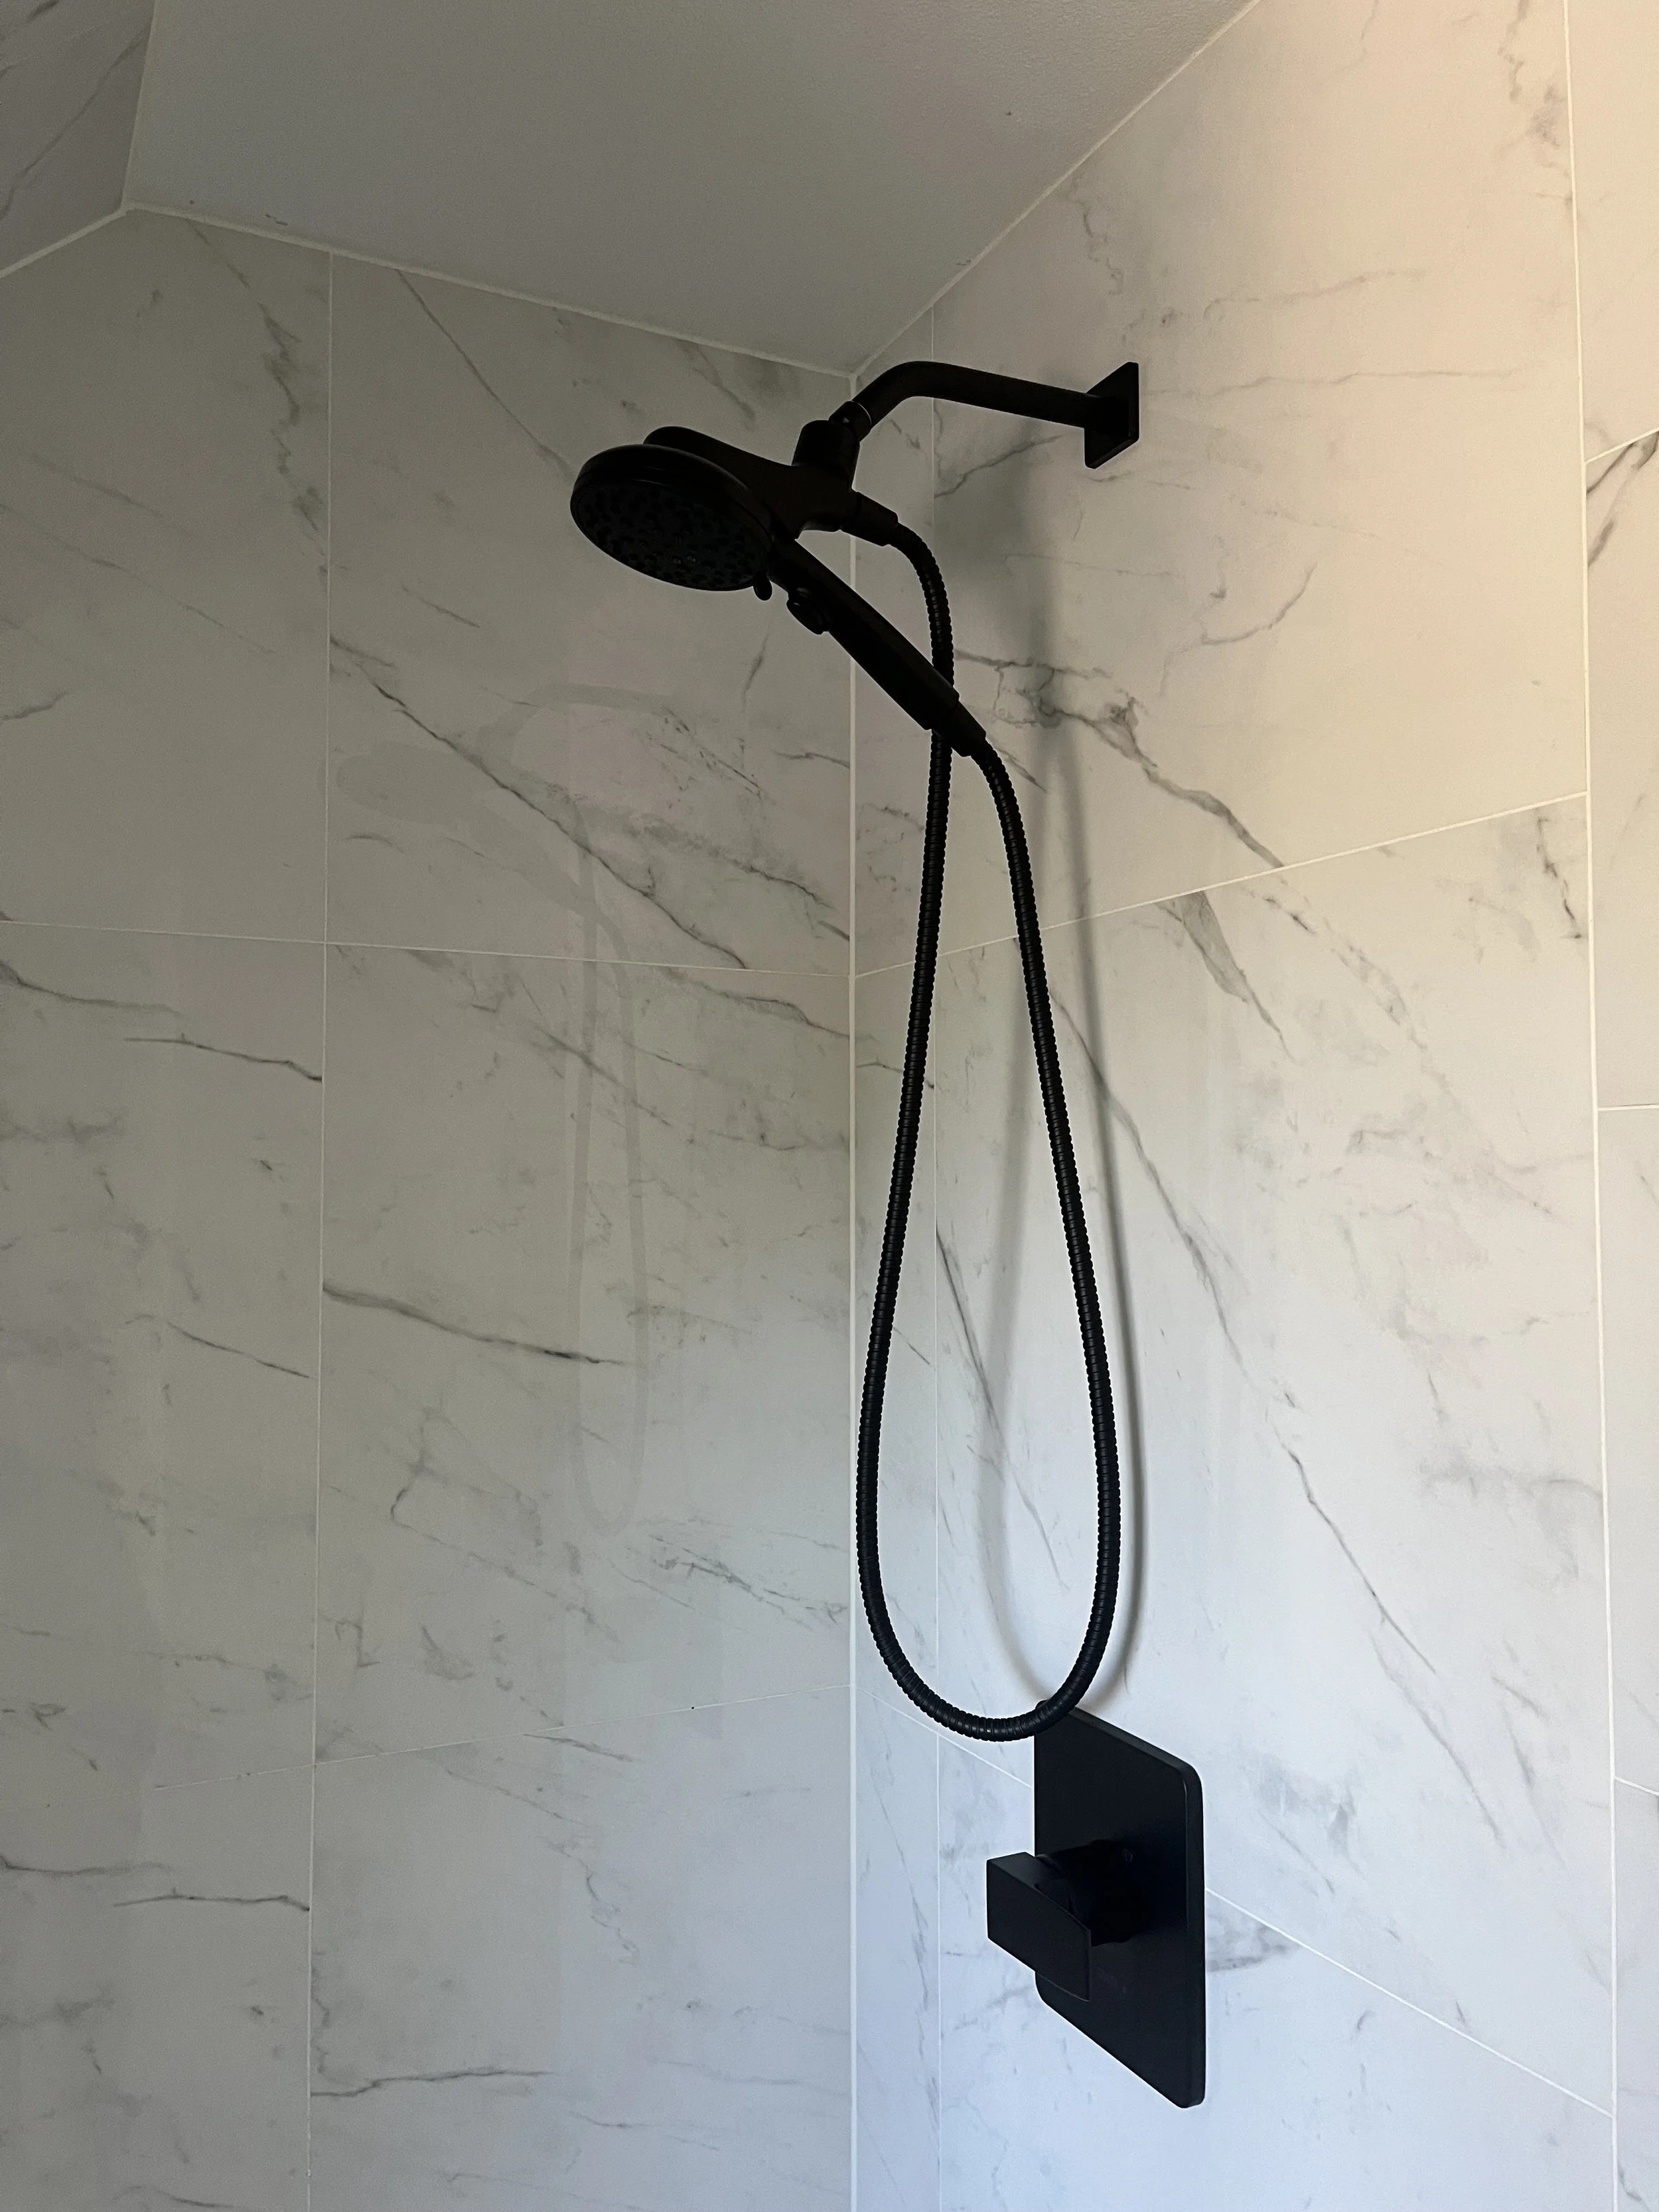
Additional links:
Remote control tea light candles- https://amzn.to/4ezw9d9
Crystal garland for chandelier- https://amzn.to/4fTdw6e
Beads for garland- https://amzn.to/4oRpEXP
Bathroom rugs- https://amzn.to/4xTgAFY
Whether you’re in the middle of a bathroom renovation yourself, or maybe you’re just looking for a simple bathroom refresh- I hope this article has brought you some inspiration!
~Annie
How to Throw a Sweet & Simple Mermaid Birthday Party
When my daughter was in kindergarten, she was obsessed with everything under-the-sea related! So for her 6th birthday, I threw her the cutest mermaid-themed birthday party. If you’re anything like me, you enjoy the simple things in life, and let’s face it- sometimes kid’s birthday parties can be way over-the-top. Sometimes it can be overwhelming (even for the kiddo!), and honestly sometimes less is more. This is why I wanted to keep this party simple and sweet. It ended up being adorable and her and her little friends had so much fun! Here are some of the ways that I kept the party simple, yet still fun, cute and memorable.
The main attraction of the party was the cake and the cake topper. I picked one area where I could splurge a little and this was definitely it! I have a friend who does professional cakes, so I hired her to make me one. I also made a custom cake topper that the entire cake was designed around and it all turned out beautifully!
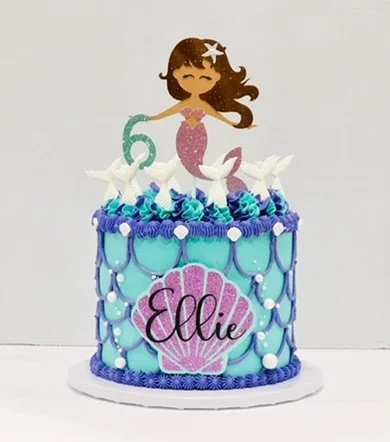
You could also make a simple cake at home and put this topper on it, and it would still be super cute! This cake topper is available for sale in my Etsy shop! Click the link below:
https://www.etsy.com/shop/AnnabelleDesignCo?ref=seller-platform-mcnav
Another way that I kept things simple was by being mindful of the time that we threw the party. We had the party at home during the afternoon, instead of right during lunch or dinnertime. This kept things easier when it came to food and what to serve. Rather than serving a full meal, I was able to provide light snacks. Here’s a list of some super simple snack ideas:
Goldfish crackers in a bowl. It keeps with the under-the-sea theme perfectly and doesn’t get much easier than that!
Blue “Ocean Water” punch. This uses just 3 simple ingredients- ¼ Sprite, ¼ pineapple juice, and ½ blue Hawaiian punch. (Or any blue sports drink would work as well)
I also served some cupcakes as well as having a cake because sometimes that can be a lot easier with kids! However, going with either just cake or cupcakes would definitely keep things a lot more simple. Then all you really need after that is some cheese and fruit on a platter and there you have it!
Obviously you could add more snacks, but this is just a simple starting point.
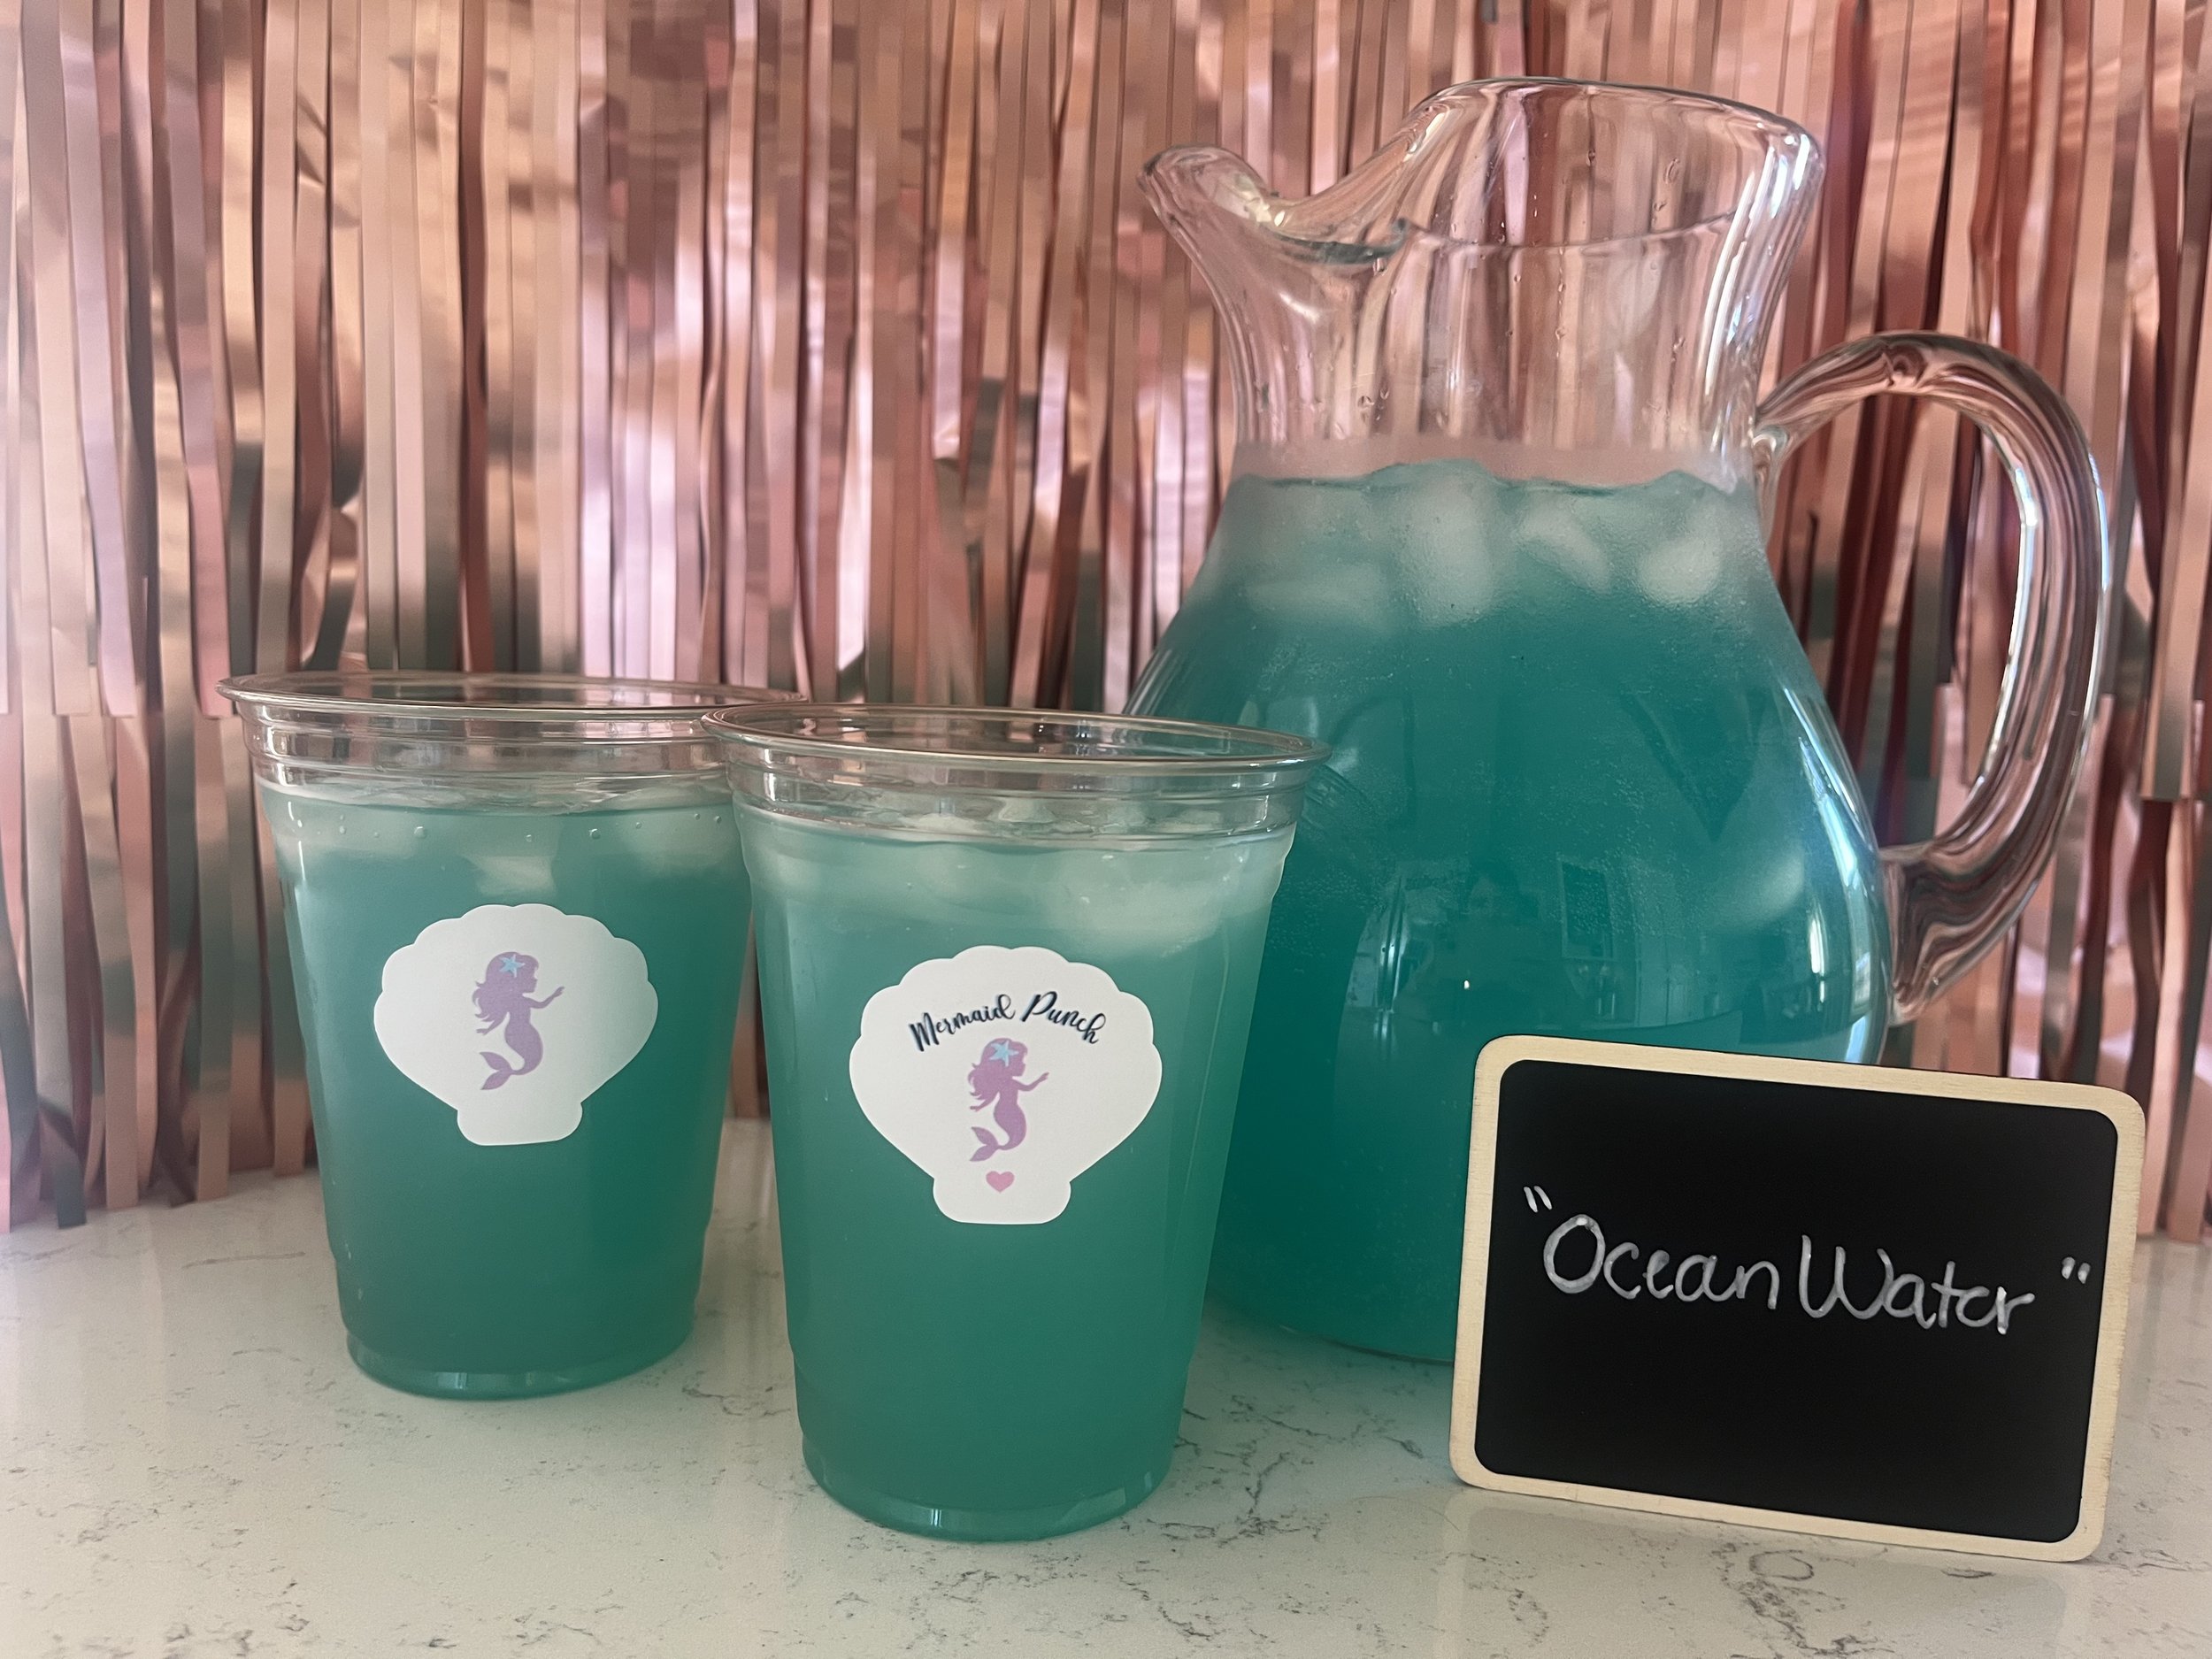
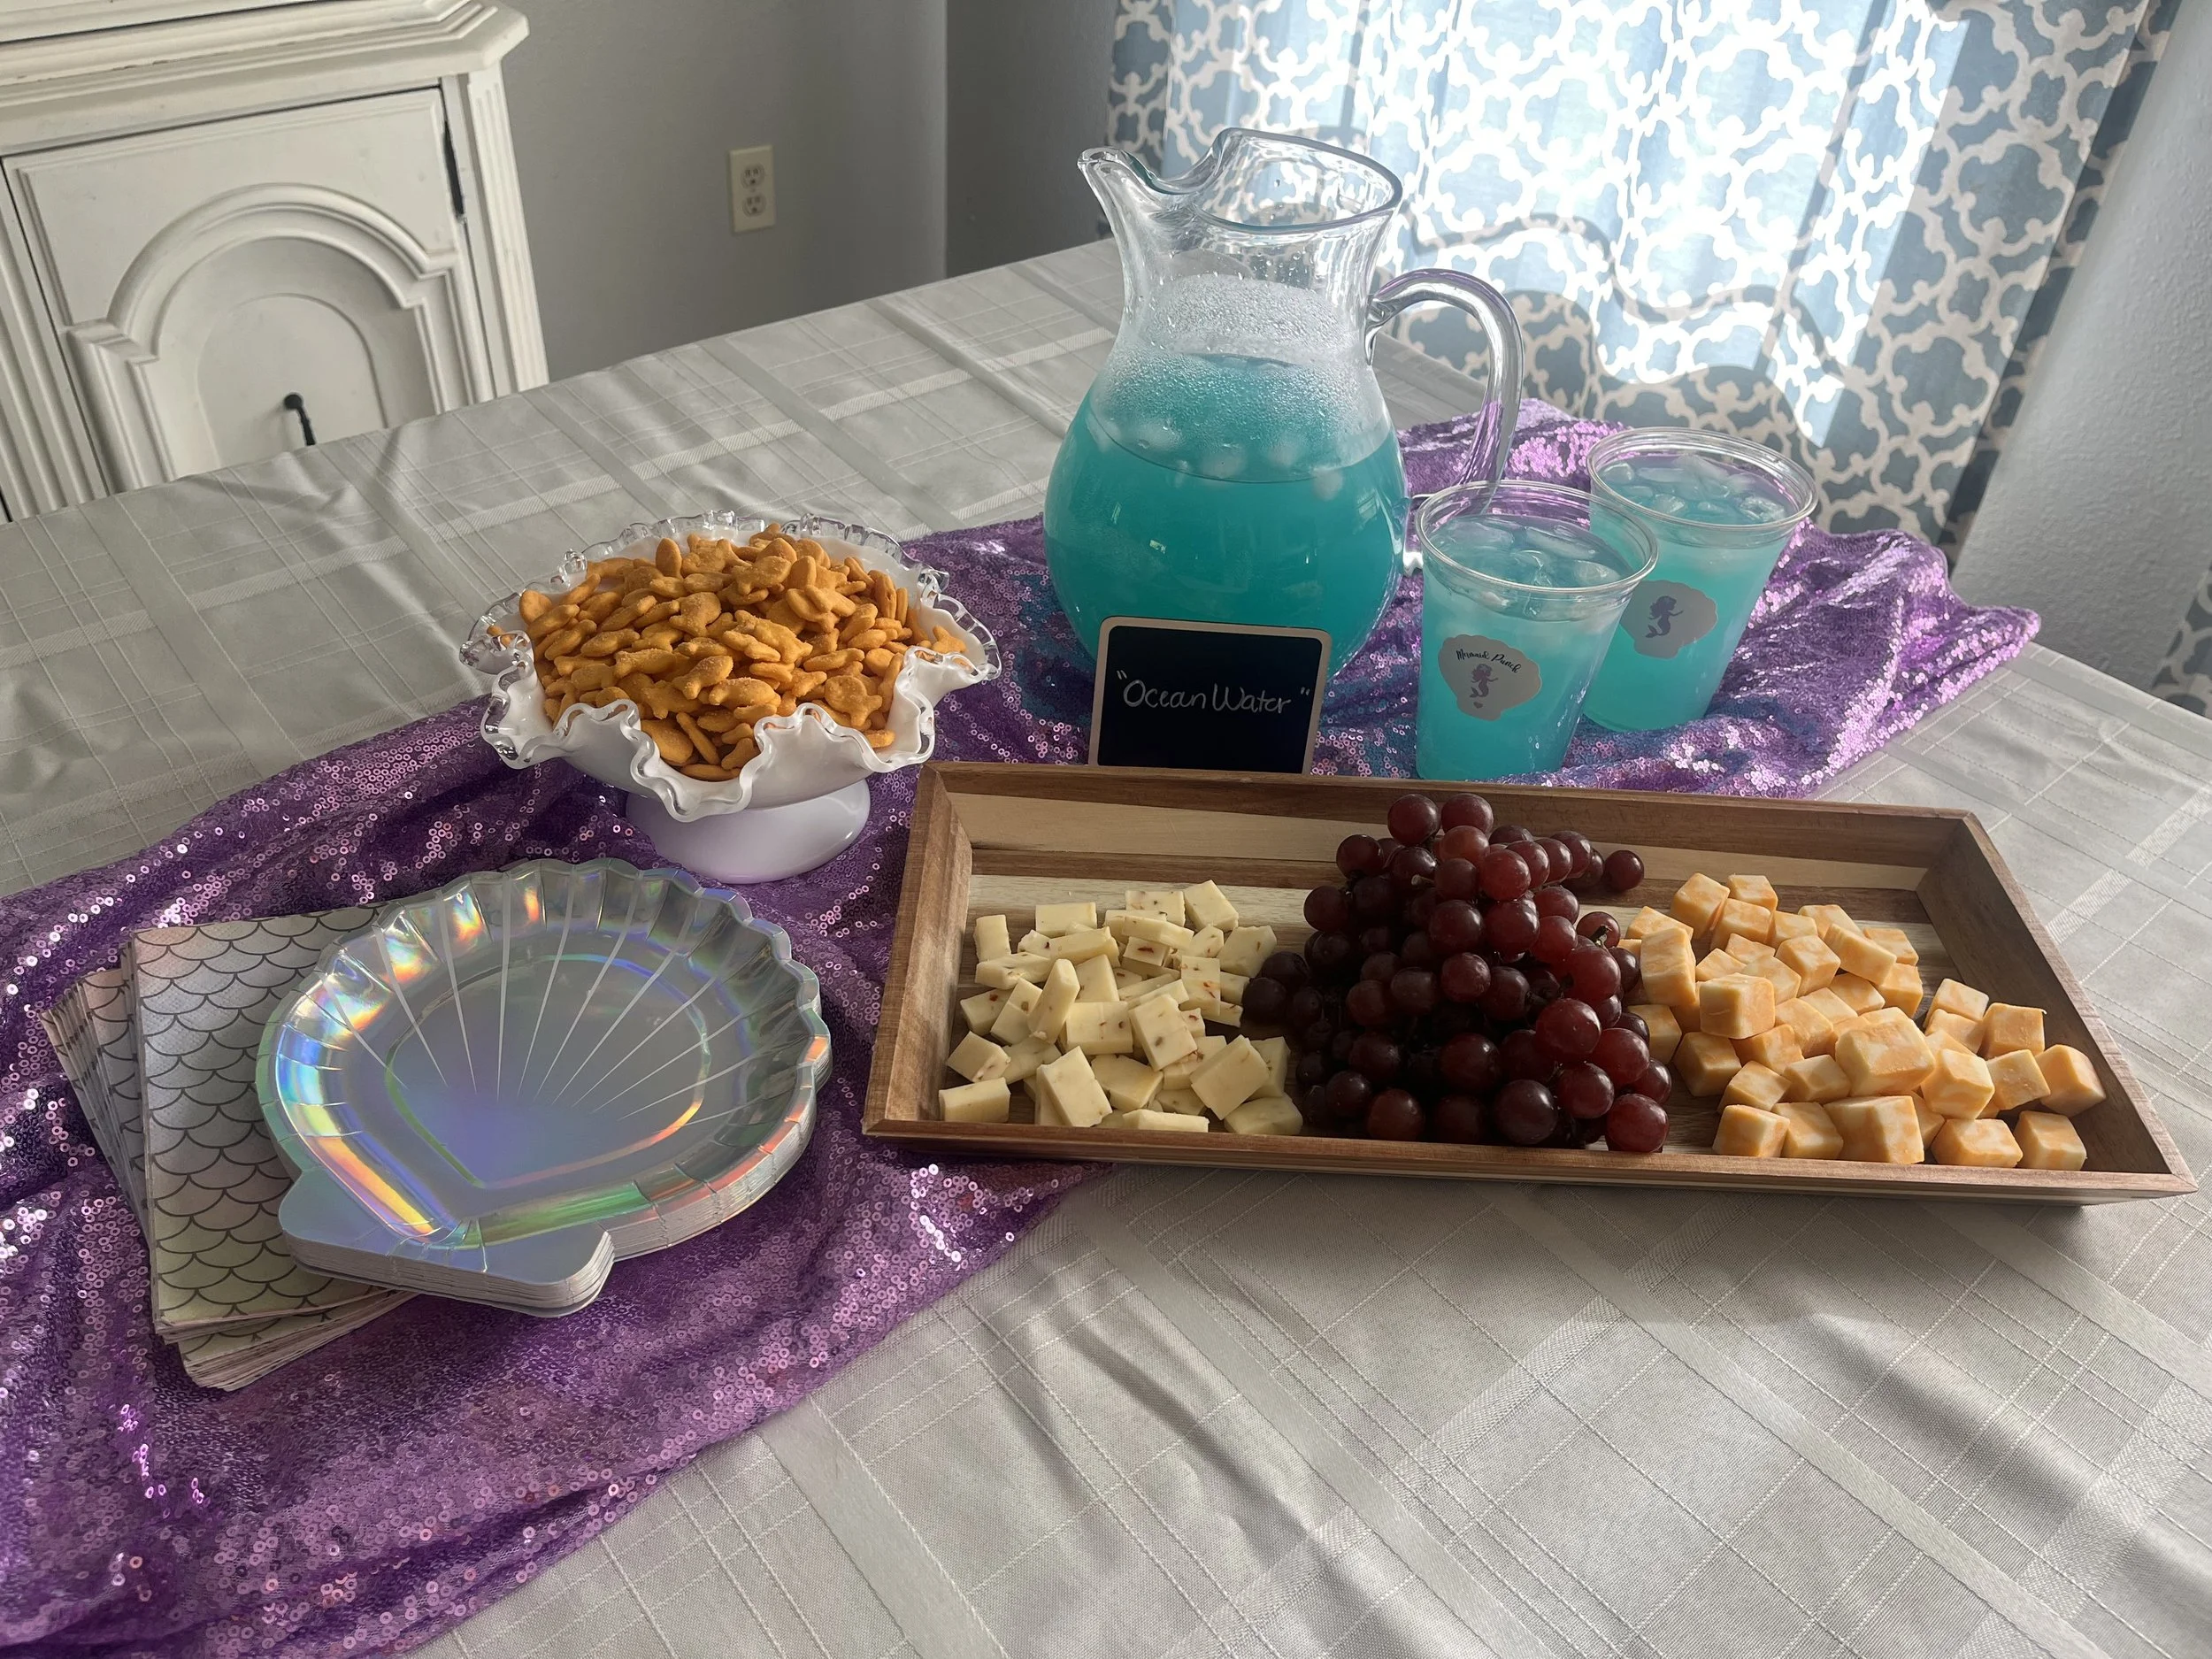
Next, I added some adorable stickers to the clear cups that I served with the punch. You can also purchase the mermaid stickers in my Etsy shop! Click the link below:
I hope this post gave you some inspiration of your own to put together a super cute and effortless party for your little mermaid!
~Annie
7 Travel Tips for Your First Disneyland Family Vacation
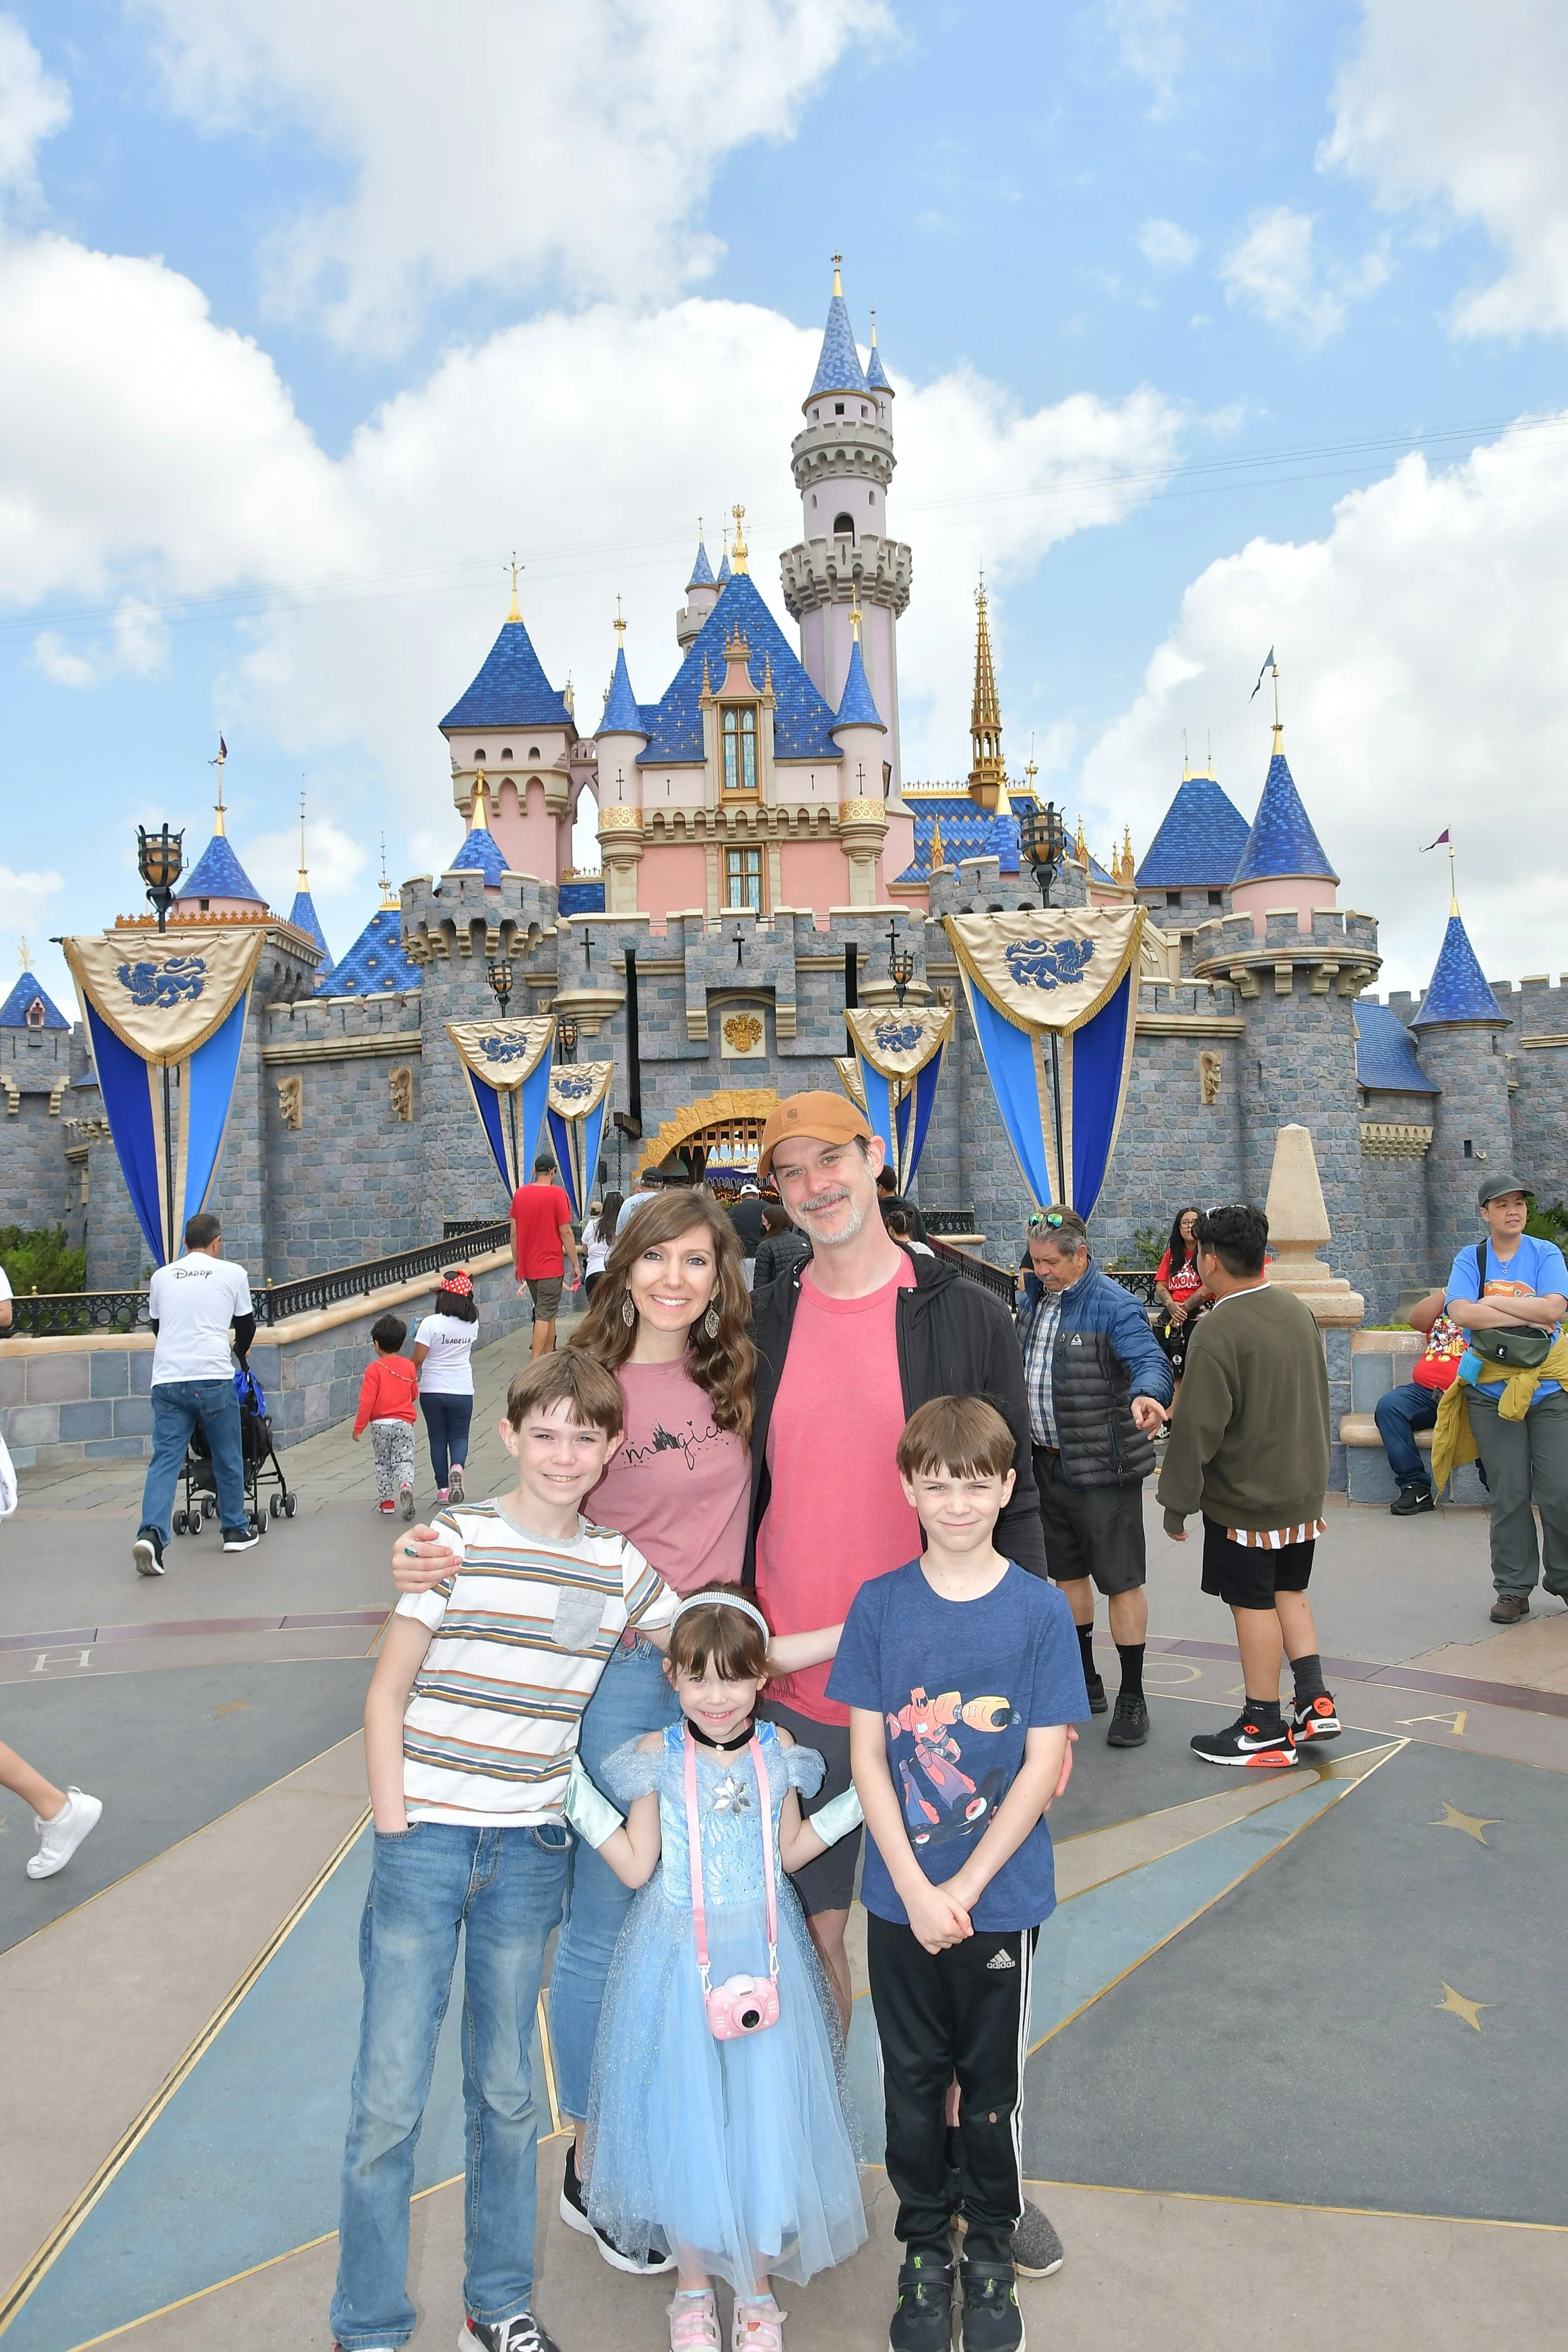
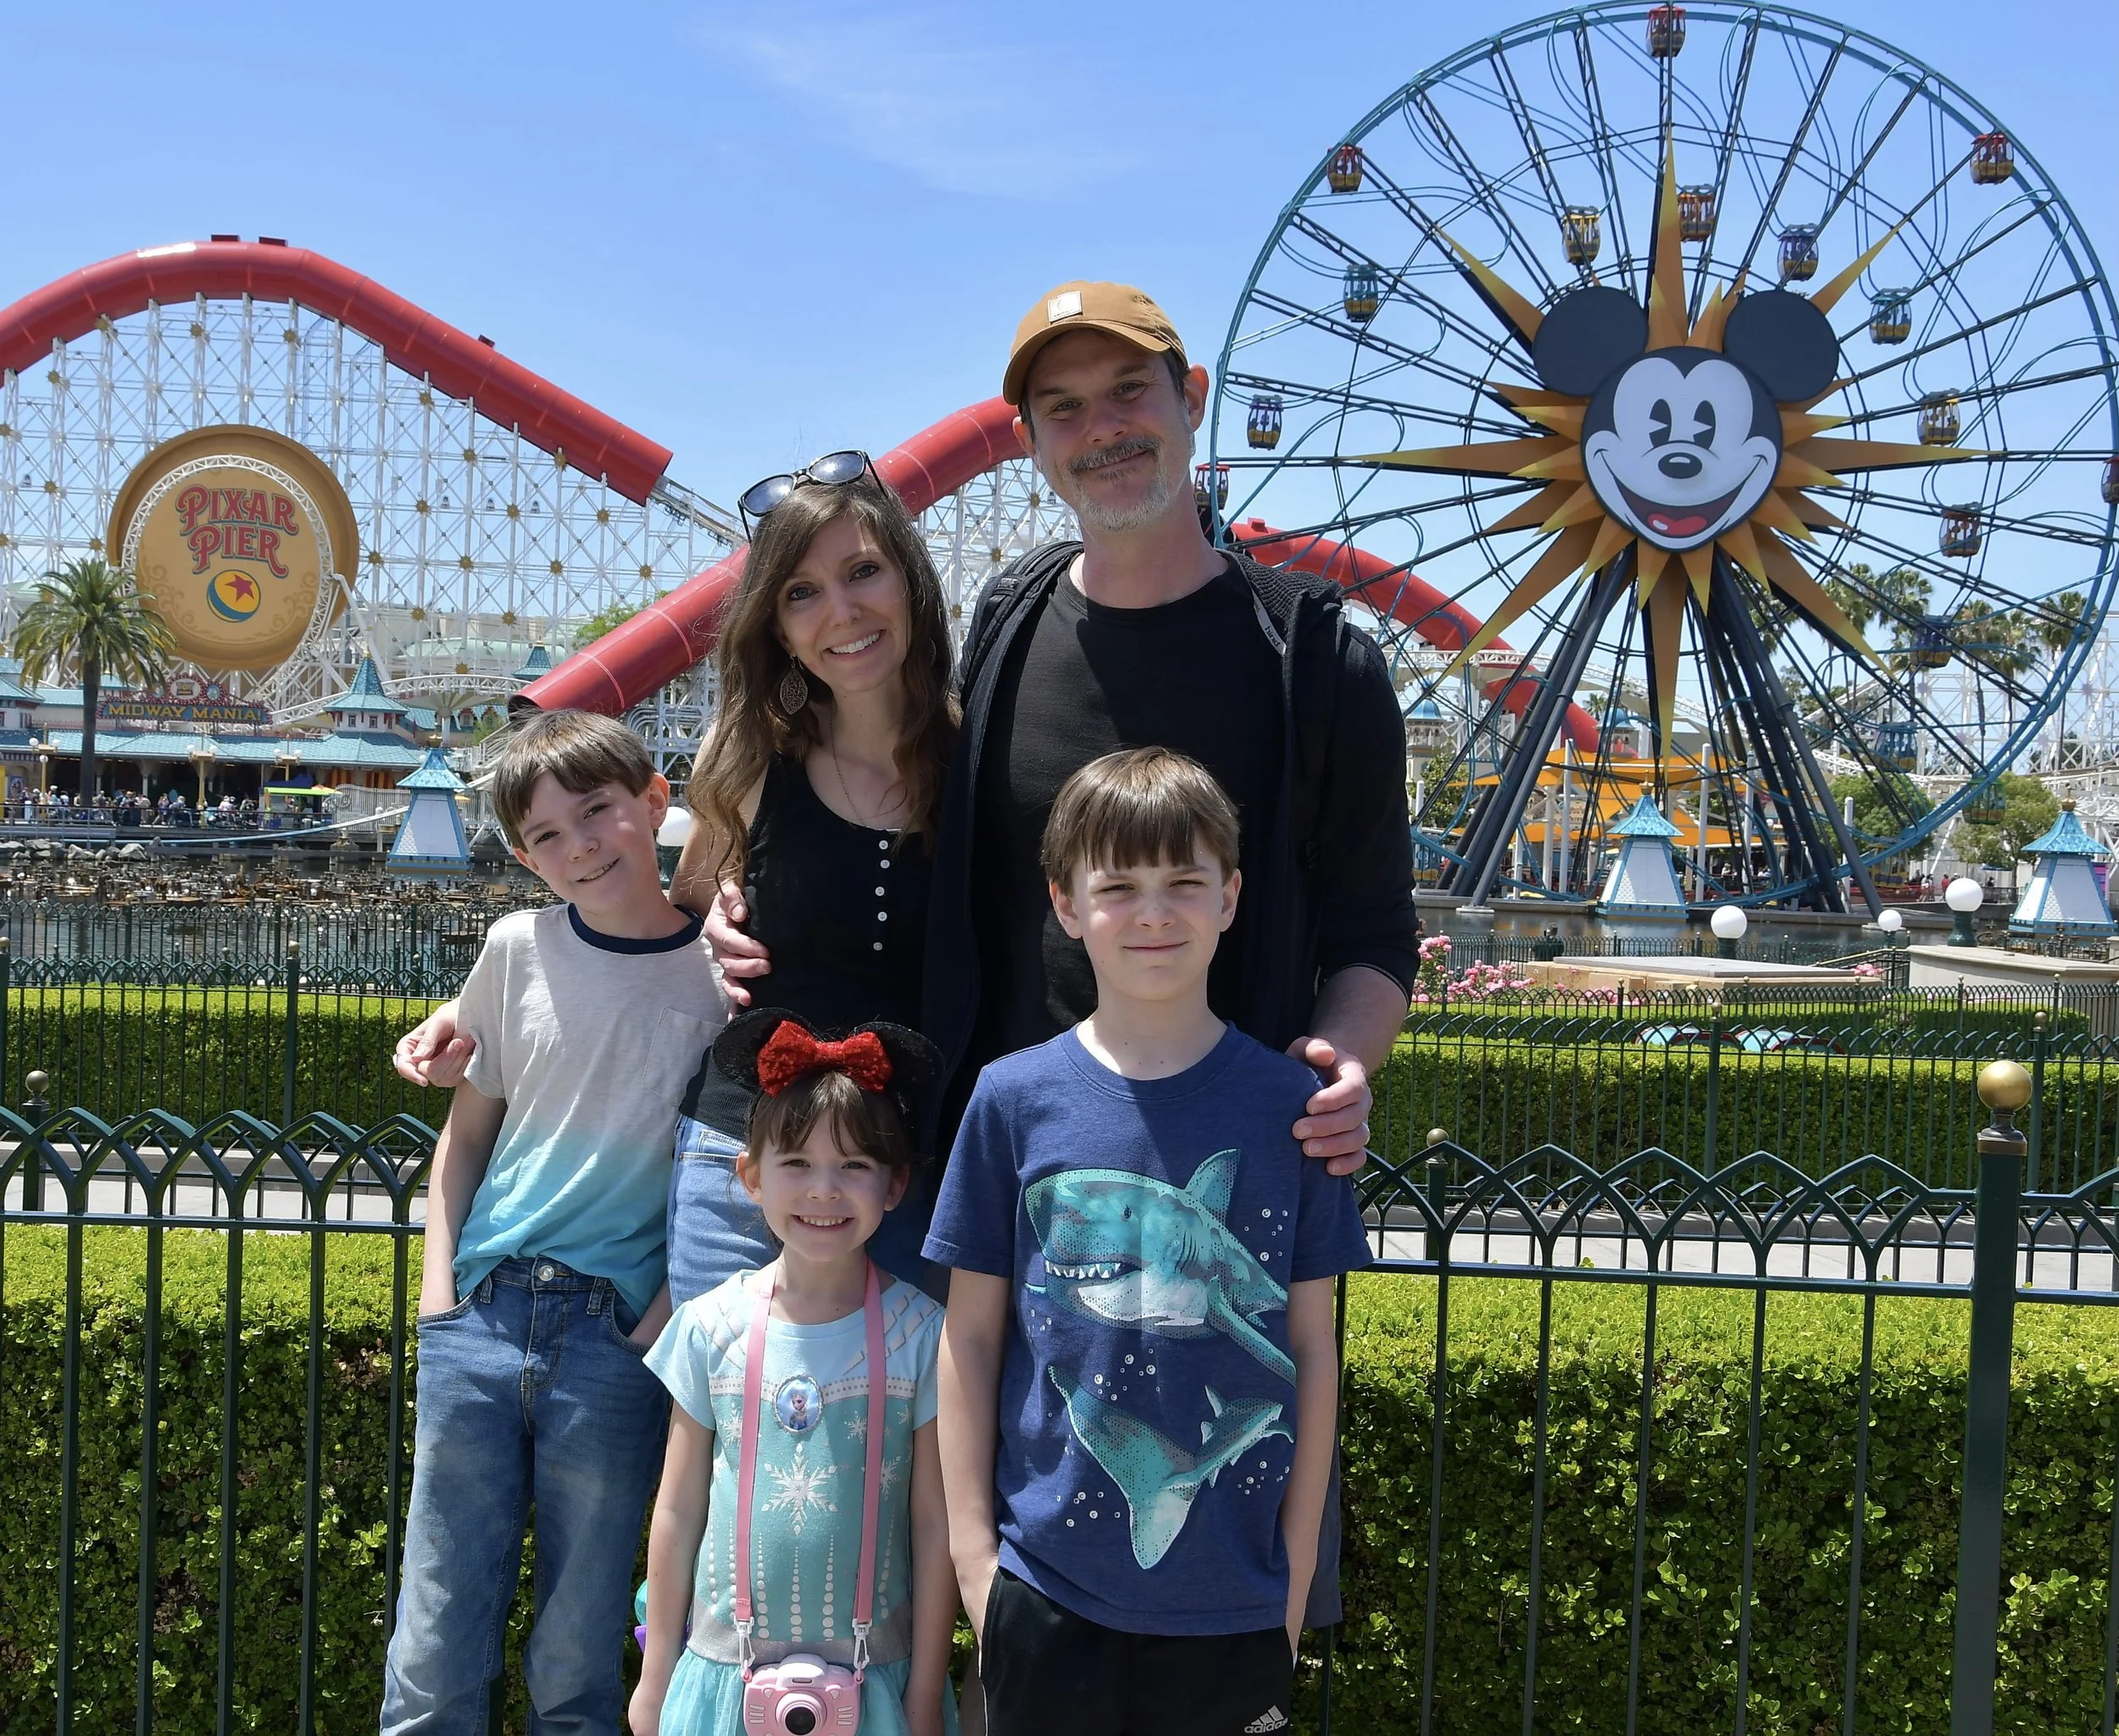
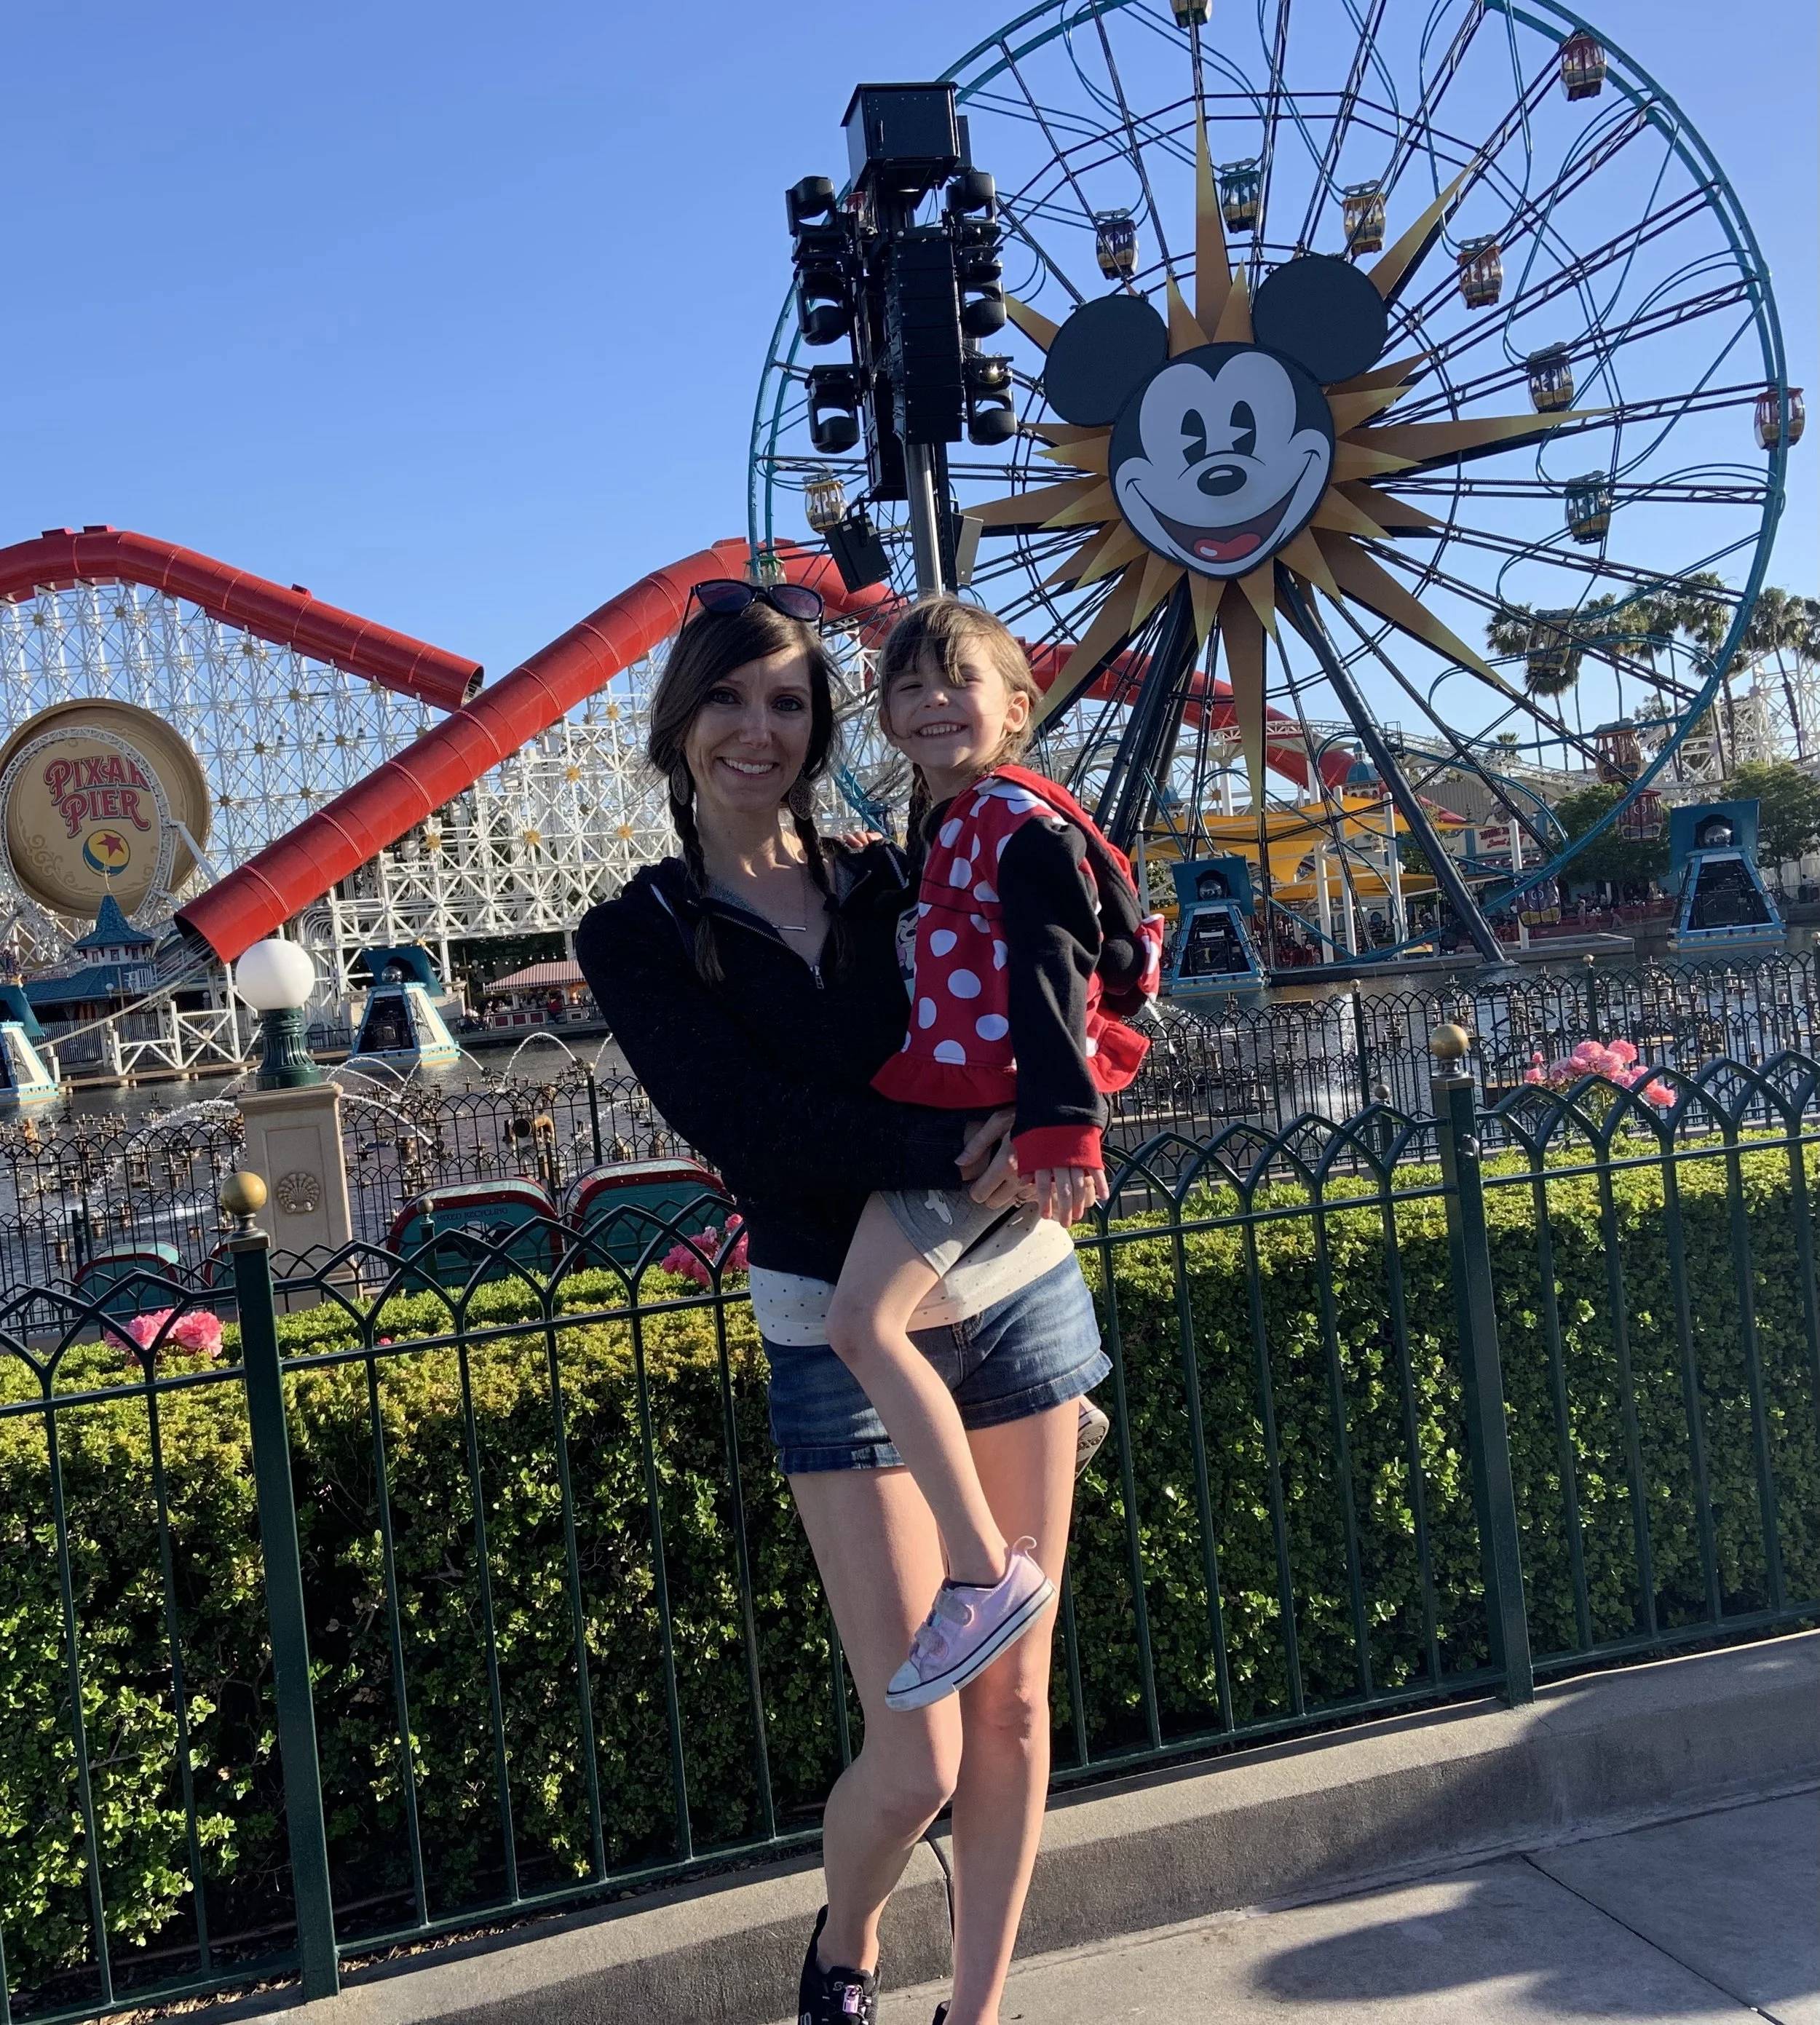
Taking our kids to Disneyland for the first time was nothing short of magical. Both the Disneyland and California Adventure parks were amazing. From all of the planning to the very last night and watching the World of Color show, there was SO much excitement! All the years of saving up for this long-awaited trip were more than worth it. Disney can definitely be expensive and overwhelming, but here are some of the ways that helped make our trip a little easier and that much more memorable.
1. Let your kids count down the days until Disney in a fun and memorable way.
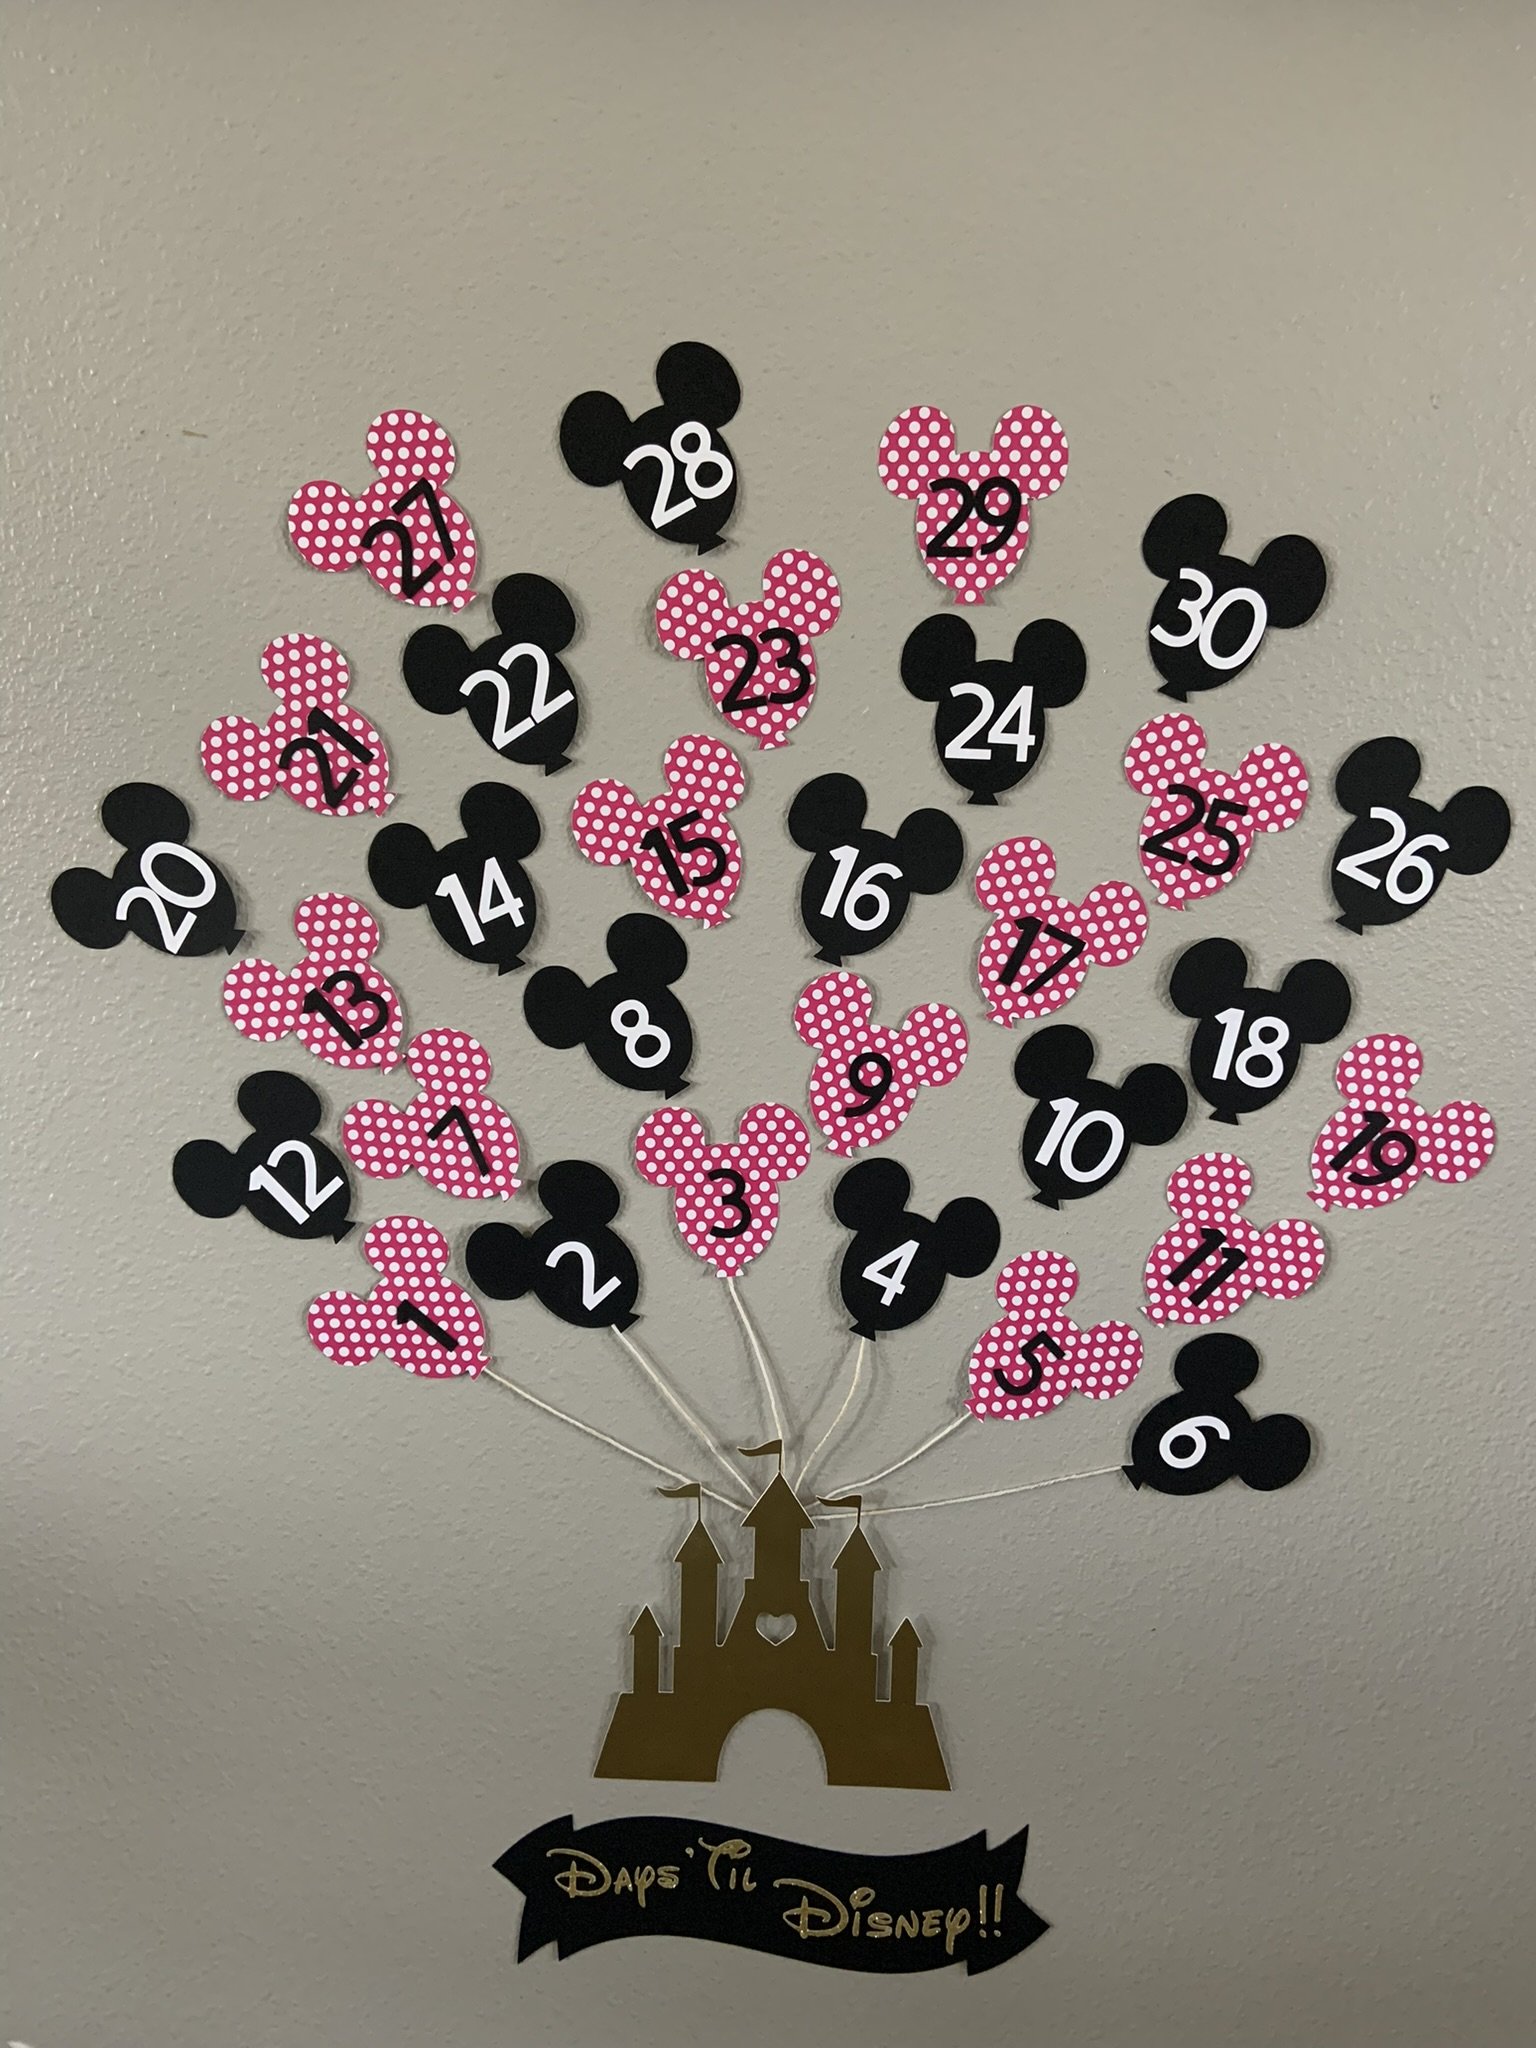
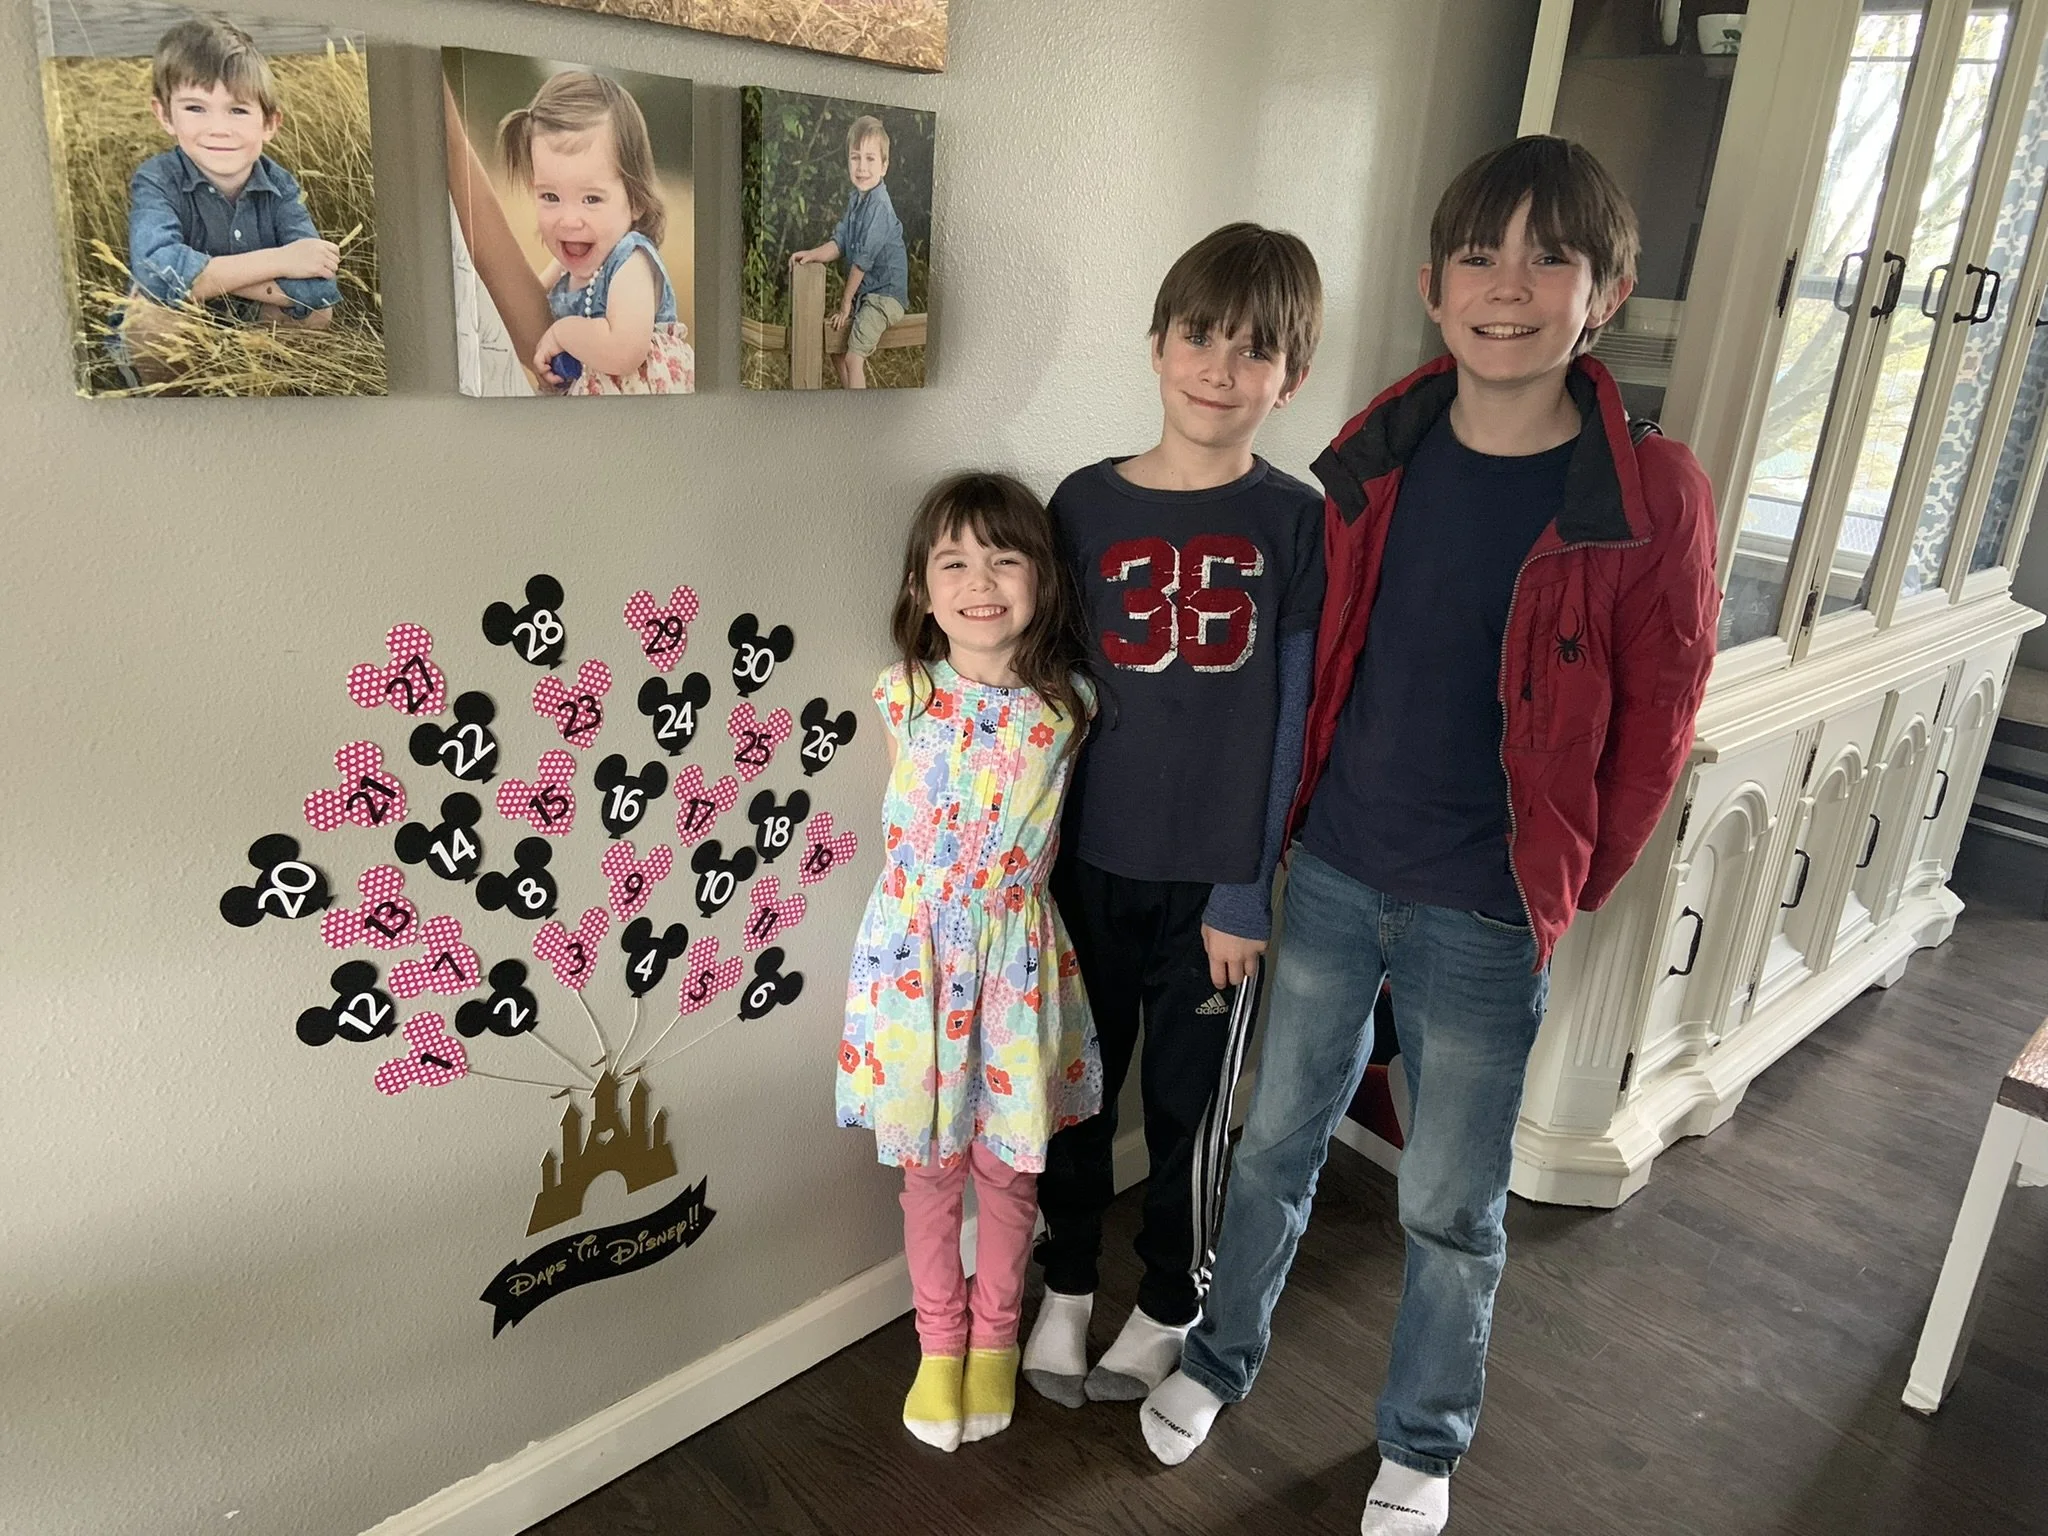
Some people prefer to surprise their kids on the way to the airport, however I would NOT be able to keep it a secret and contain my own excitement for that long! You can still make it fun by counting down the days to your Disney vacation with a countdown you can do together as a family. When we went on our vacation I actually made a countdown with my Cricut machine, wrapped it up, gave it as a present to my kids and let them know we’d be leaving for Disney in 30 days. There’s so much anticipation before a trip to Disneyland, and this was such a fun way to make the most of that excitement. Each day they would remove one of the Mickey balloons until the day we left. If this is something that you’re interested in (and you don’t want to make your own), I sell this countdown in my Etsy shop! Click below to access my shop:
https://www.etsy.com/shop/AnnabelleDesignCo?ref=seller-platform-mcnav
2. If you have Disney gift cards, they count towards any of the three Disneyland Resort hotels!
For years we had received a ton of Disney gift cards as Christmas and birthday presents. I was so excited when I realized that these didn’t just have to be used for things inside of the park. They also work for booking a Disney hotel. The three hotels at Disneyland include Disney’s Grand Californian Hotel & Spa, Pixar Place Hotel and The Disneyland Hotel. The thing I love most about this is that all three on-site hotels are within an easier walking distance to the parks than some of the other good neighbor hotels. Not to say that other good neighbor hotels aren’t good! My husband and I had both stayed at a good neighbor hotel before we had kids and it was a very nice stay. But if your budget allows, or if you have a crazy amount of gift cards and can stay on the property, it’s very much worth it with kids! Another perk of staying at one of the three on-site hotels is guests recieve one complimentary Lightning Lane entry per stay to use on a select attraction. We stayed at The Disneyland Hotel, and it made our trip that much more magical. The headboard on the bed lights up and plays the tune “A Dream is a Wish Your Heart Makes”. Look how cute this is!
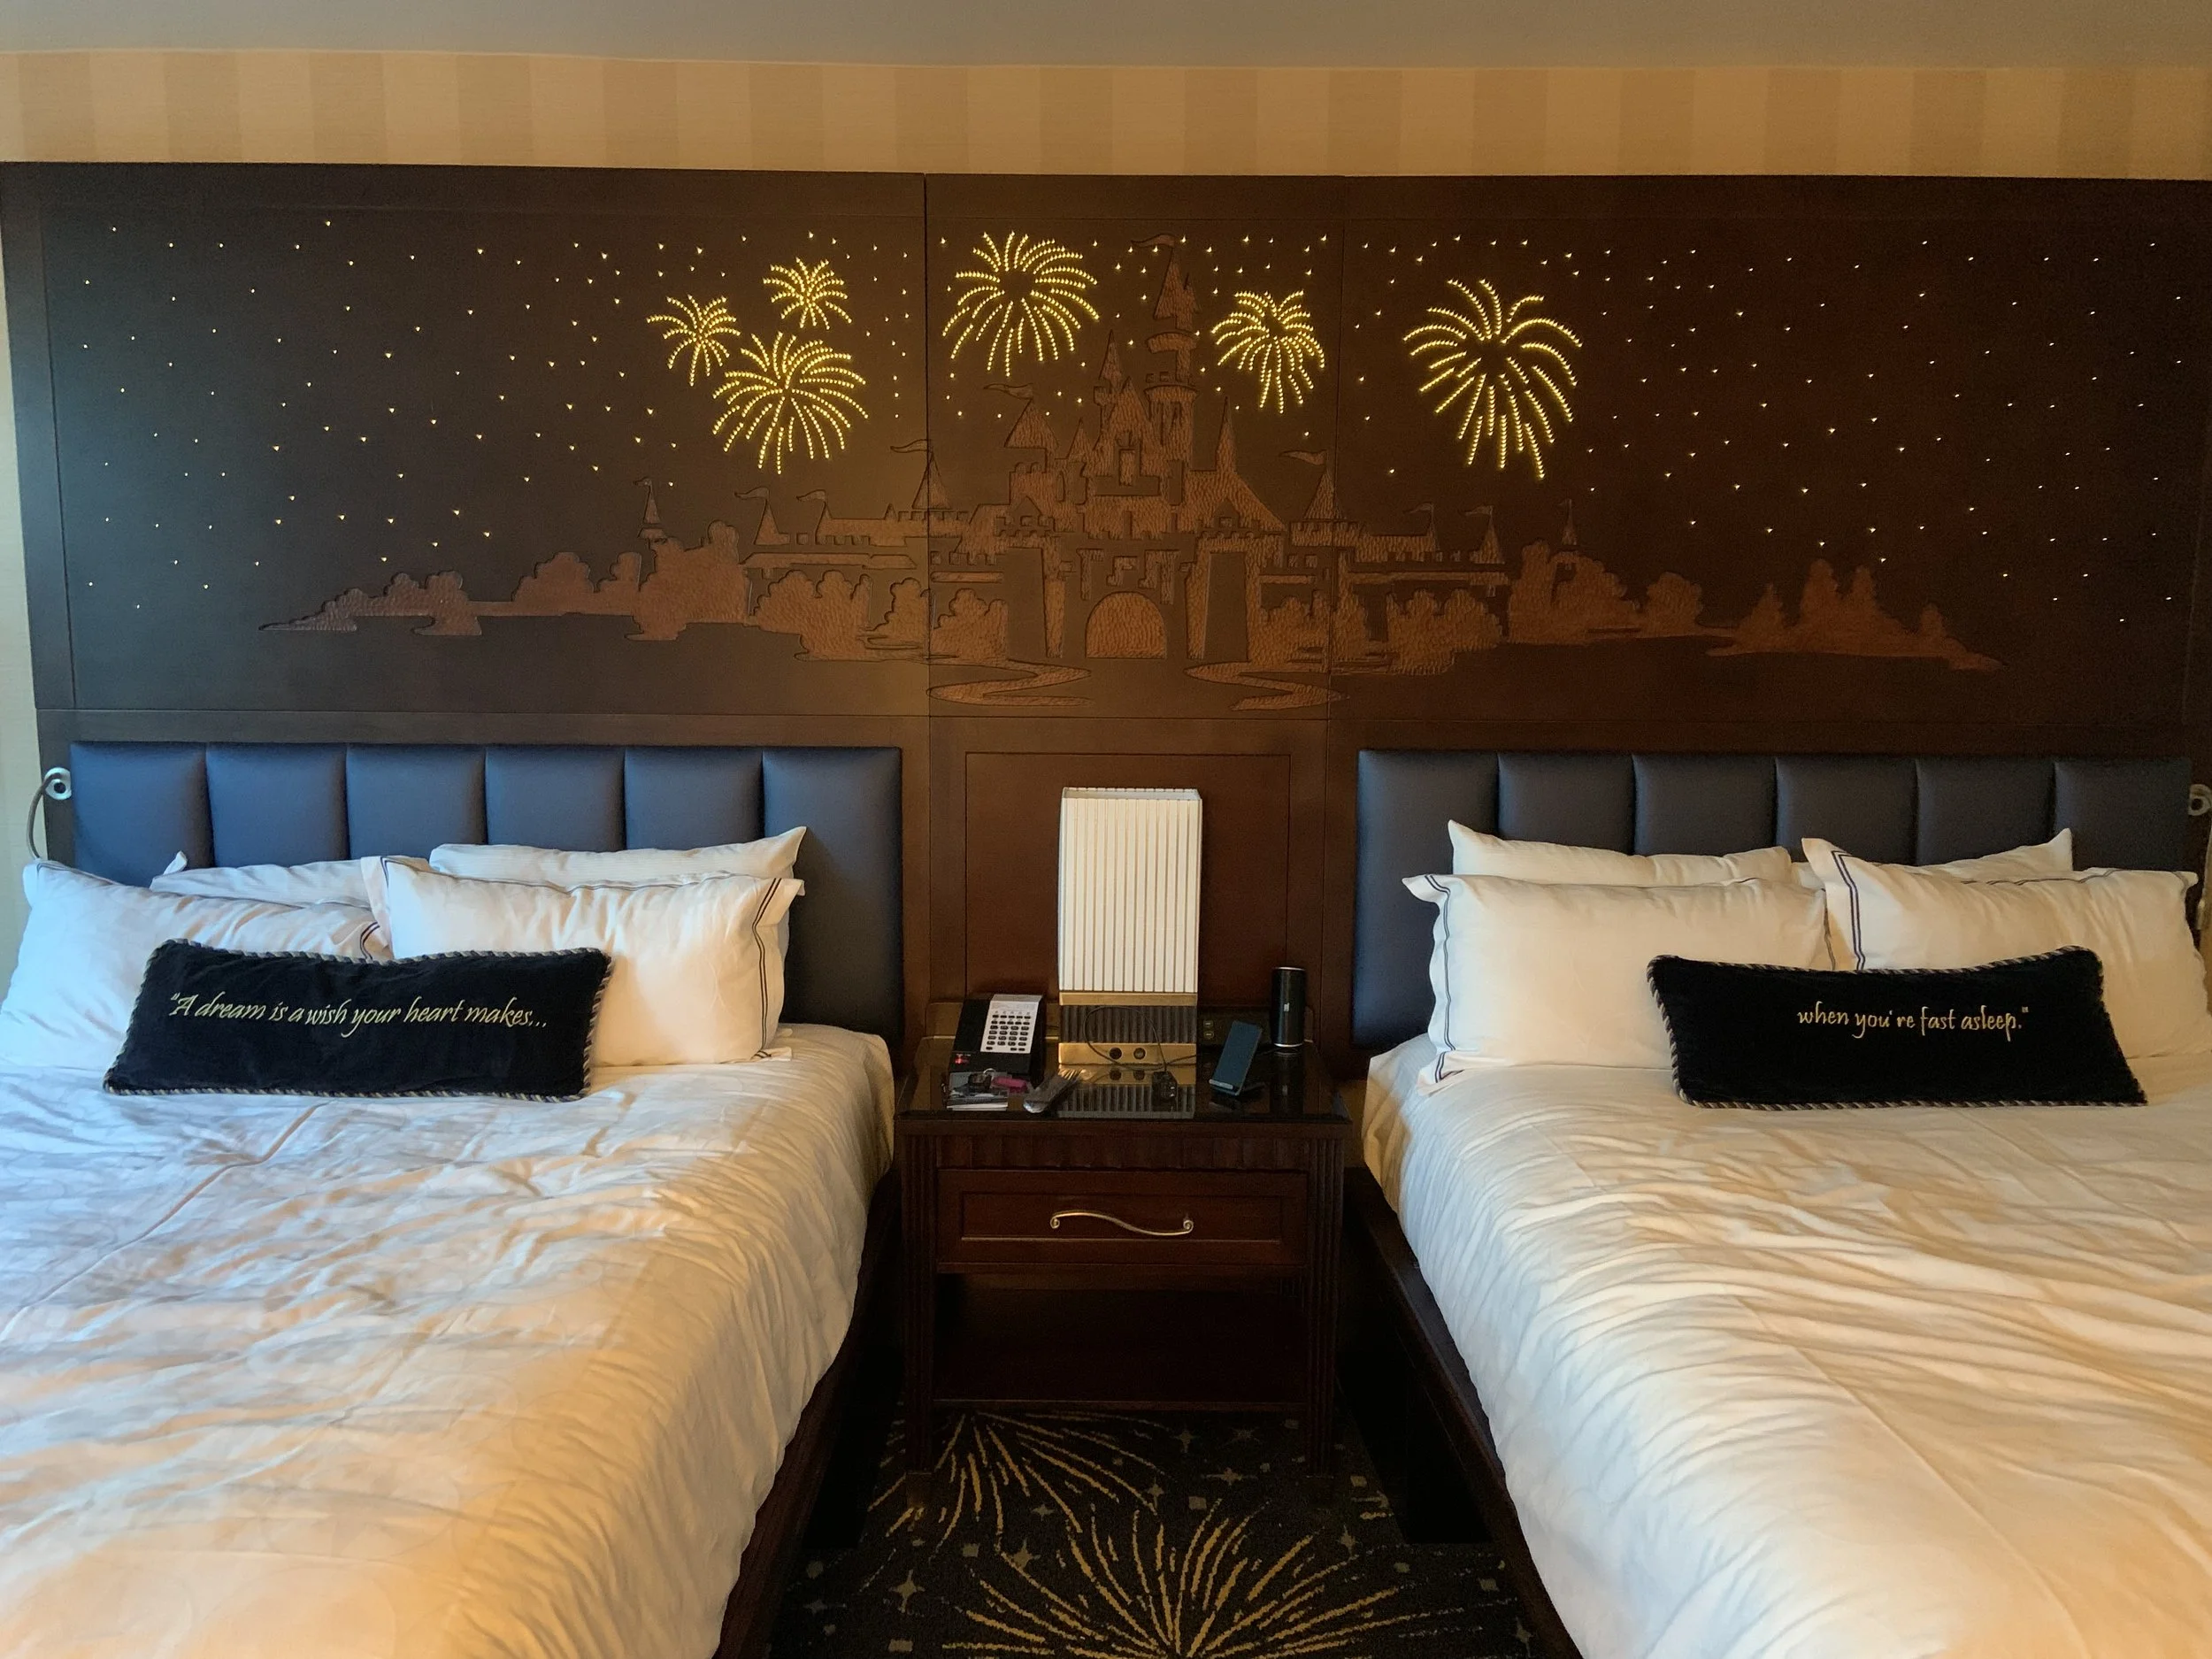
3. Don’t forget to stock your hotel room’s mini fridge!
Speaking of budgets- bringing your own snacks is a must to save some money! When we arrived in Anaheim, I looked up the nearest grocery stores to our hotel and had a grocery order ready to be picked up. We had a rental car so this made it super easy. However if you plan on taking the airport shuttle or an Uber, you could also have your groceries delivered to your hotel. We stocked our fridge with mostly breakfast and lunch items plus snacks and some easy dinners, then only ate in the park once at day at most so we weren’t eating every single meal in the park. You could also check with your hotel to see if they offer a free continental breakfast, as many of them do.
4. Buy your Disney gear ahead of time to save yourself some money in the parks.
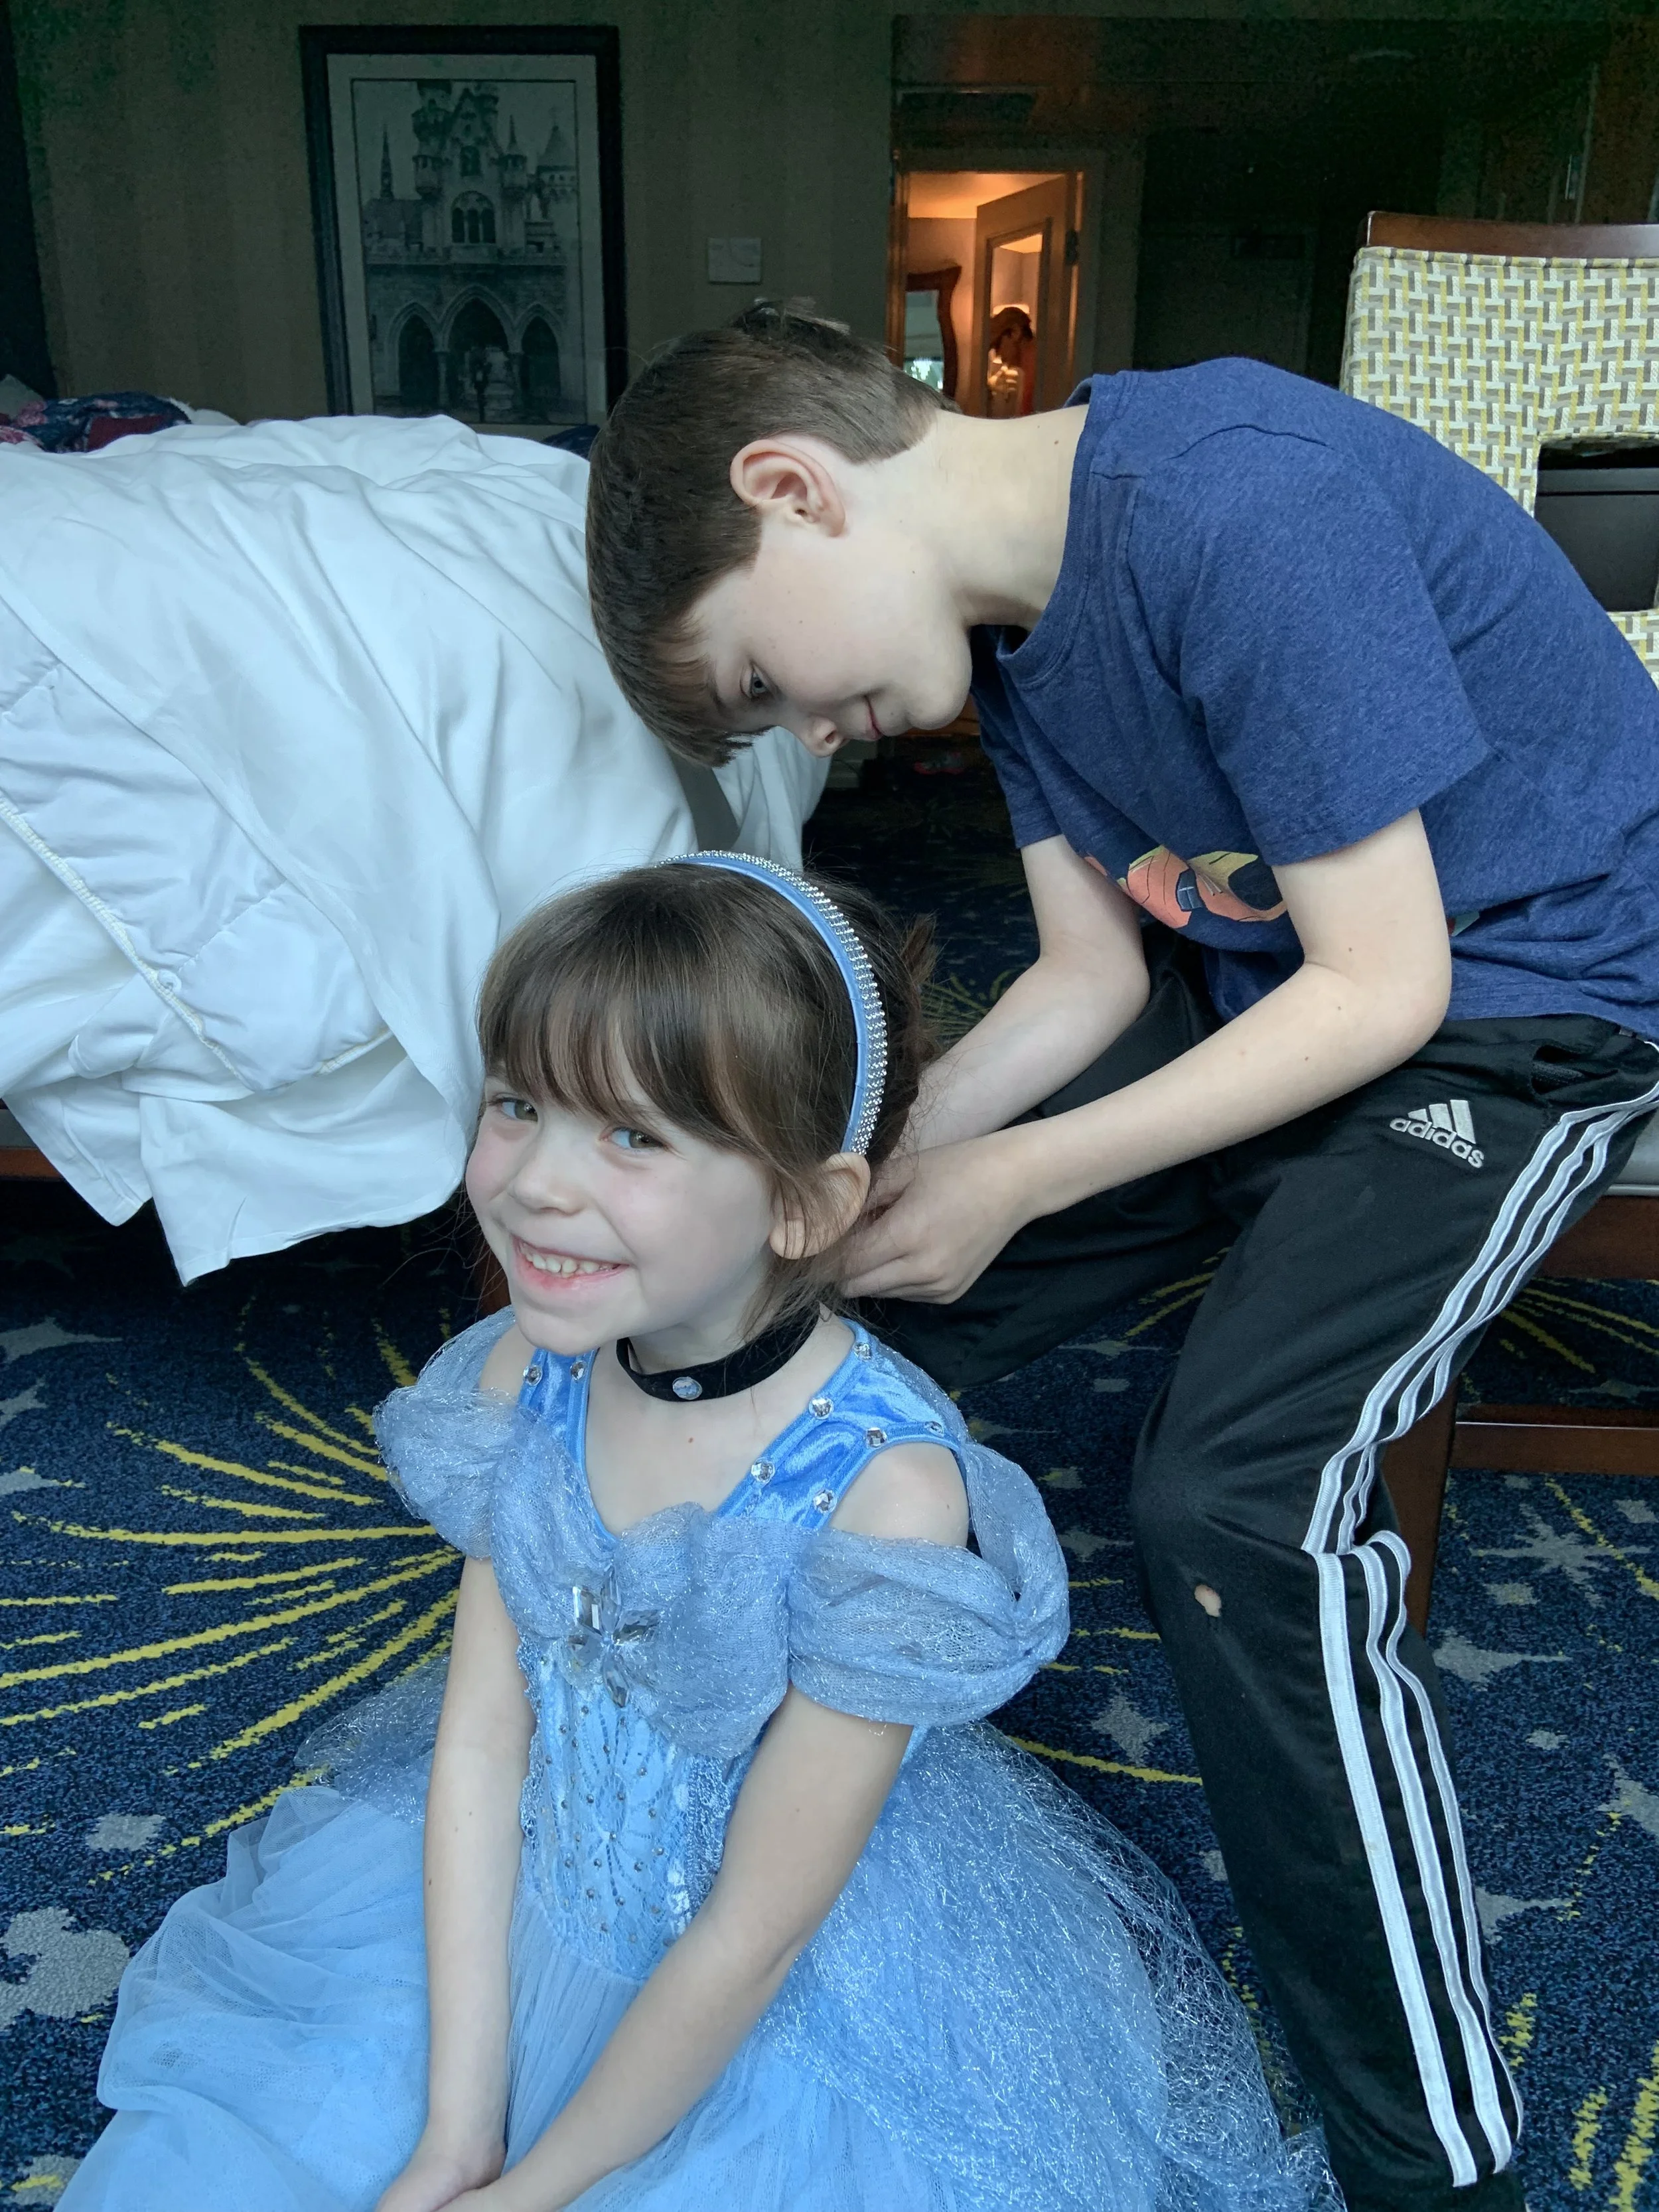
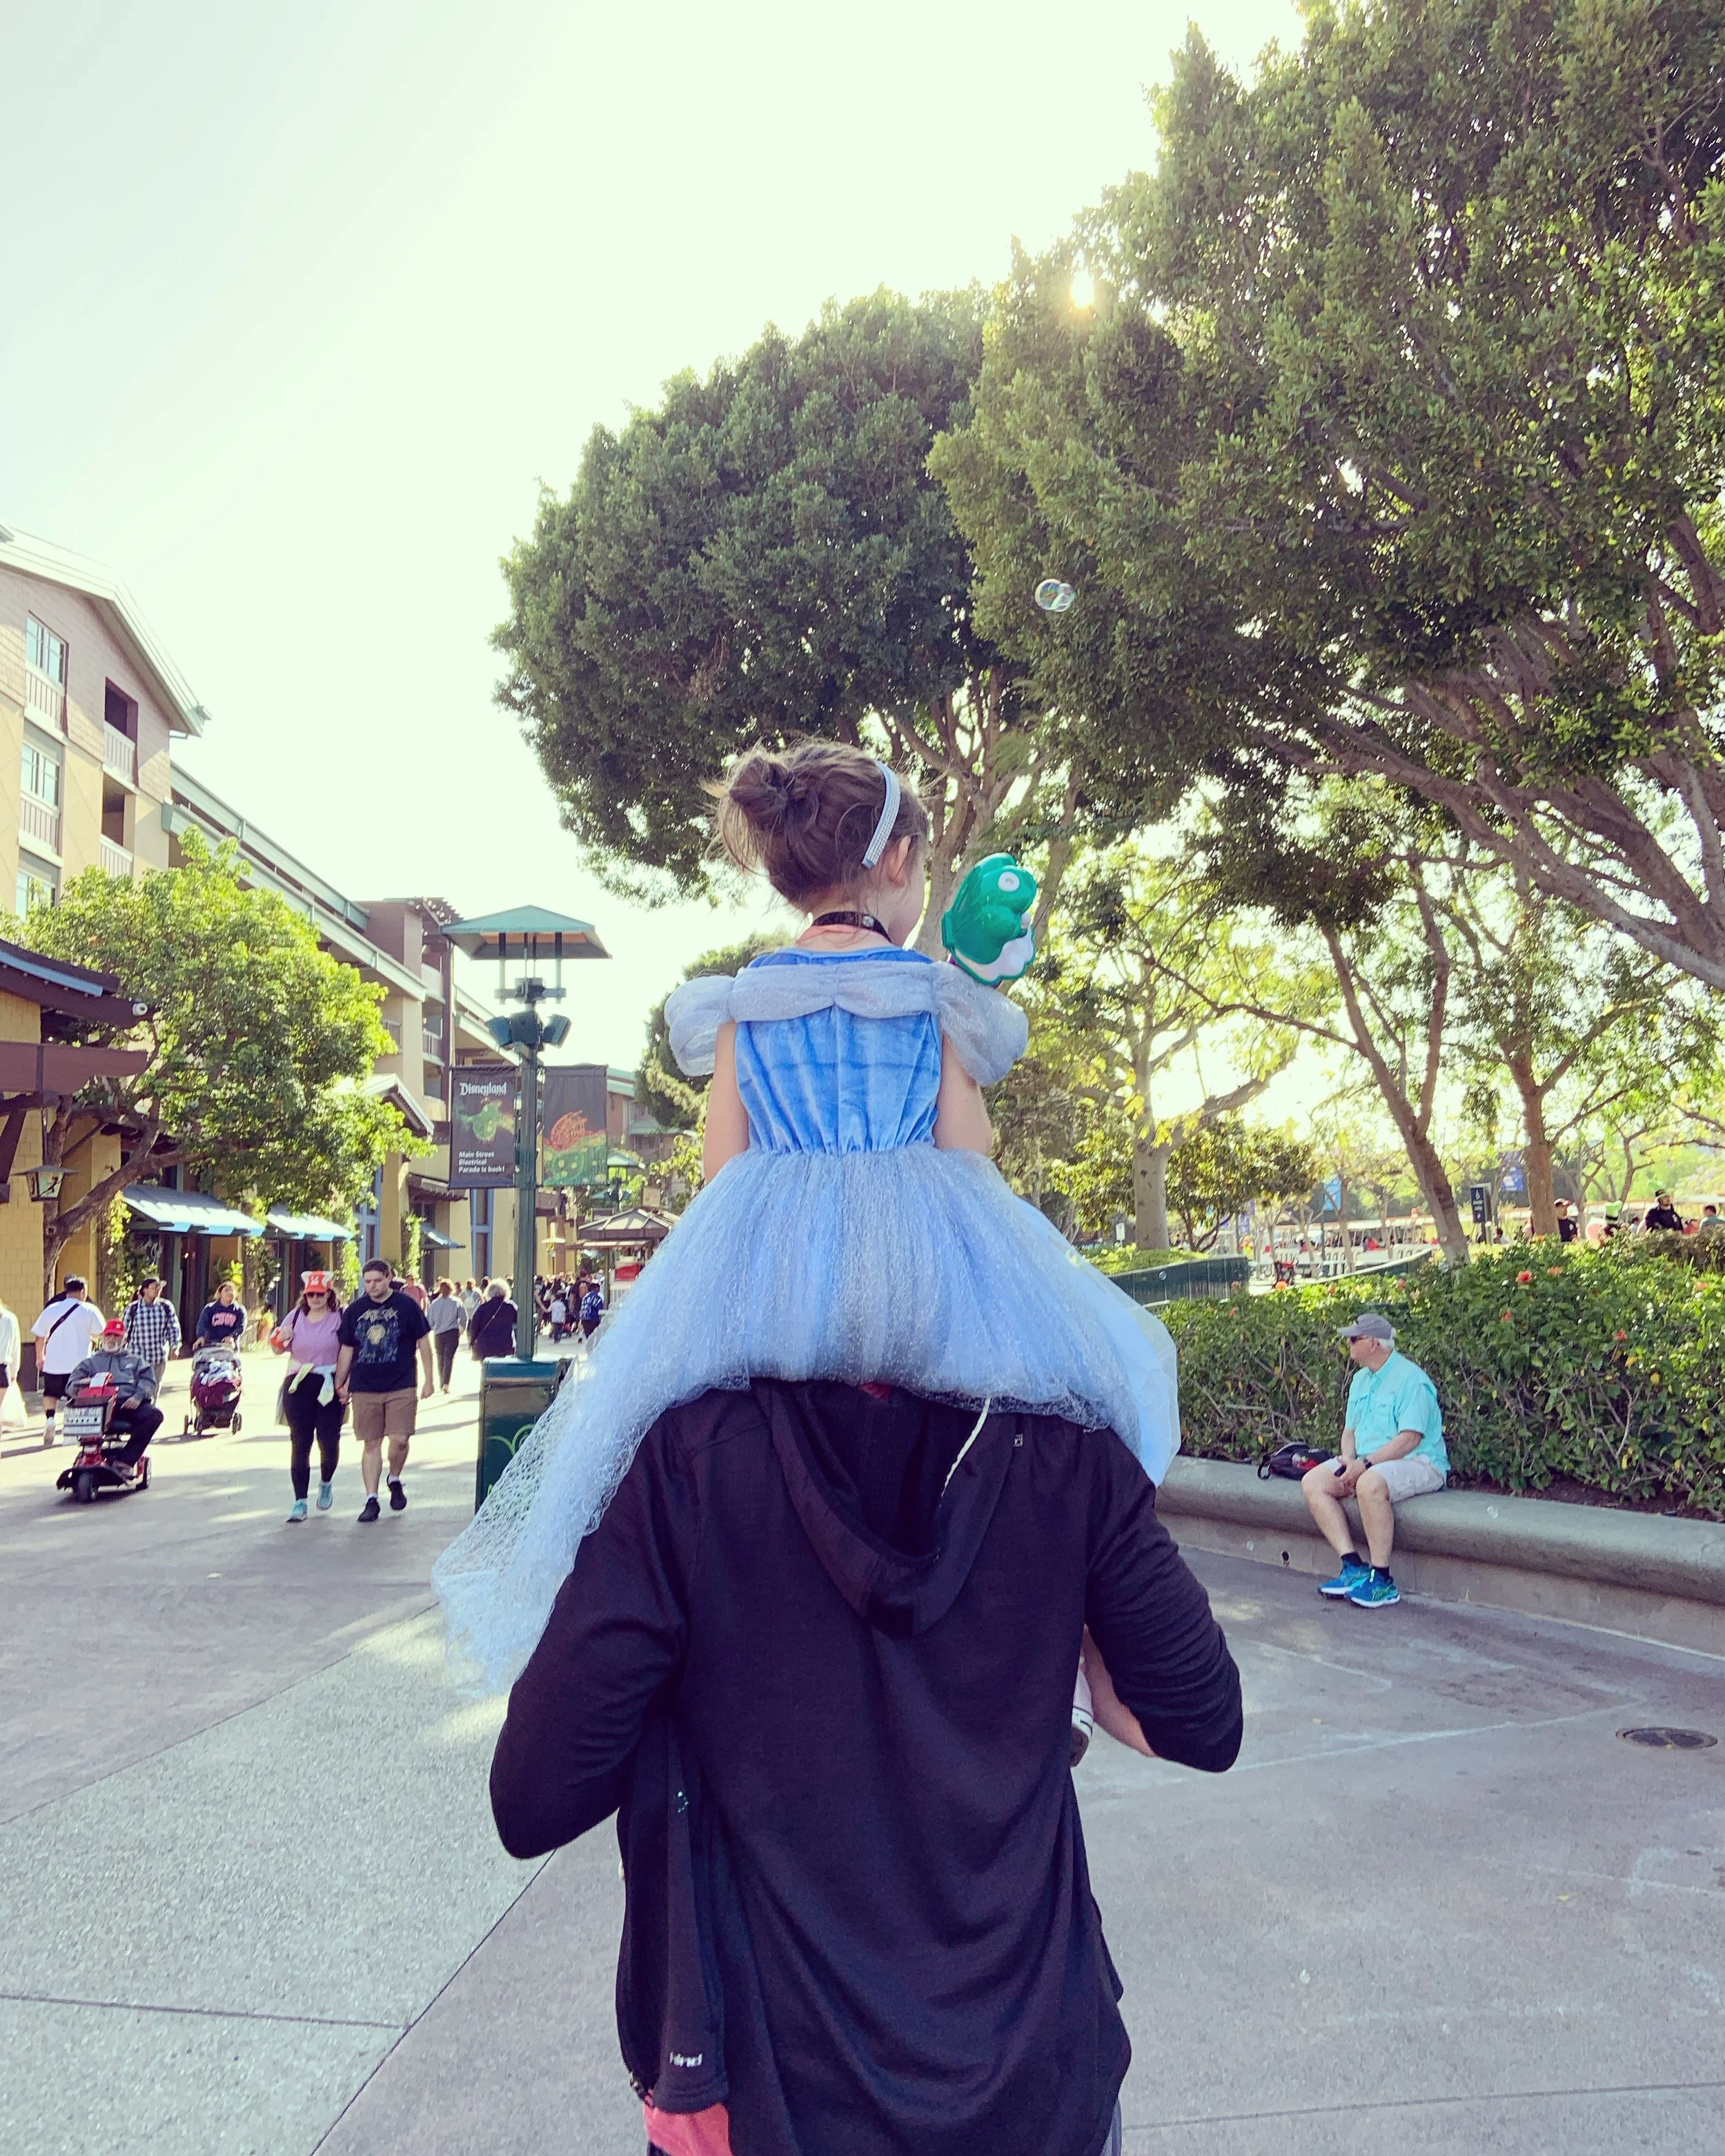
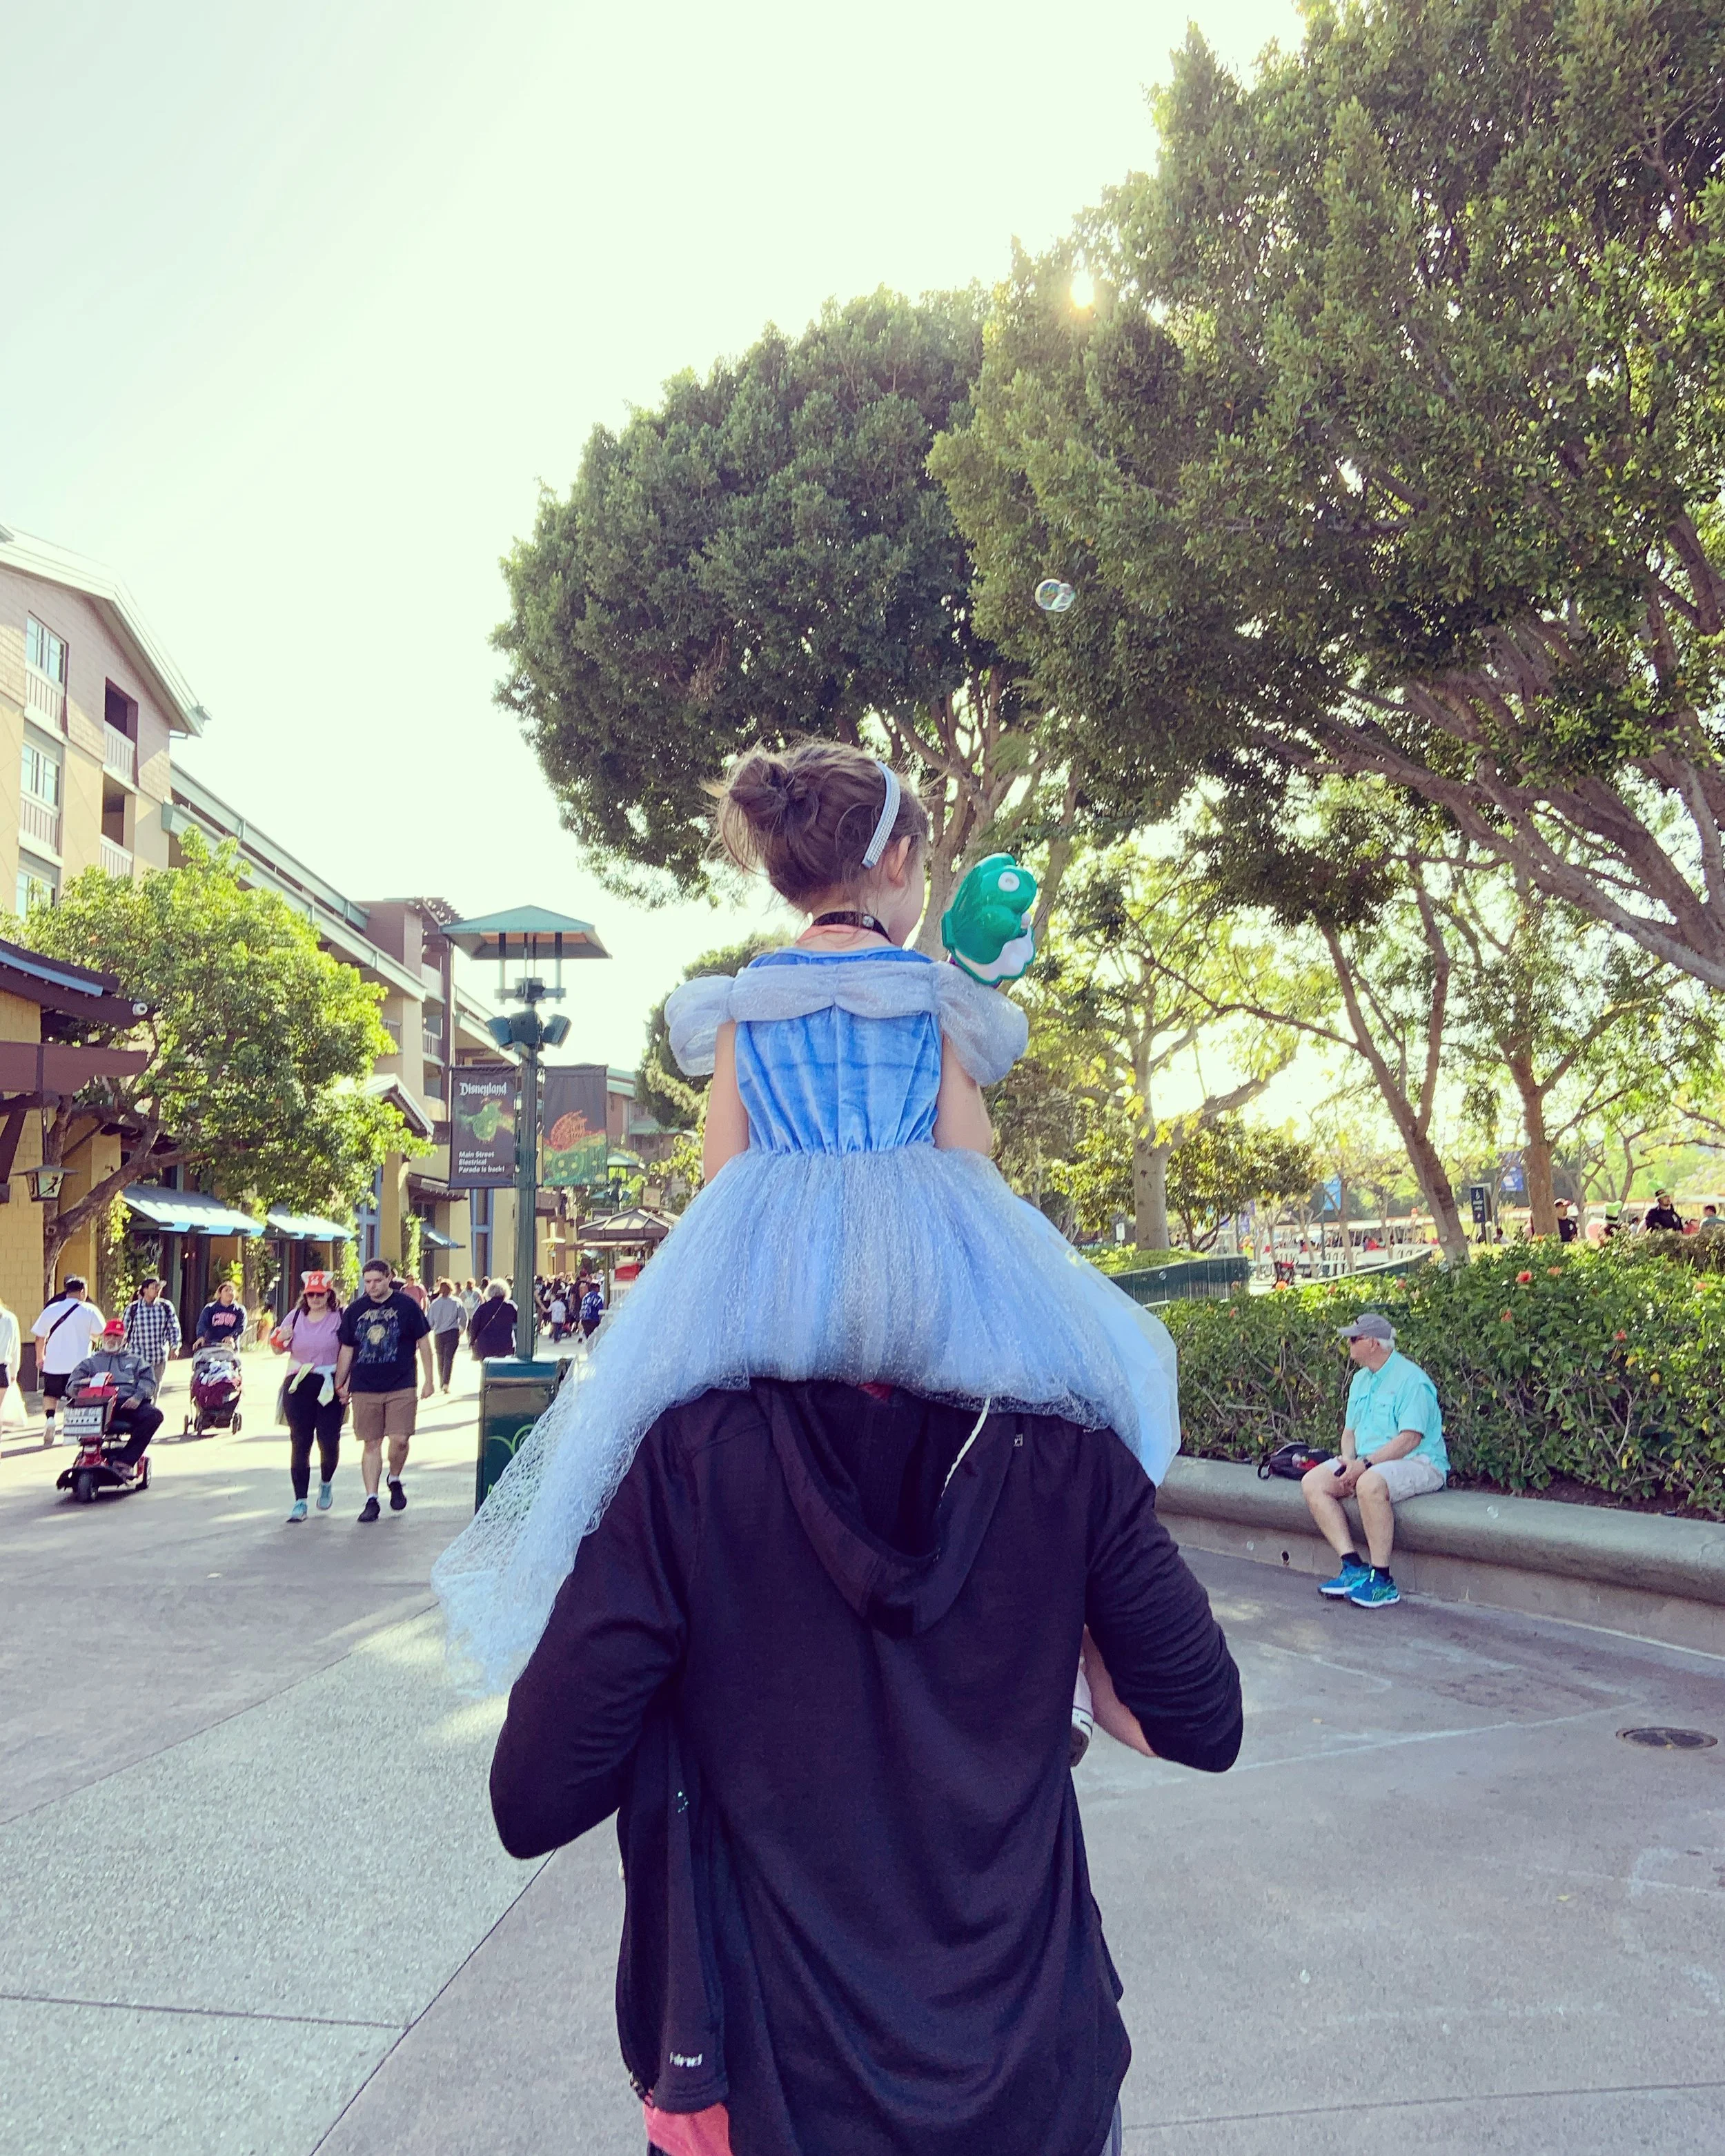
My daughter was obsessed with Disney princesses when we went on our trip and she couldn’t wait to dress up as Cinderella for the day. To save some money I bought a Cinderella dress ahead of time that we packed in our suitcase. The morning before we headed to Disneyland, she got all dressed up and her older brother helped her get ready. It was the cutest thing ever! She and I also wore these adorable Minnie ears and purchased them on Etsy before our trip. It was a great way to get into the Disney spirt, and all for a fraction of the price!

5. Make sure to take breaks.
Visiting both Disneyland and California Adventure is so exciting with so many fun things to see and do, but can also be SO exhausting. There is A LOT of walking at these parks, and taking breaks is a must, especially if you have small children. This can obviously look different for all people and families. Some may want to start early, go back to their hotel mid-day for a nap, and then come back to the parks for the evening. While for others it may simply be starting later in the day to be able to last all day in the parks. Either way, you won’t regret pacing yourself so you don’t burn out.
6. Upgrade your tickets to Lightning Lane if your budget allows!
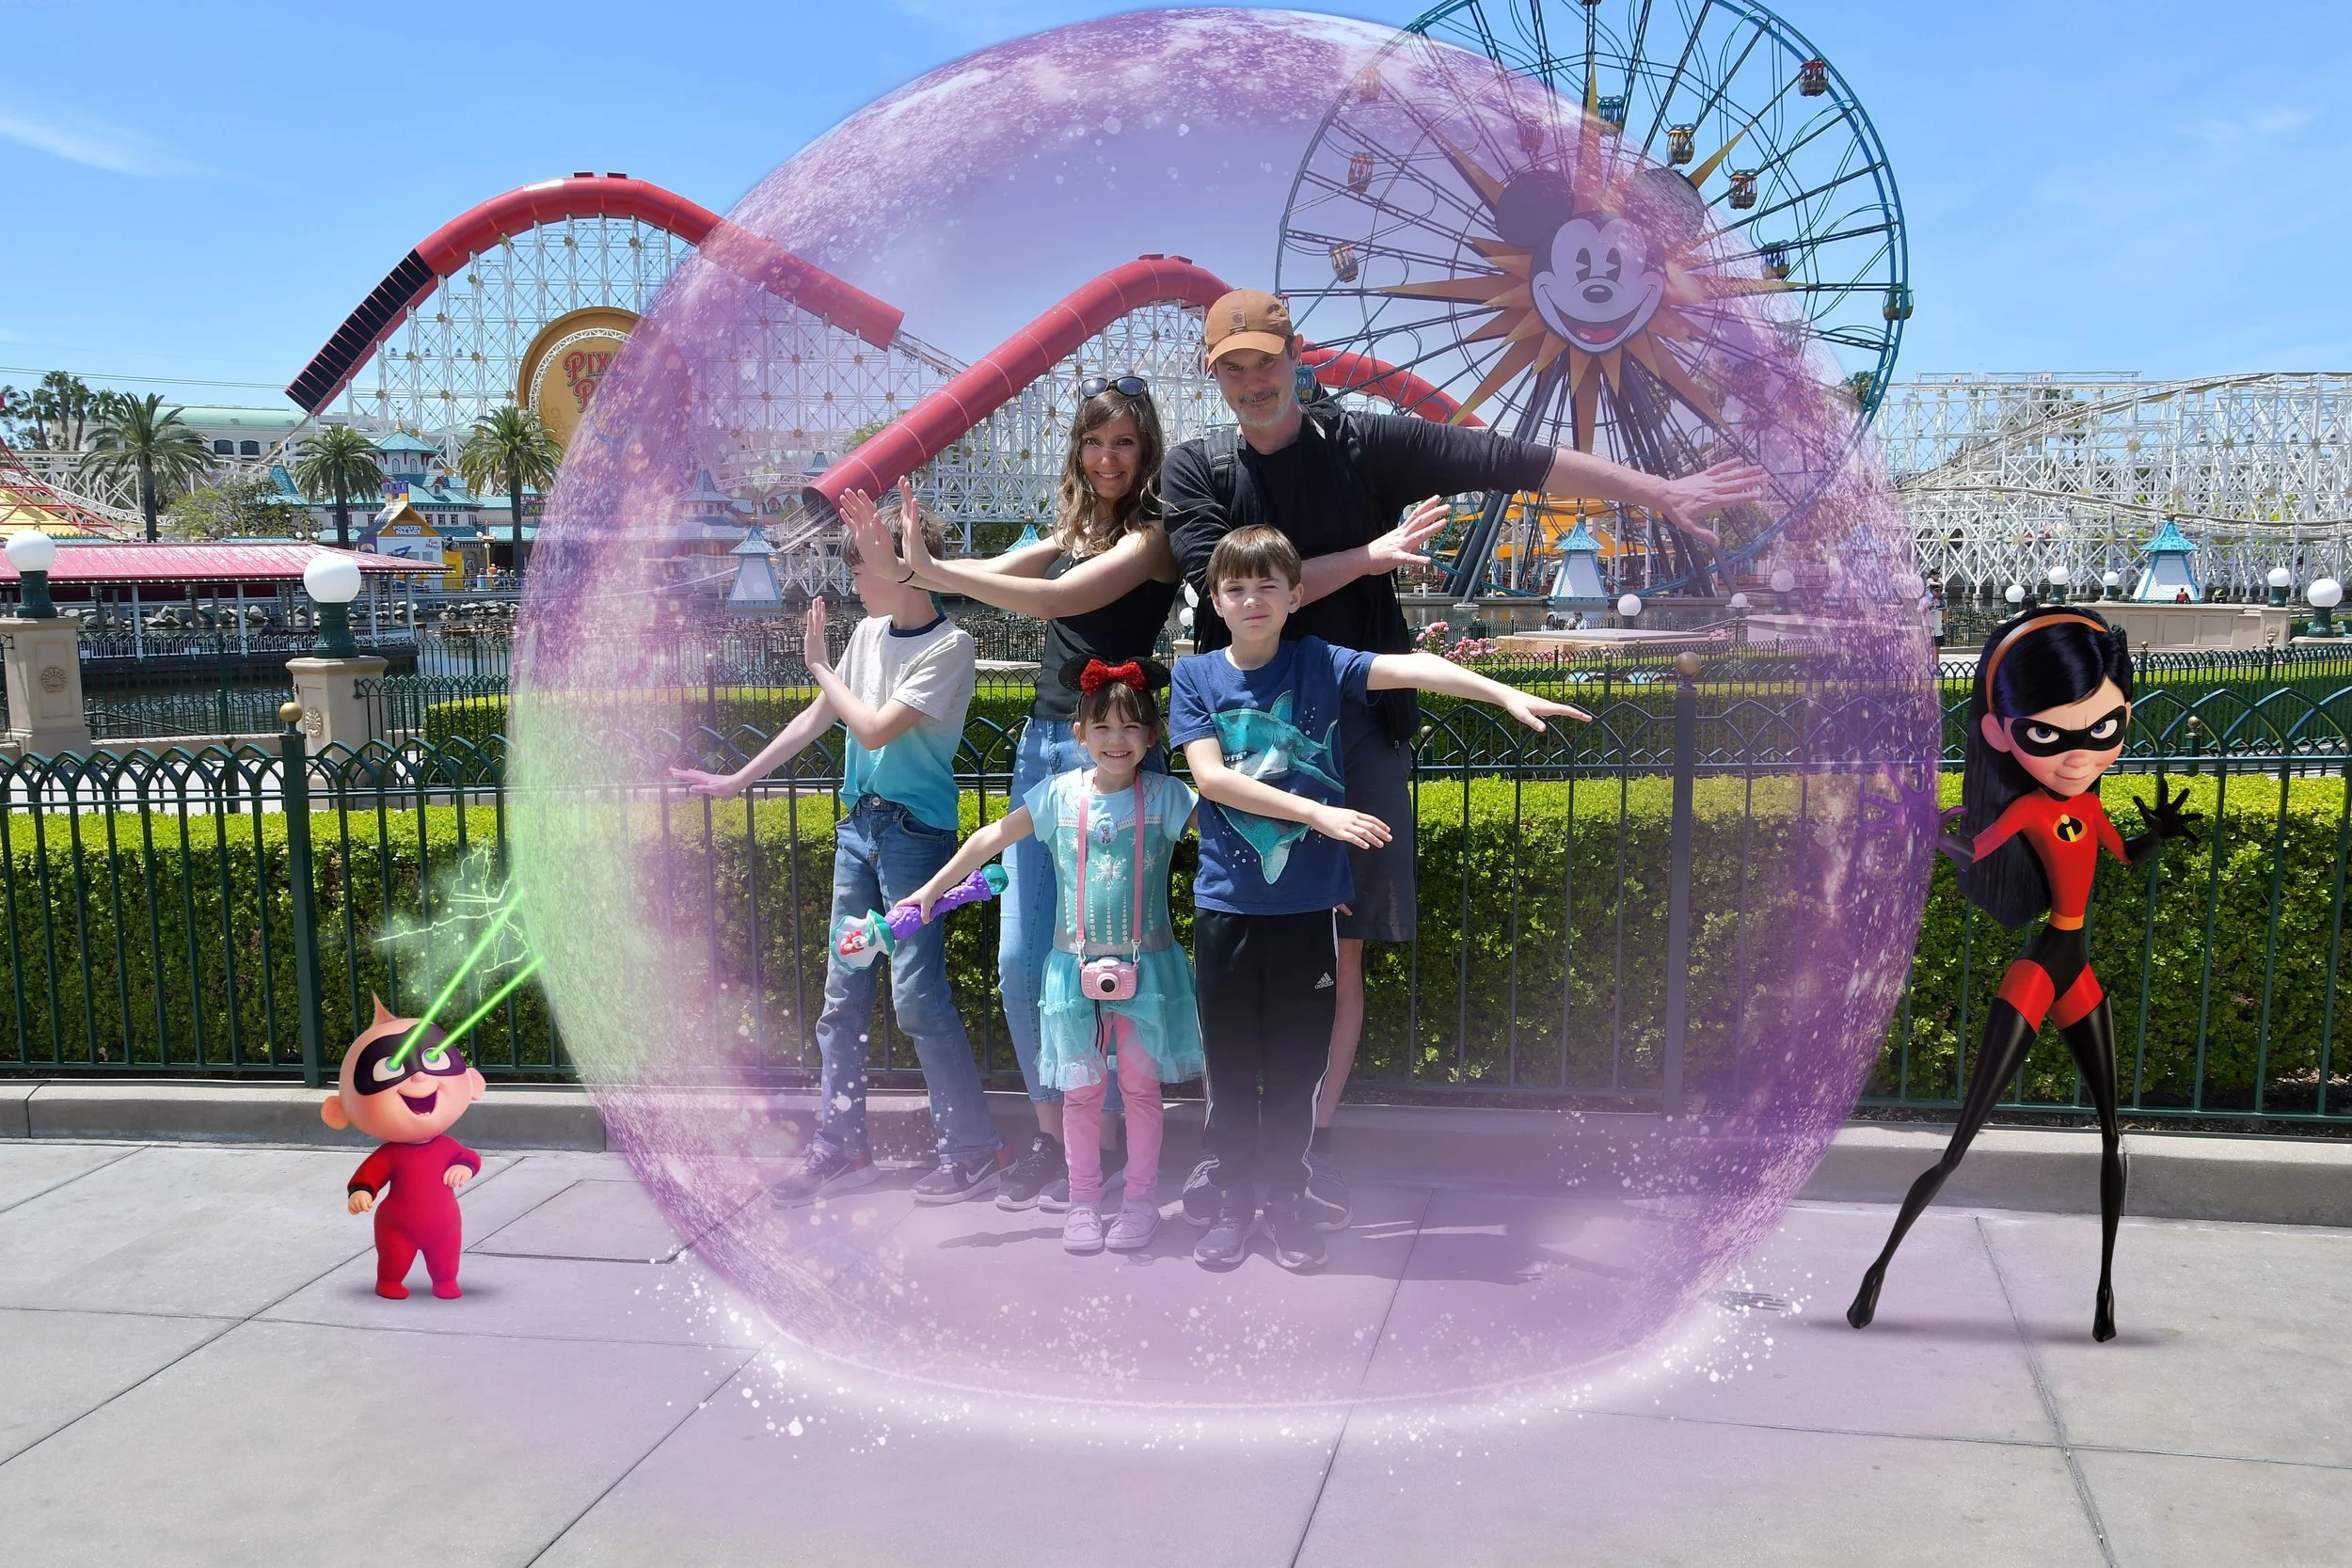
This ticket add-on can be a little expensive, but so worth it, and honestly a must in my opinion. Upgrading to this allows you faster entry into select rides and attractions. Make sure you have the Disneyland app to use this! The way it works is when you enter the park you select which ride or attraction you want using the Disneyland app, then it gives you a window of time when you can come back to it and by-pass the regular line. It only works for one ride at a time, so once you’ve used Lightning Lane on a ride you can then select another one. The obvious perk of this is being able to have shorter wait times for rides throughout the day, but I think my favorite thing about this perk is the Disney Photo Pass lenses and downloads. This feature offers augmented-reality effects throughout the park and you have access to unlimited downloads of the pictures you take. And let’s be honest, you won’t ever regret having too many pictures to capture all of the magical memories you and your family make together!
7. Don’t miss out on the World of Color show
Out of both Disneyland and California Adventure, my family and I are big fans of California Adventure. The streets are a tiny bit less crowded and there’s just something about this park that is so much fun. One of the best things is the World of Color show at the end of the night. The World of Color features dazzling water fountains and light effects all bringing Disney stories to life, and is definitely unique and very special. You can join the virtual queue on the Disneyland app by noon on the day you plan to see the World of Color show if you wish to have front row seating. You could also do stand-by viewing, but you should plan to arrive at least 45 minutes before the show starts to ensure you have a place to stand or sit. My family just did stand-by seating, and even though we had to get there a bit early and camp out, it was still just as magical and the perfect way to end our trip!

If you’re serious about planning your first trip to The Disneyland Resort, I can help you book it! I’m an official Disney Travel Agent which means I have completed Disney’s college of knowledge, and I have access to lots of amazing deals on tickets and surrounding hotels. If you’re interested, check out my Facebook page, Happily Ever After Hours, for more info!
https://www.facebook.com/profile.php?id=61590922852145
I would love to help you plan your dream Disney vacation! This was hands-down one of our favorite family trips we’ve ever been on, and the memories we made are enough to last a lifetime. I hope you found at least one of these 7 tips helpful, and that you’ve been inspired to plan a trip to The Disneyland Resort!
~Annie
Our Home Addition Project
For several years my husband and I played around with the idea of putting an addition on our house, and in 2023 we took the giant leap to take on the project all on our own! Well I shouldn’t say completely on our own, we did have the help of our very helpful next door neighbor and were able to hire-out for a few different things including roofing, plumbing and sheet rock. I always wanted to document this in some way because it was such a crazy time in our lives. The transformation is crazy!
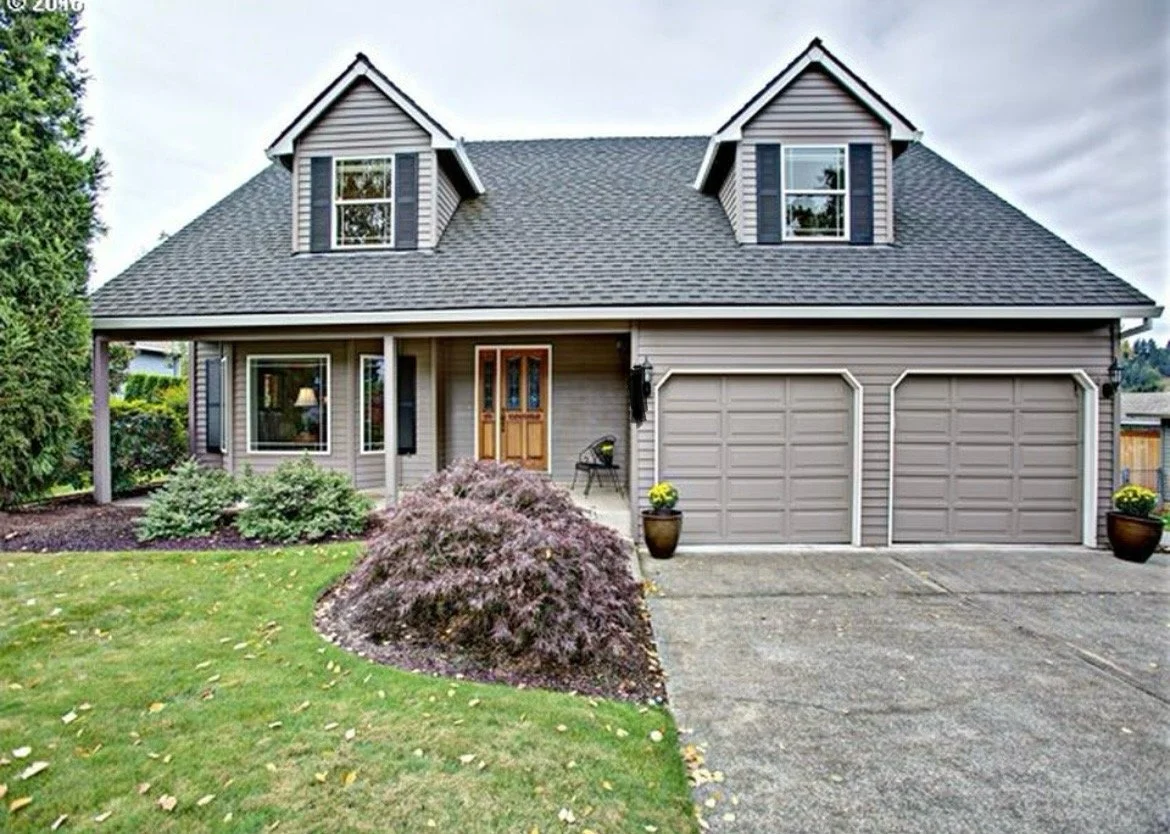
BEFORE
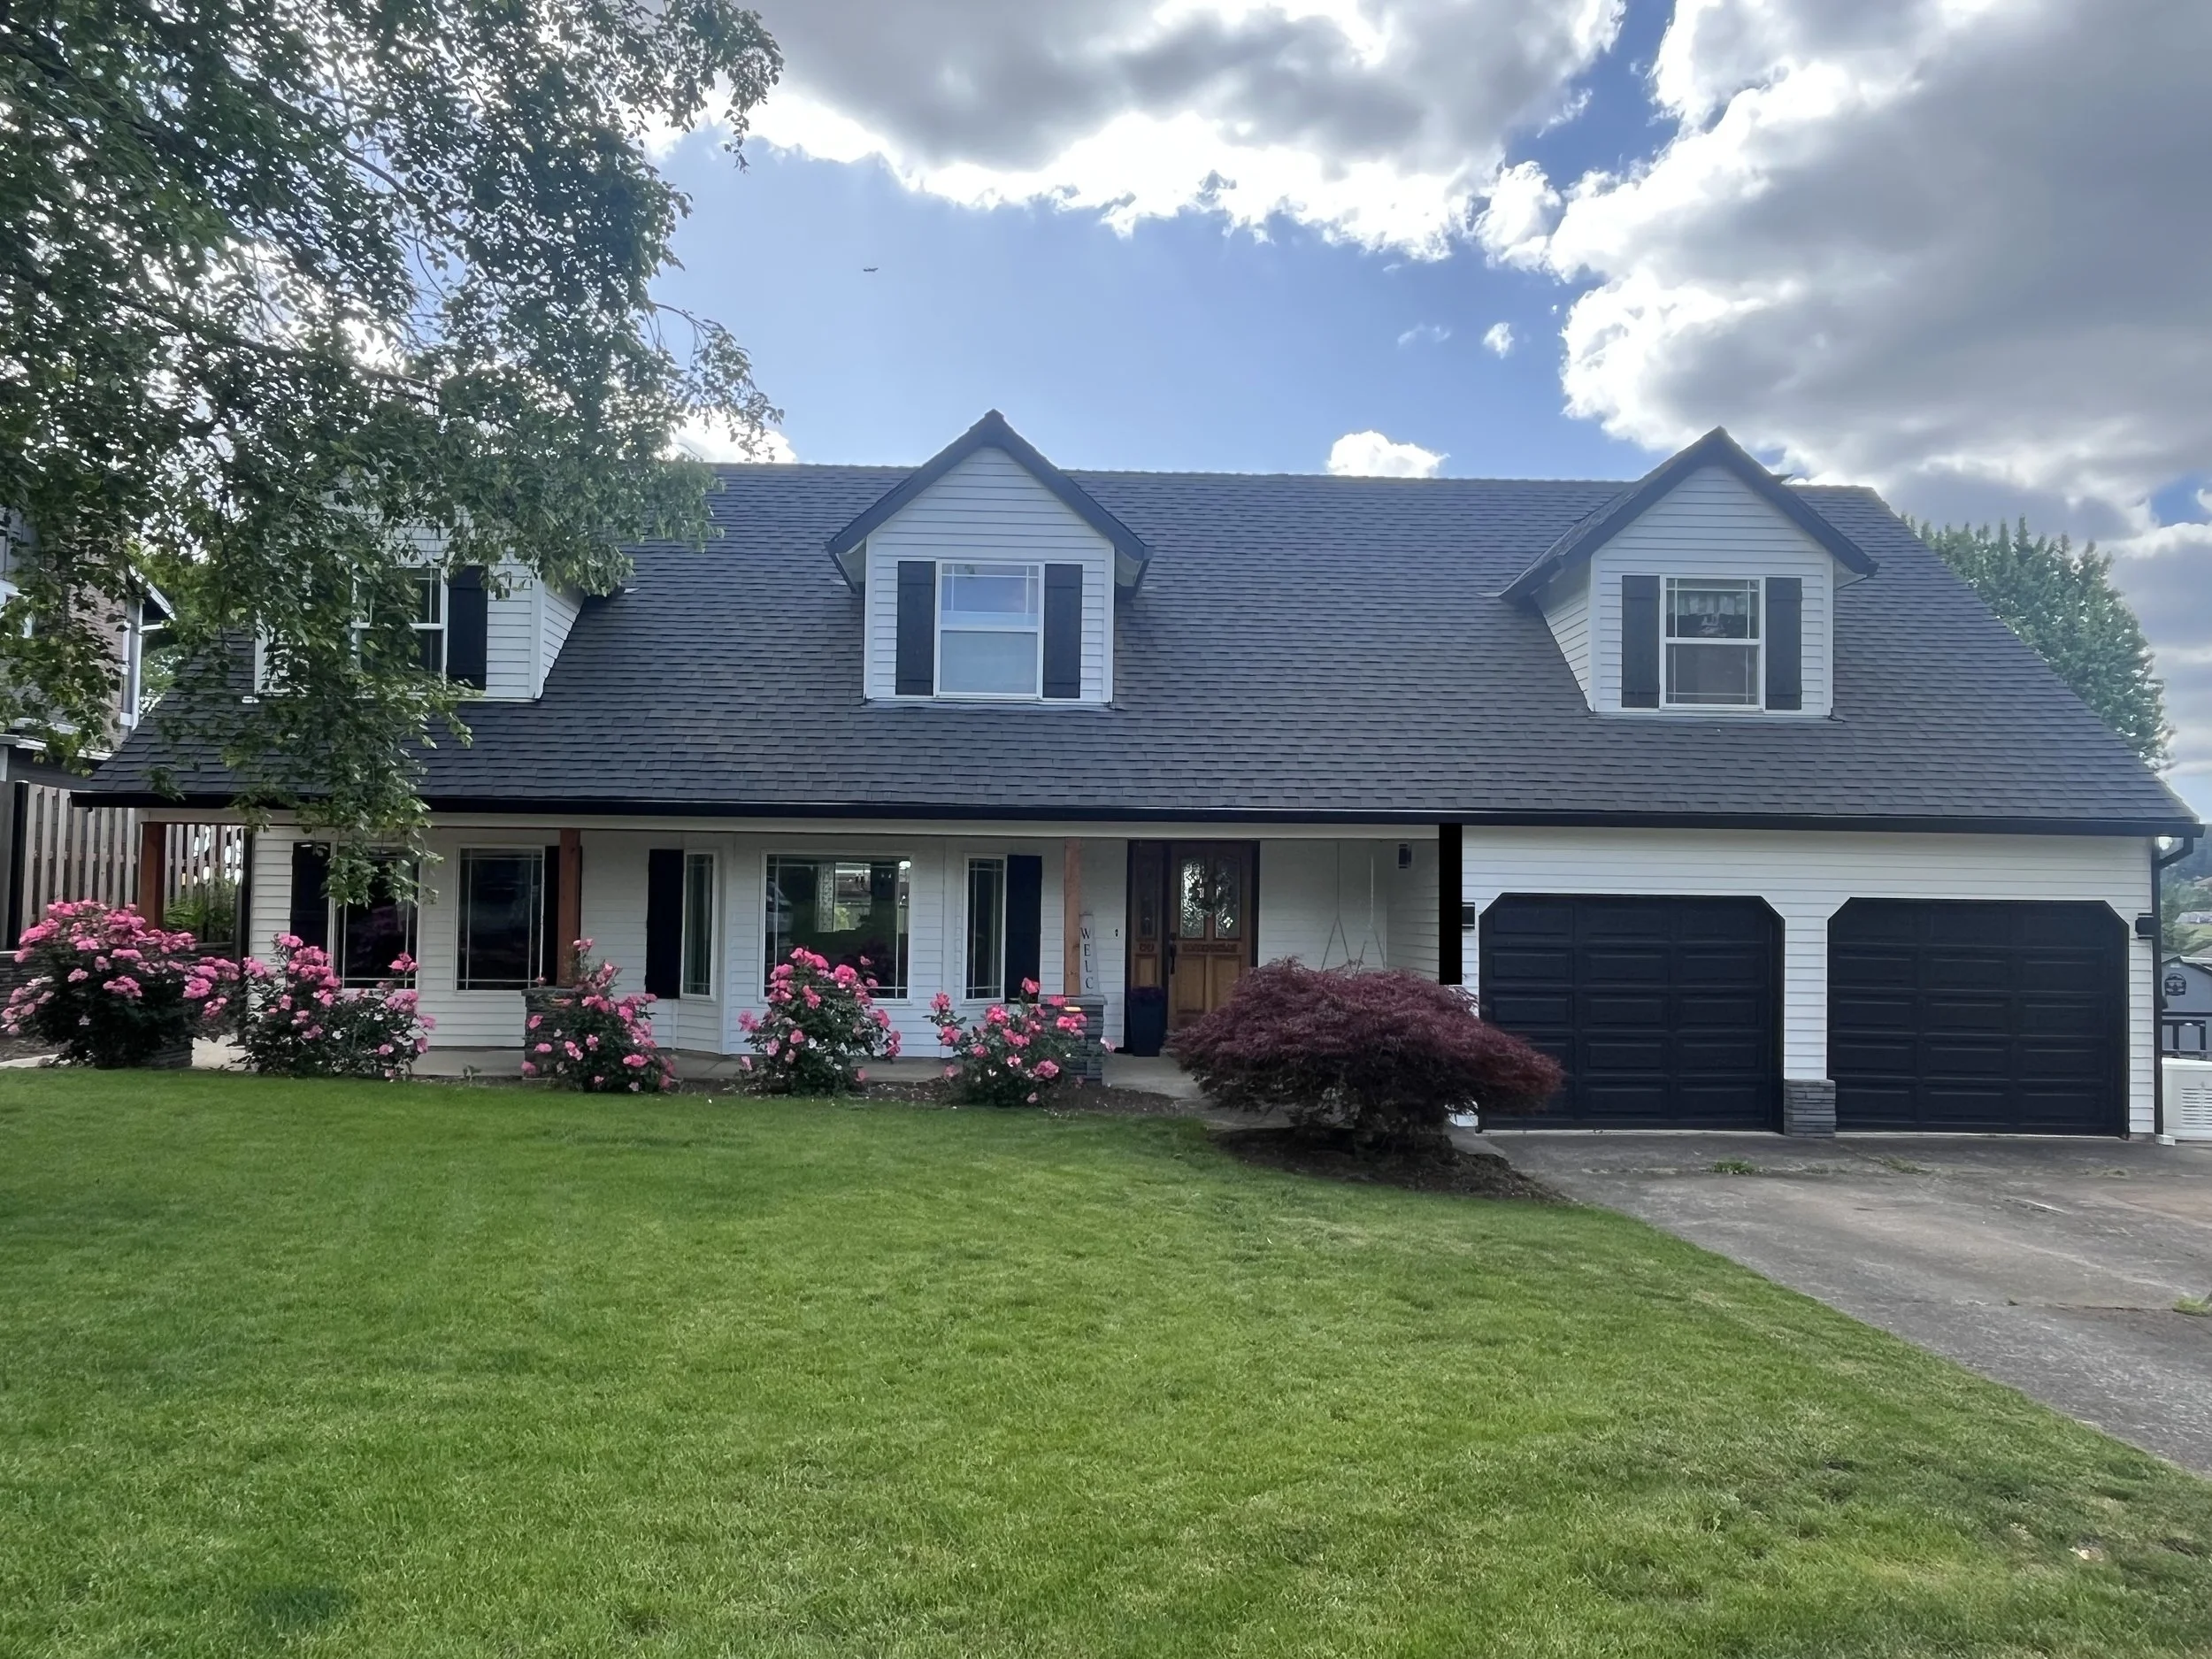
AFTER
We basically added a third section onto our house with a third dormer and repainted it a pretty white to have more of a modern farmhouse look. This is our first and only house we’ve ever owned, and we purchased it in 2017. We had just had our third baby the year before and knew our family was complete, so we wanted to put down some roots and settle into a home where we could raise our kids. It was the perfect house with a big yard, beautiful sunsets, and plenty of space. But as the years went on and the kids grew we somehow seemed to be running out of room (funny how that happens 😉) Sometimes I feel out of place saying that because my husband and I both come from very humble beginnings and this house felt like an absolute palace when we first moved in. The real kicker though was that in 2020 my husband started working from home (and still does), the kids were doing distance learning, and that’s when we really started to feel desperate for more room. So enter the idea of adding a home office. From there the idea became a little bit more than just an office. Check out these in-progress pictures!
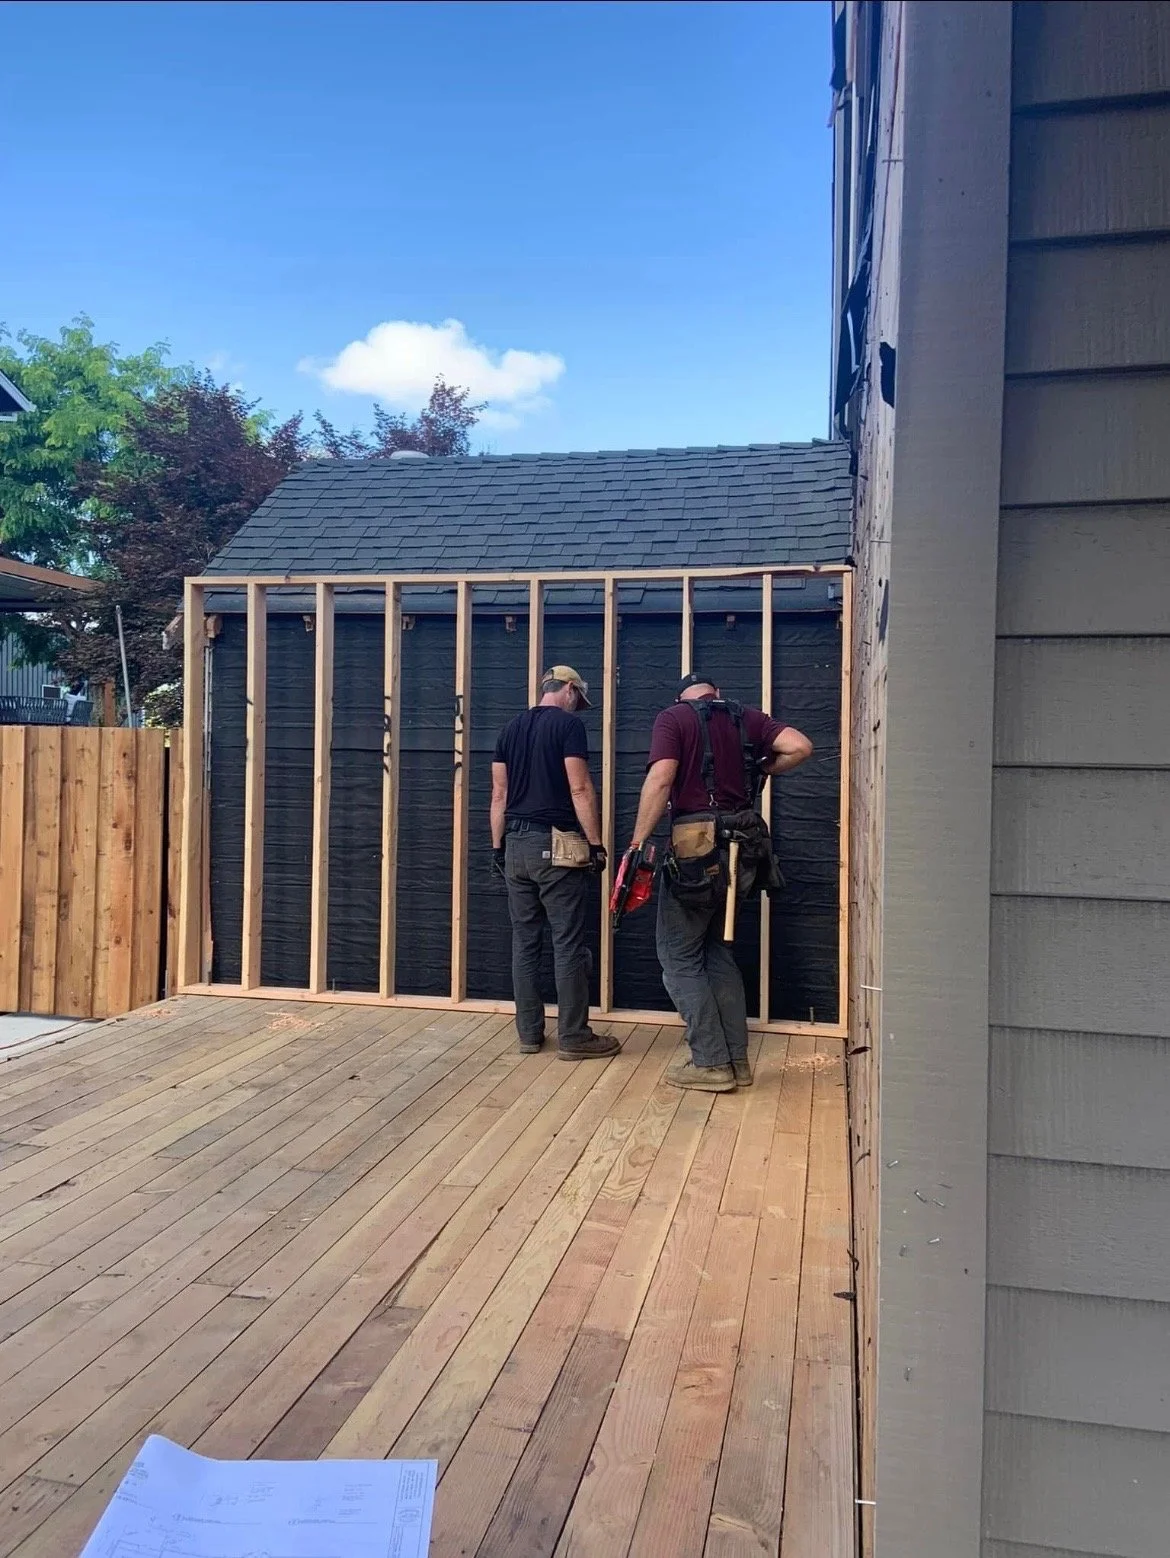
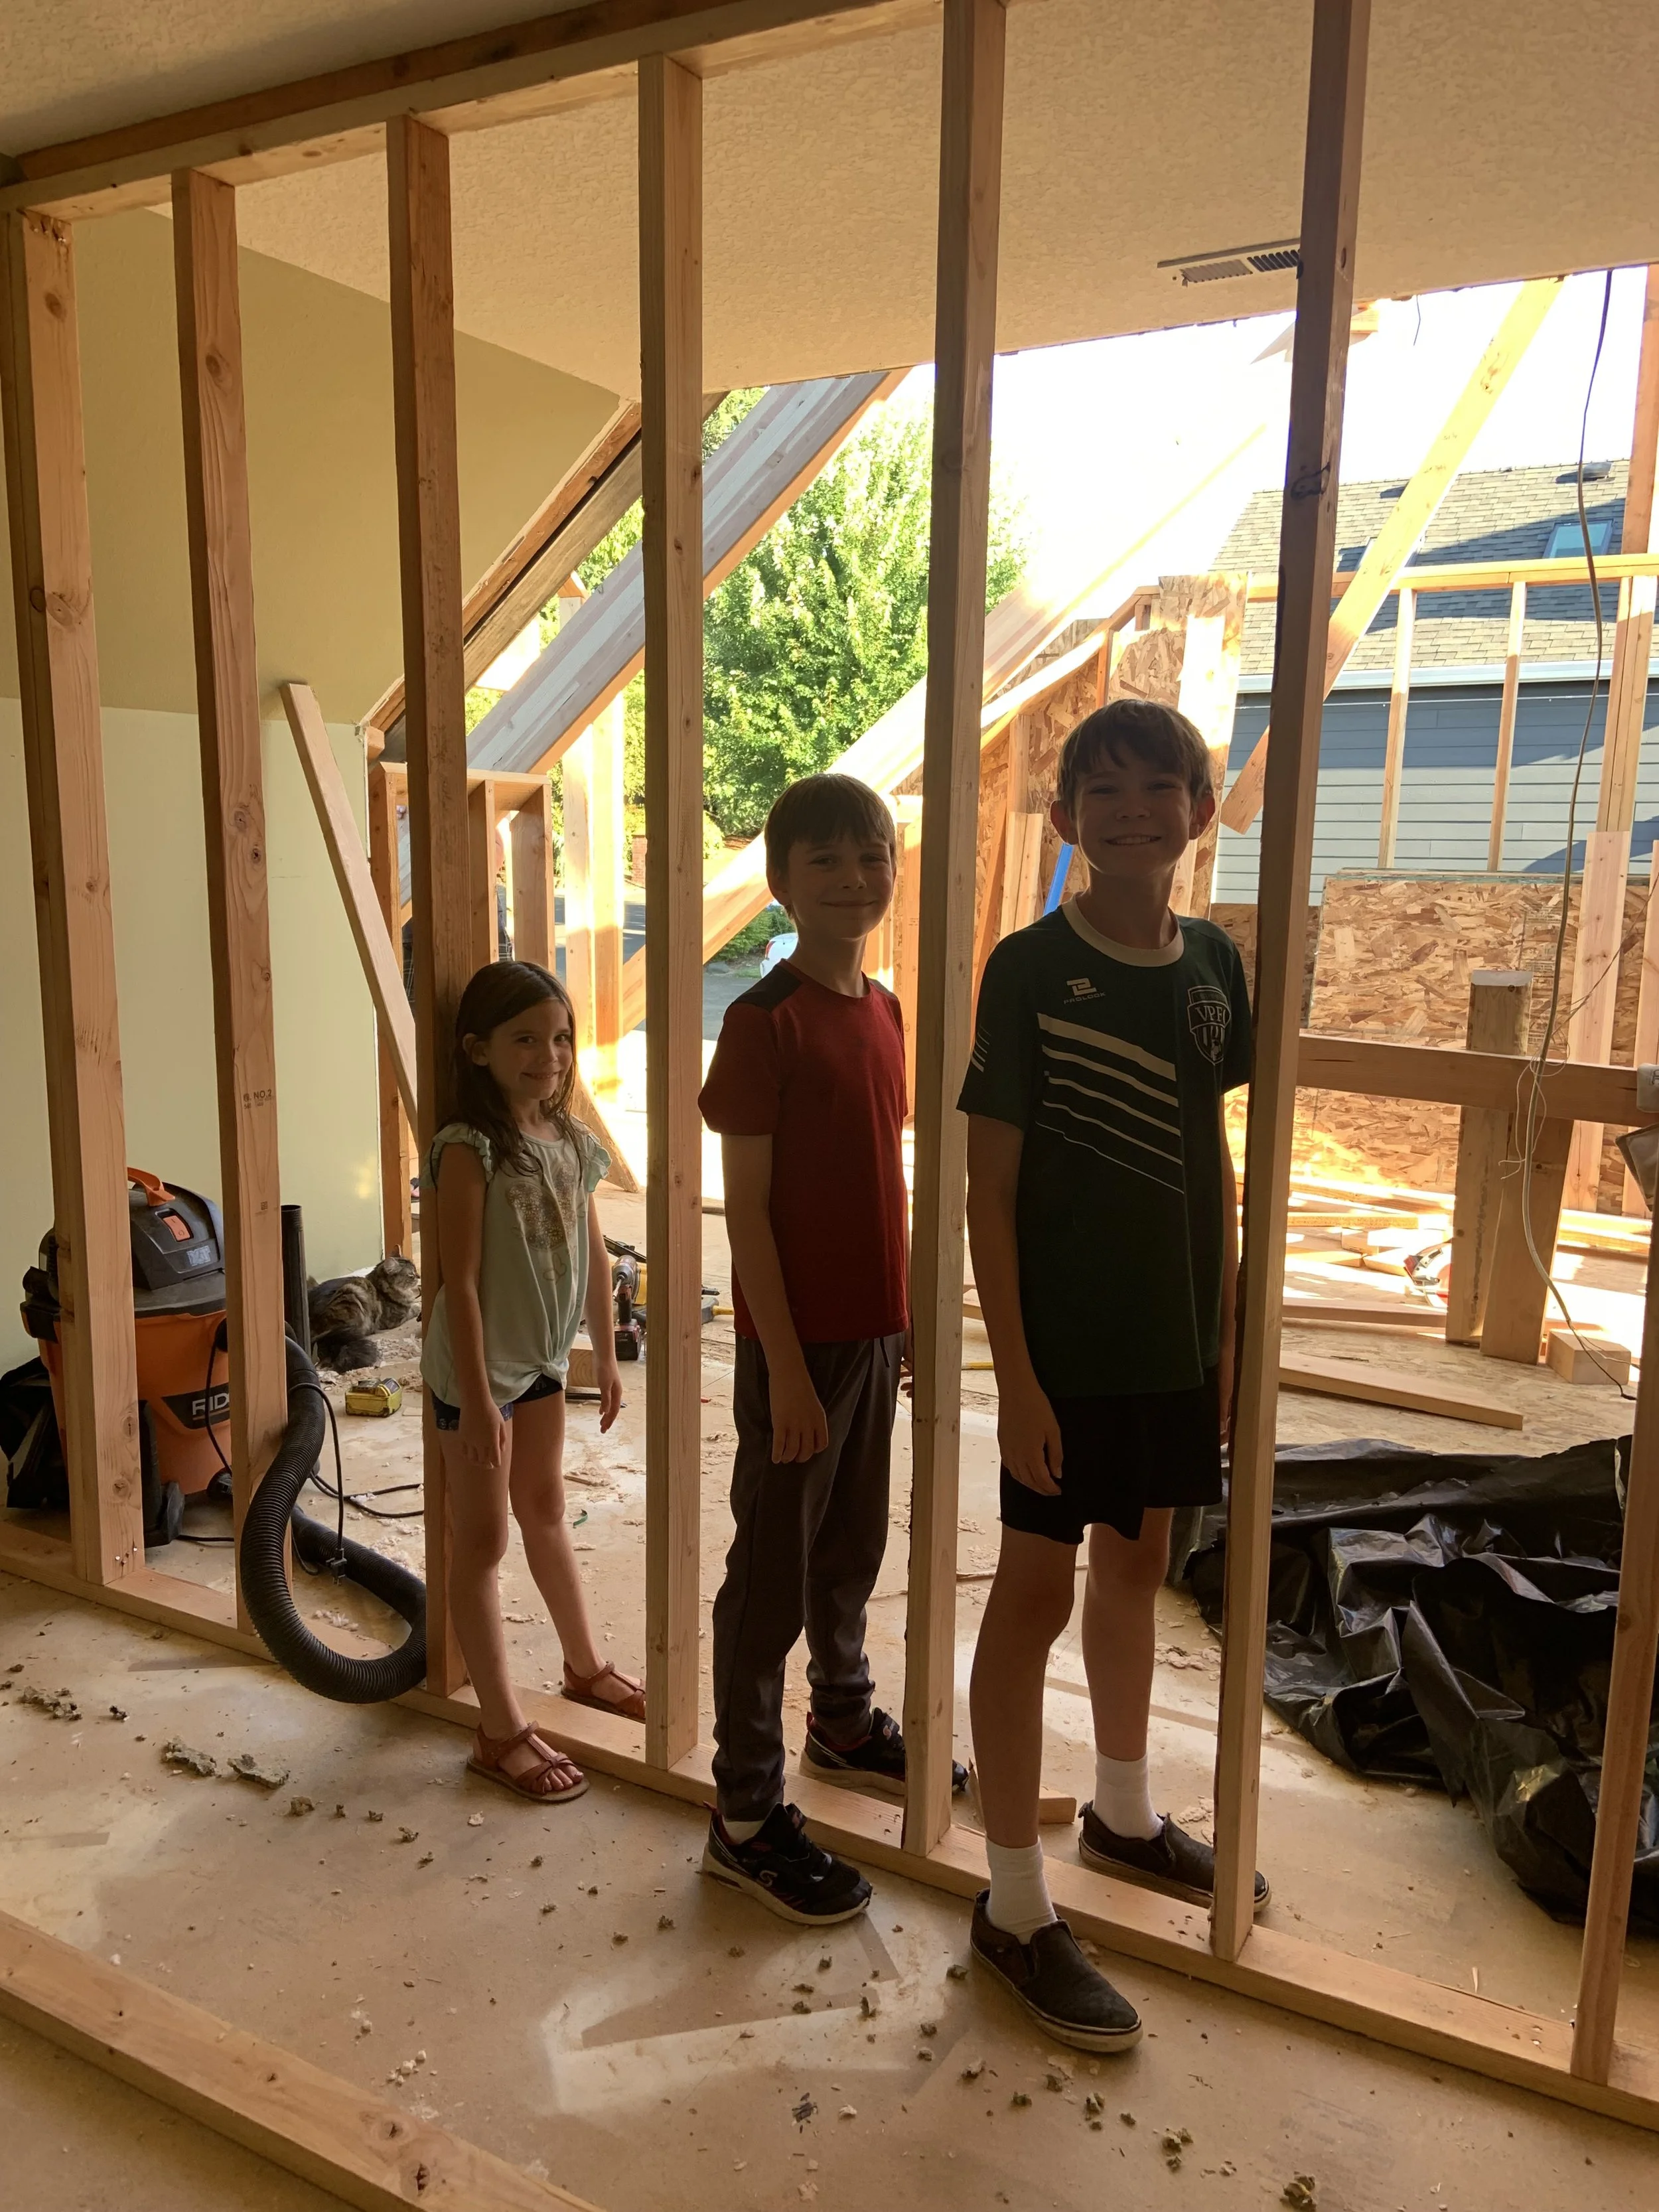
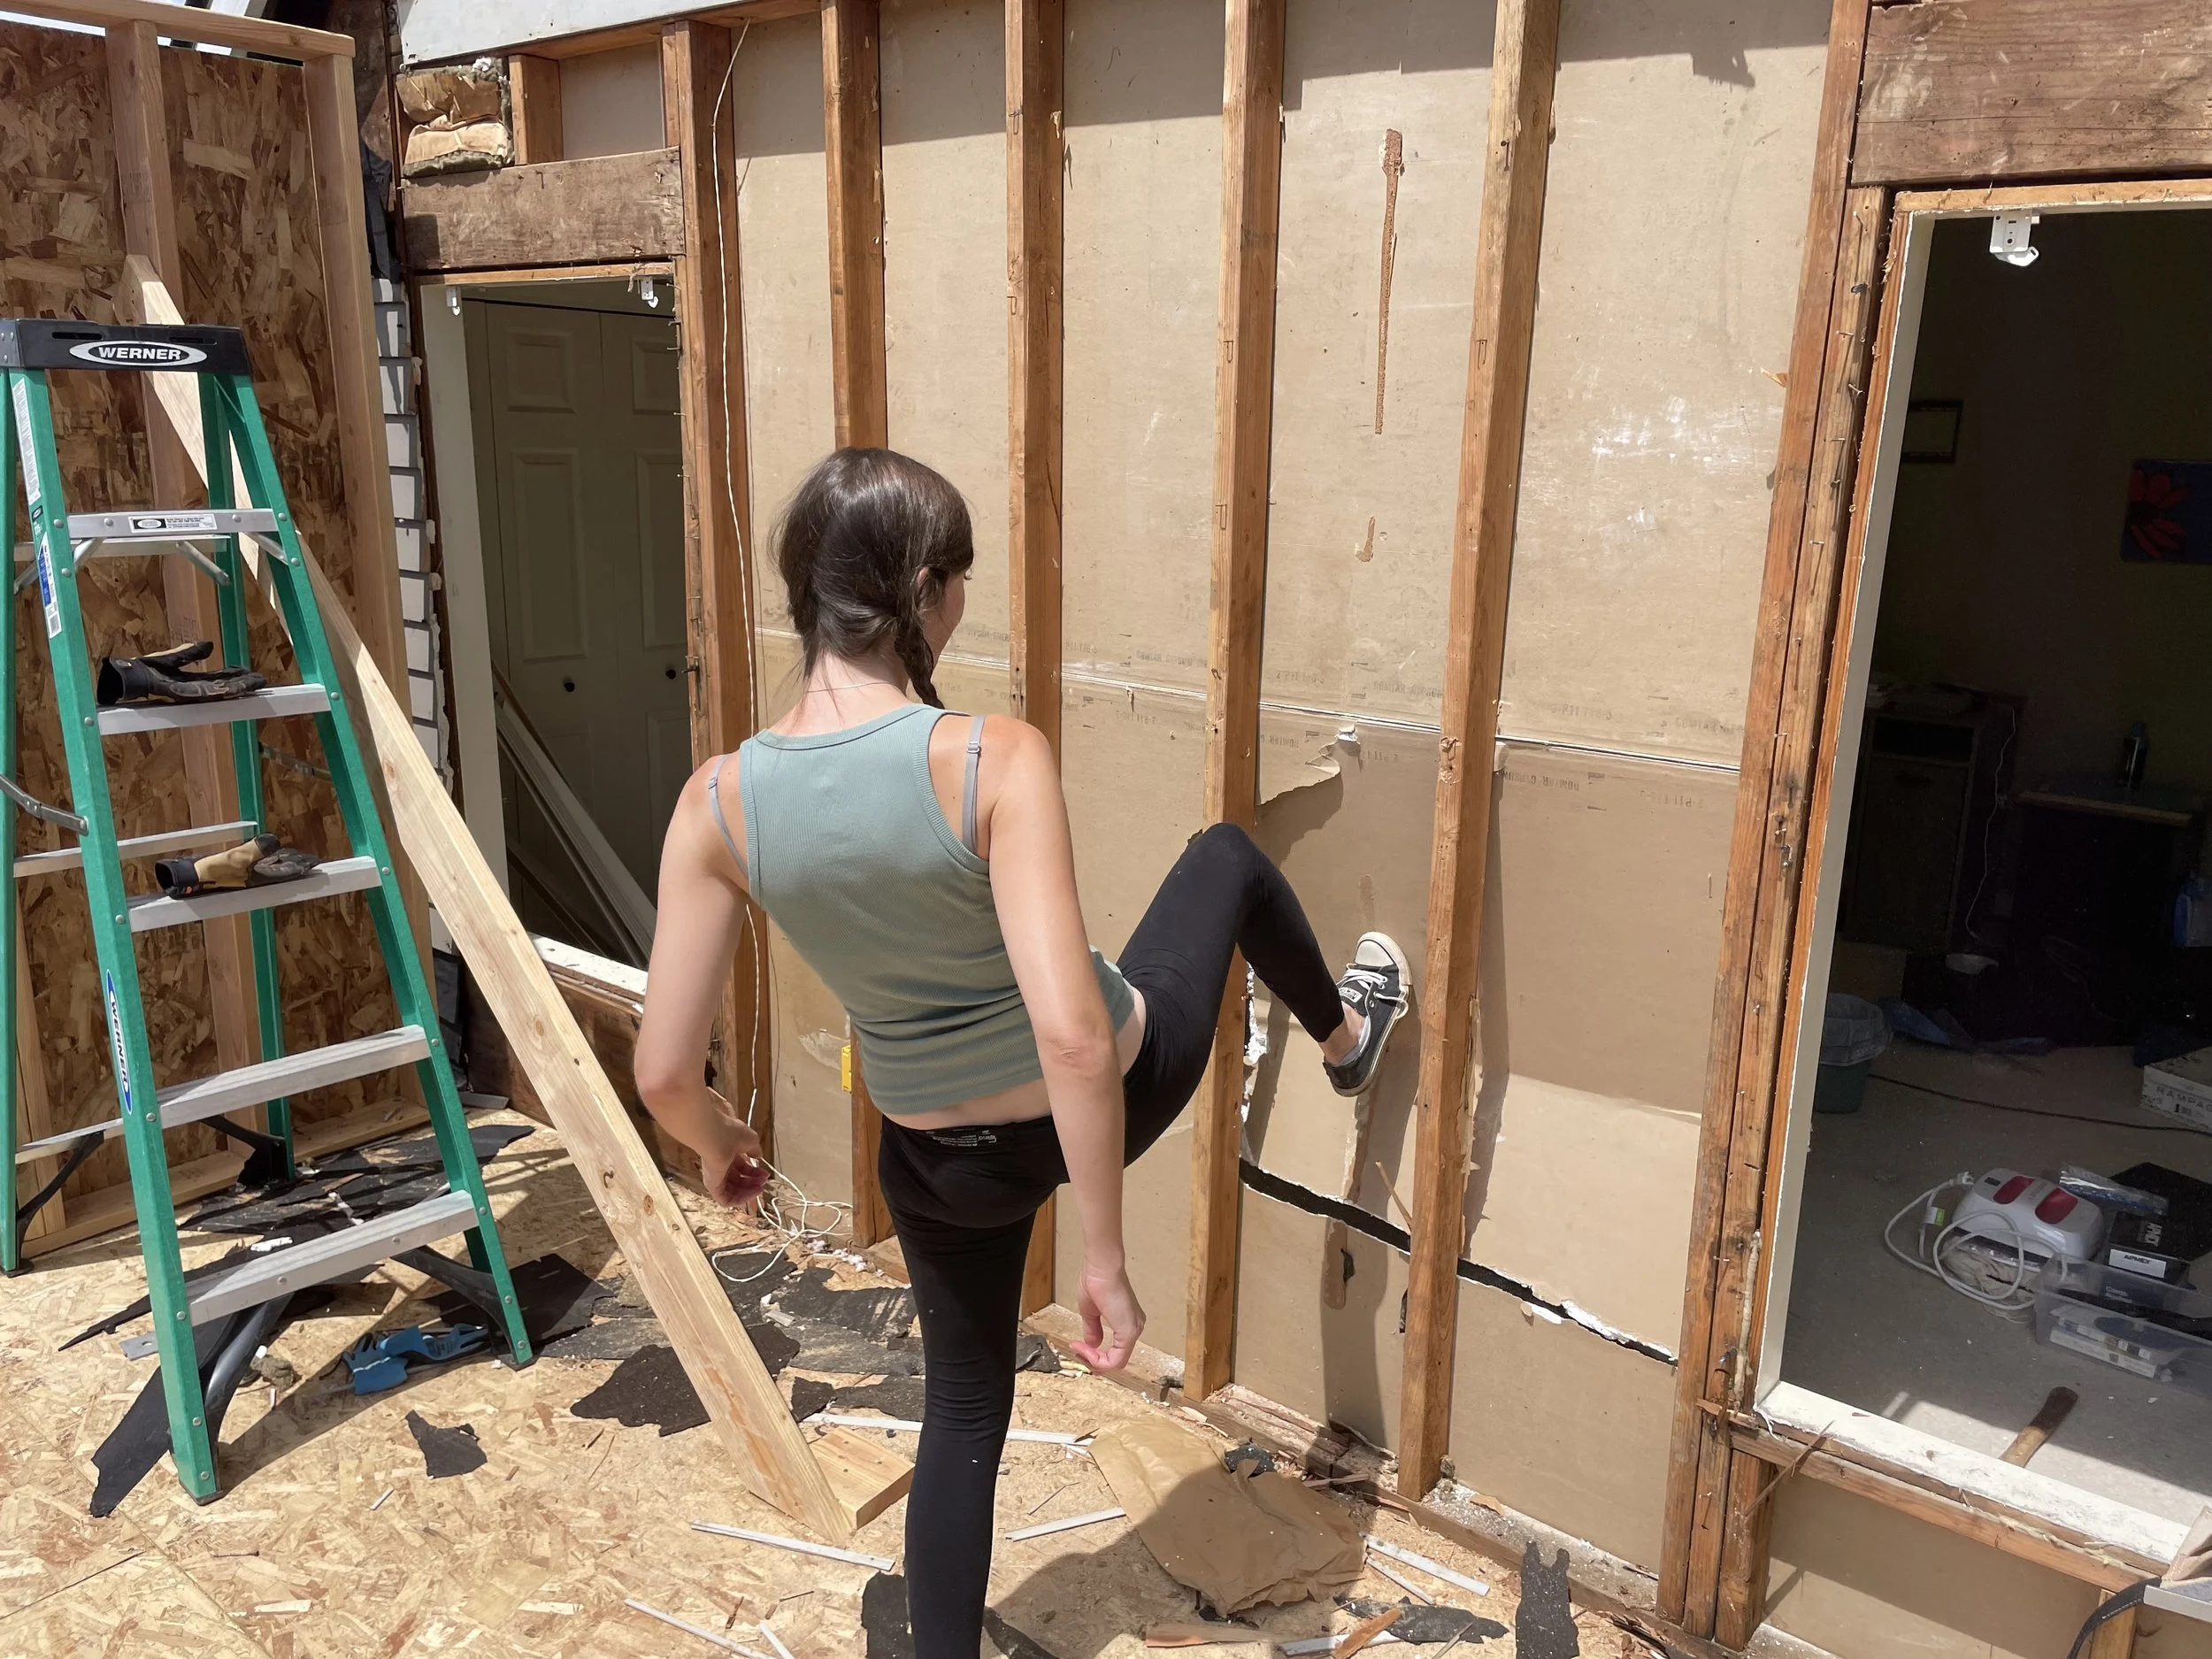
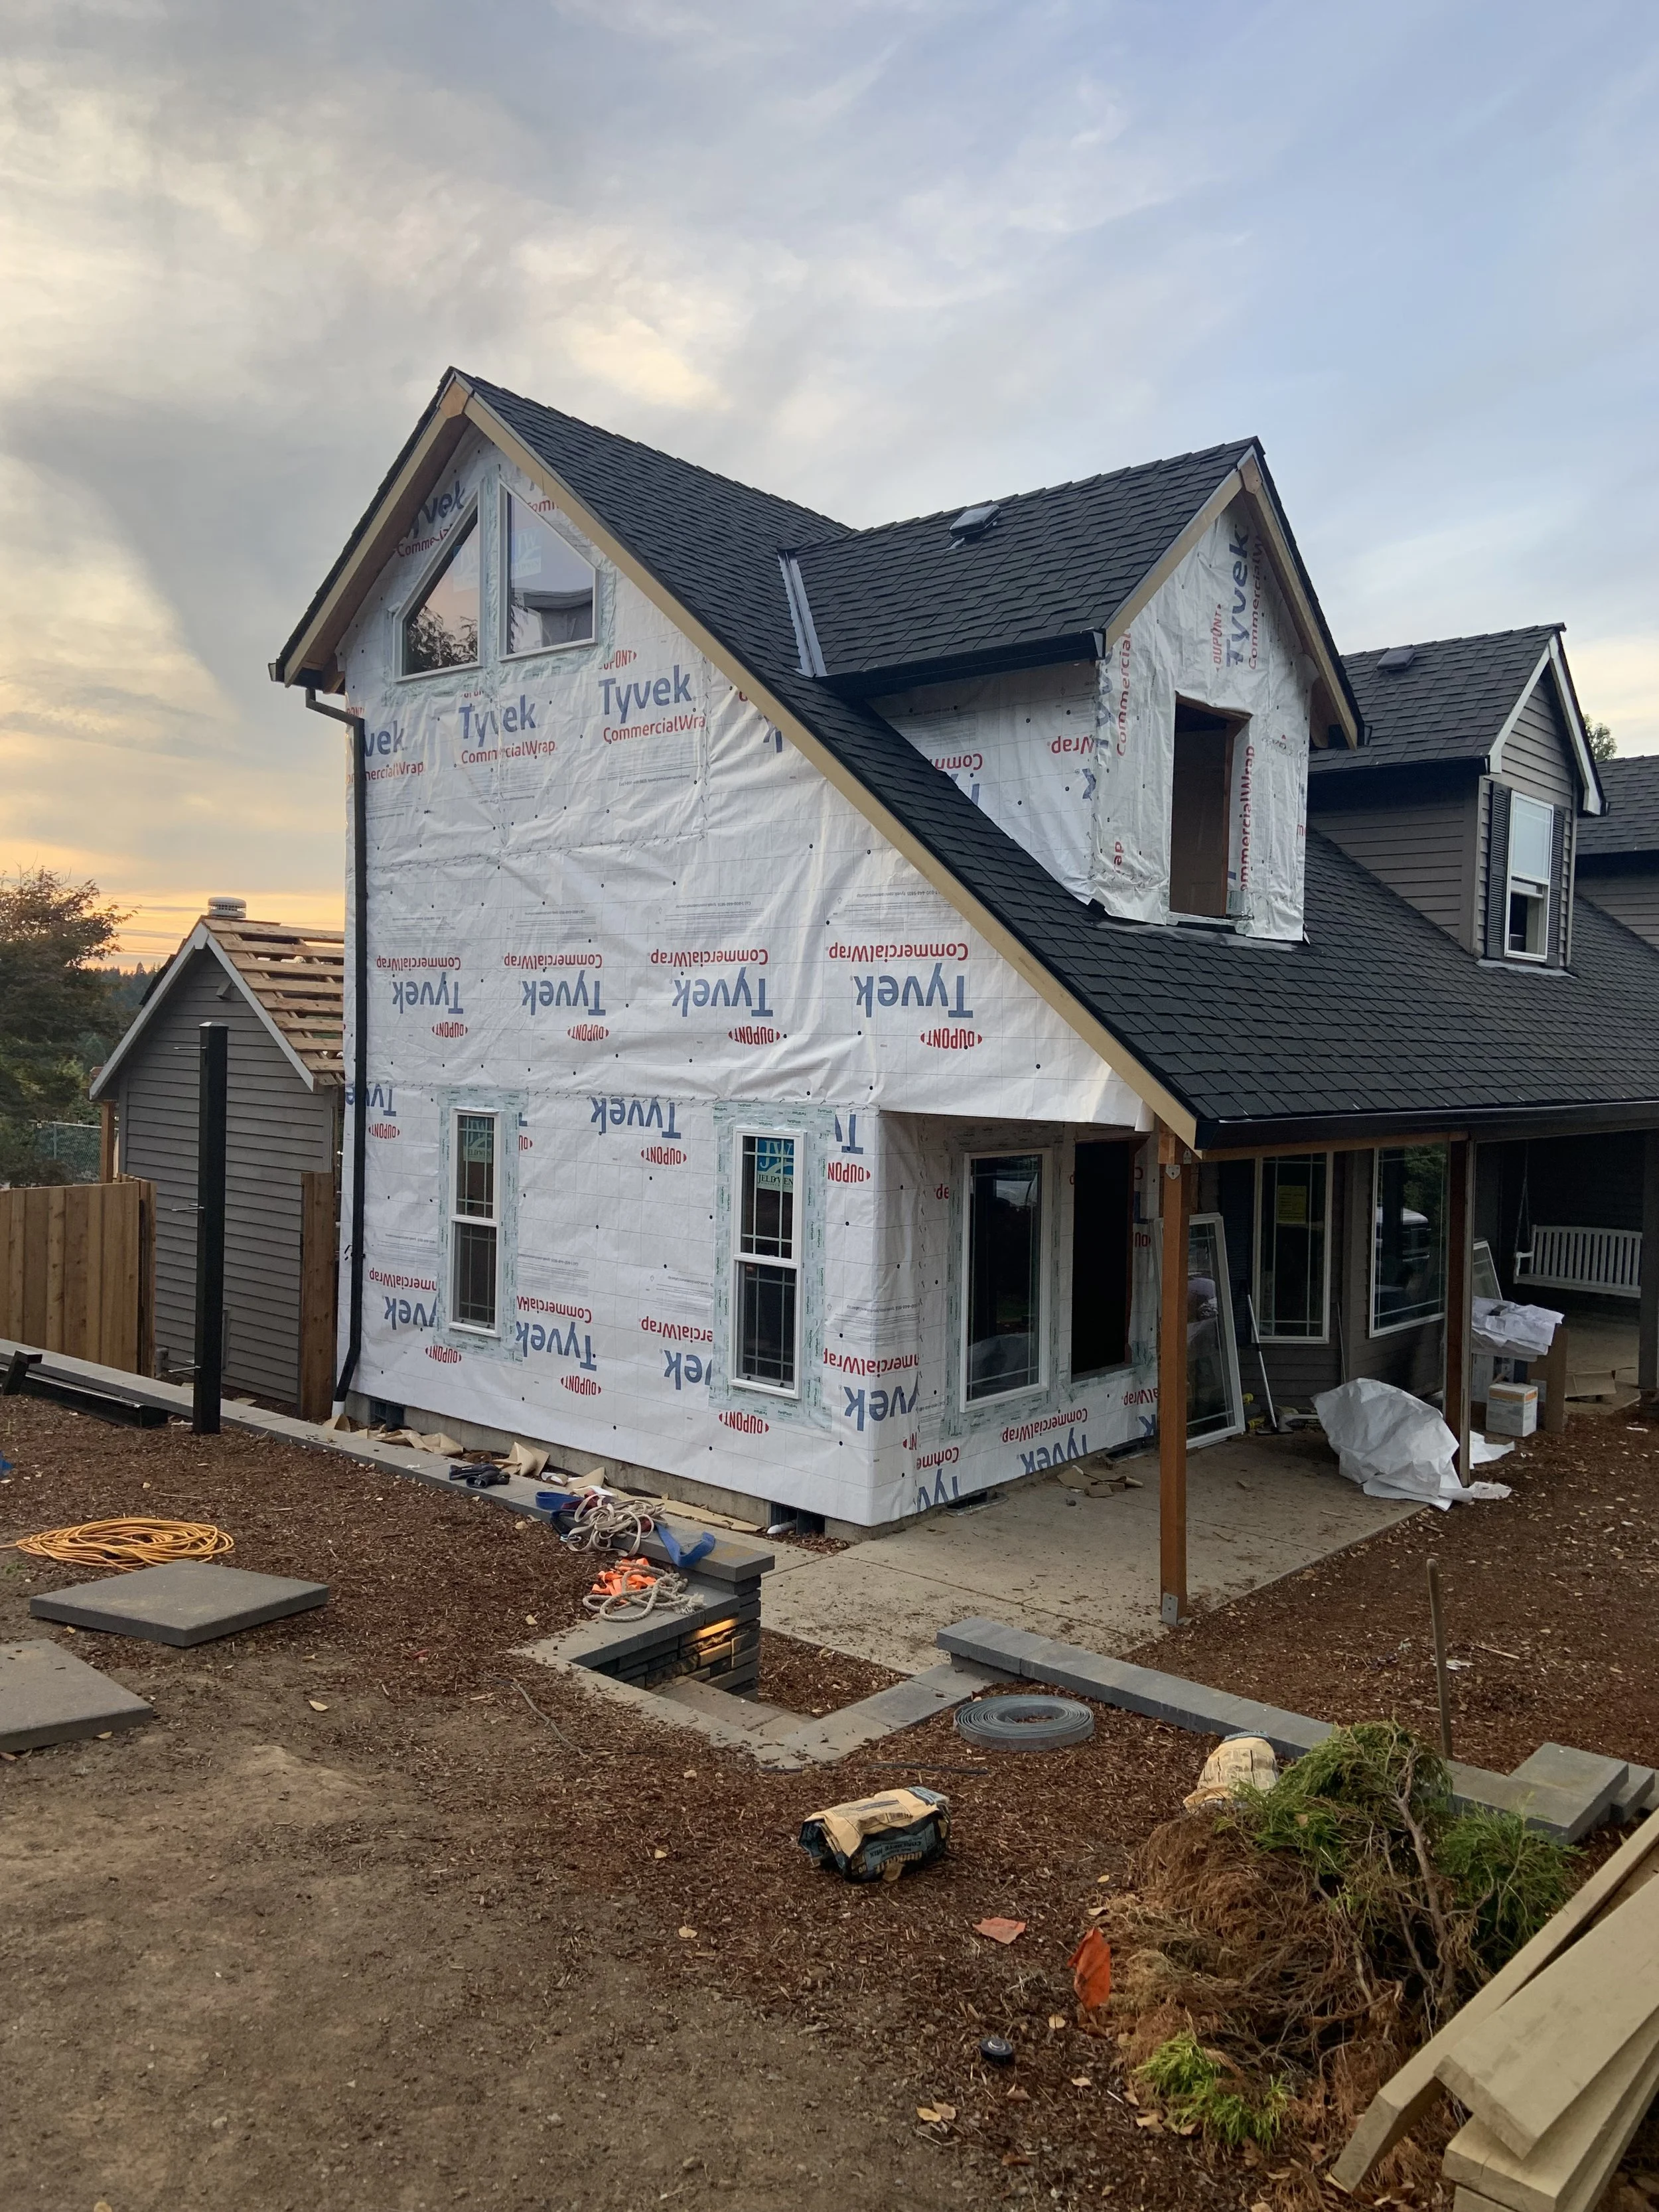
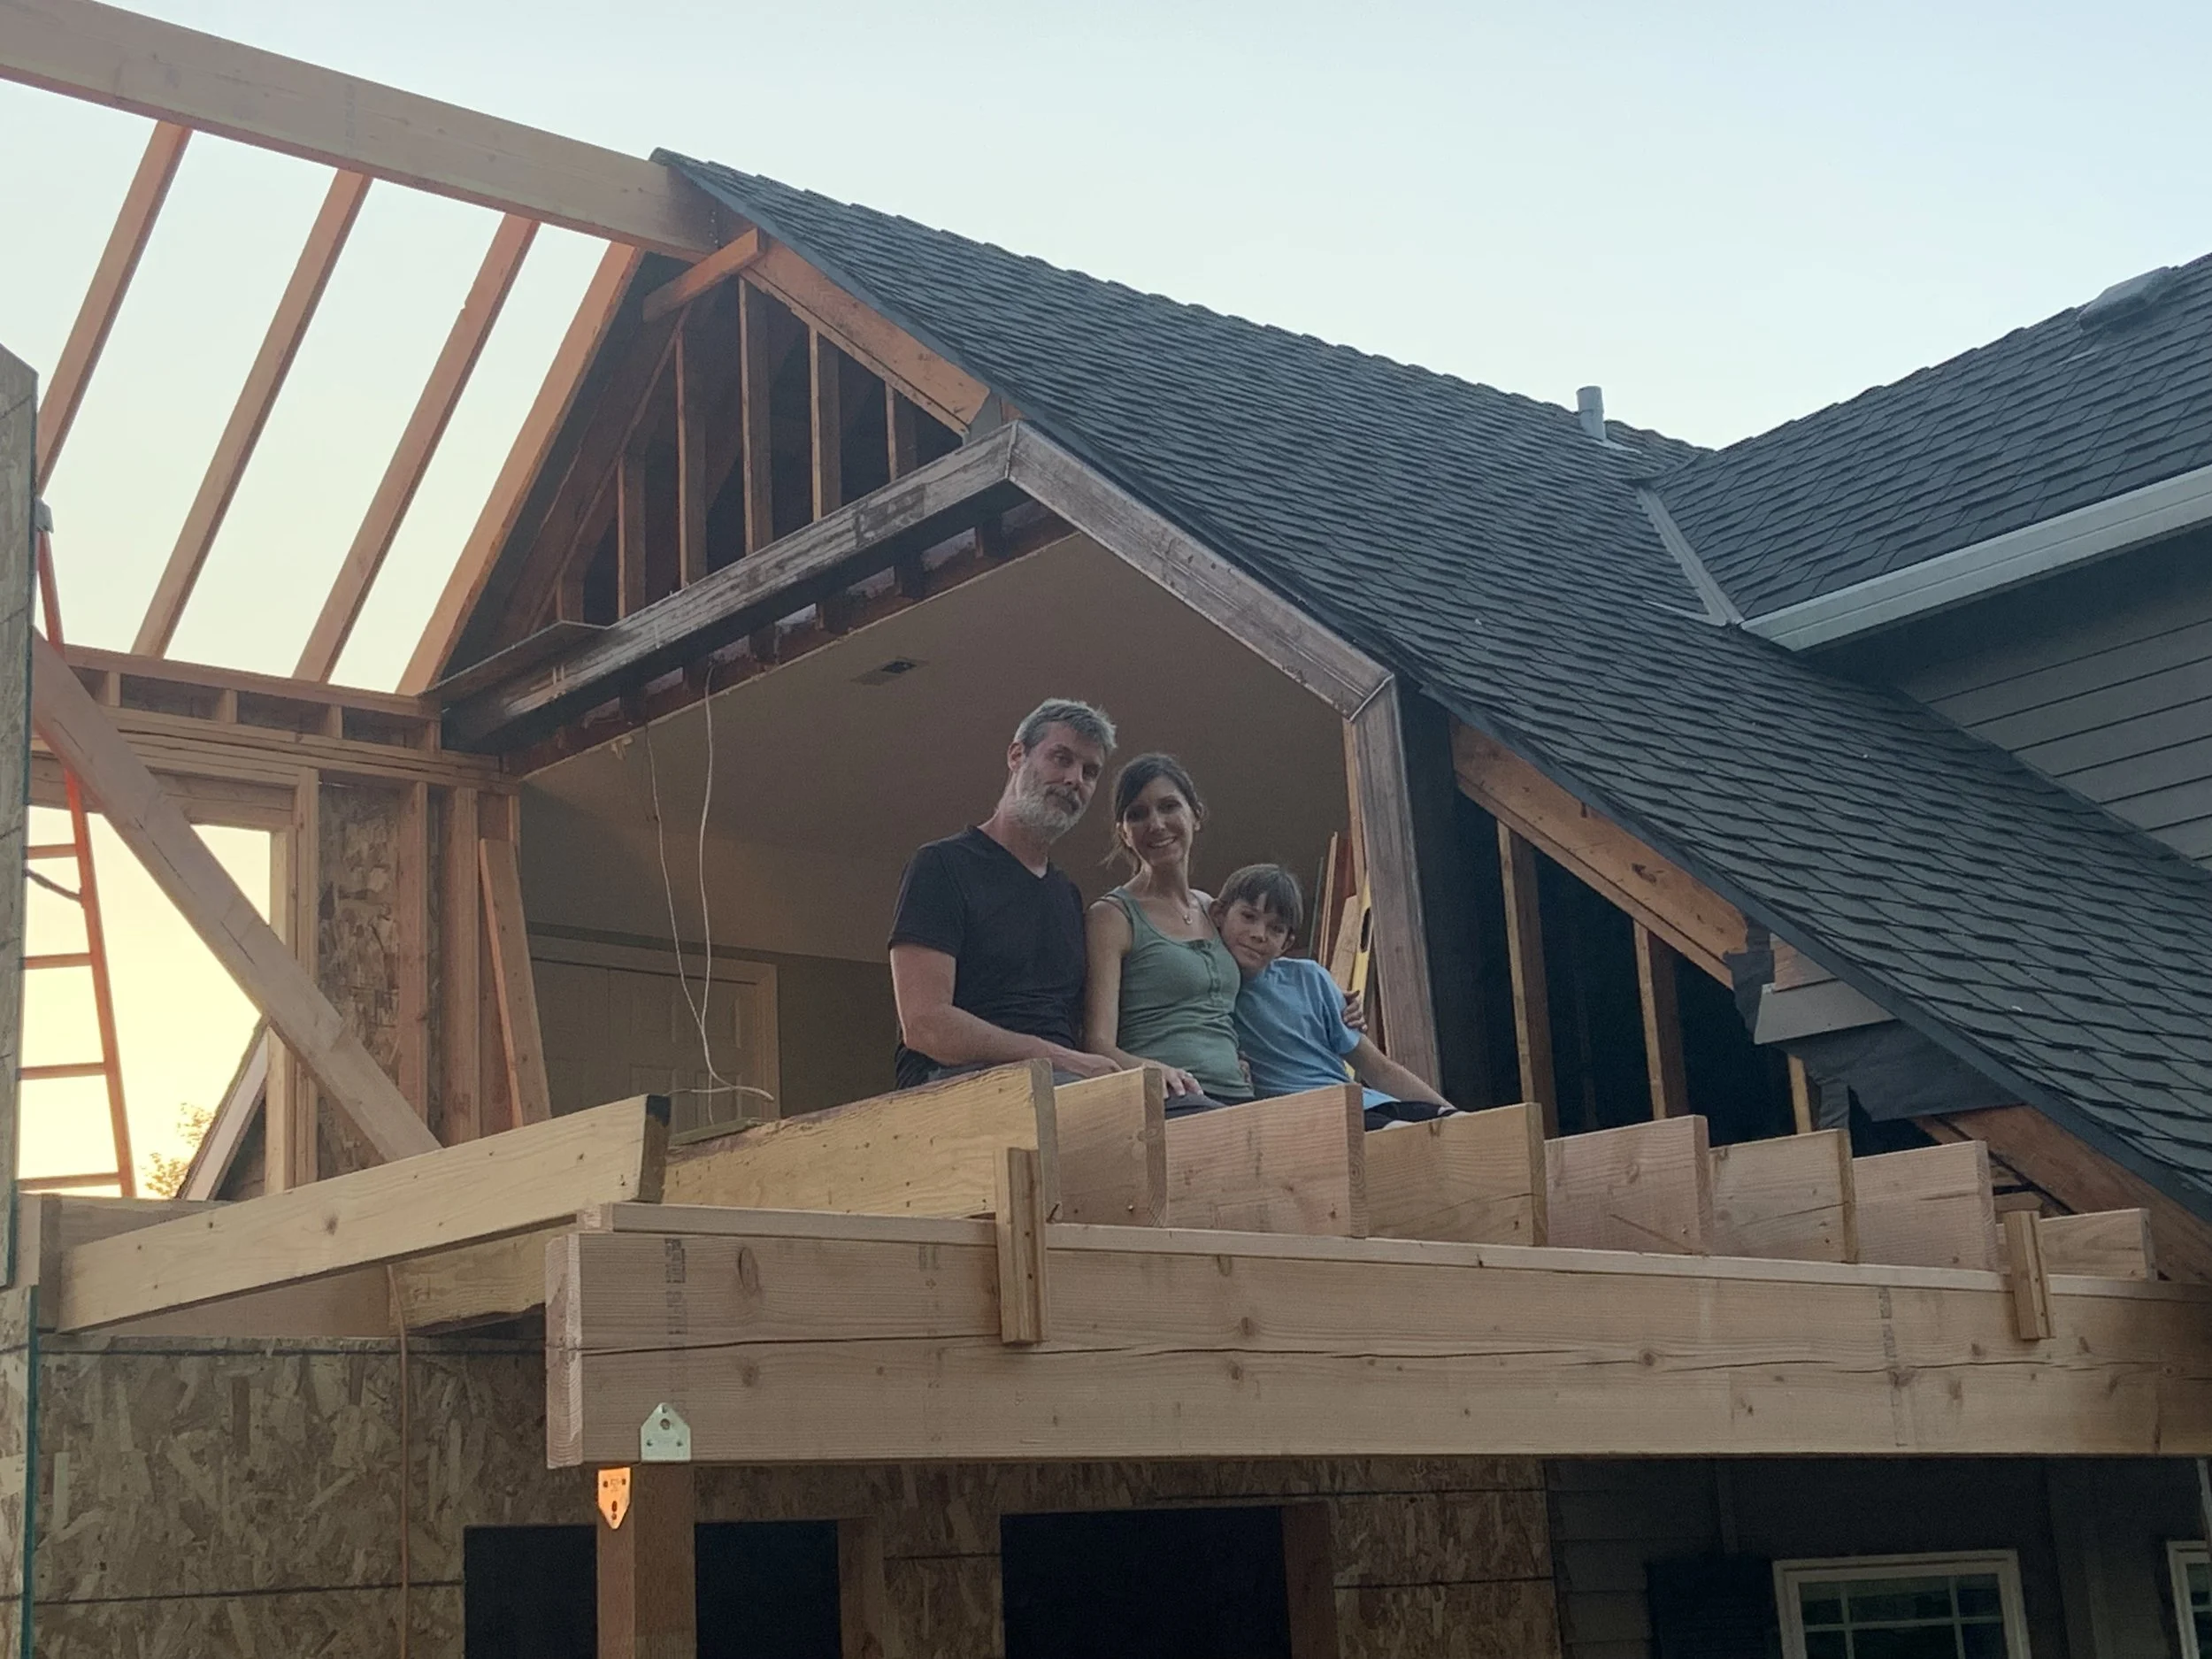
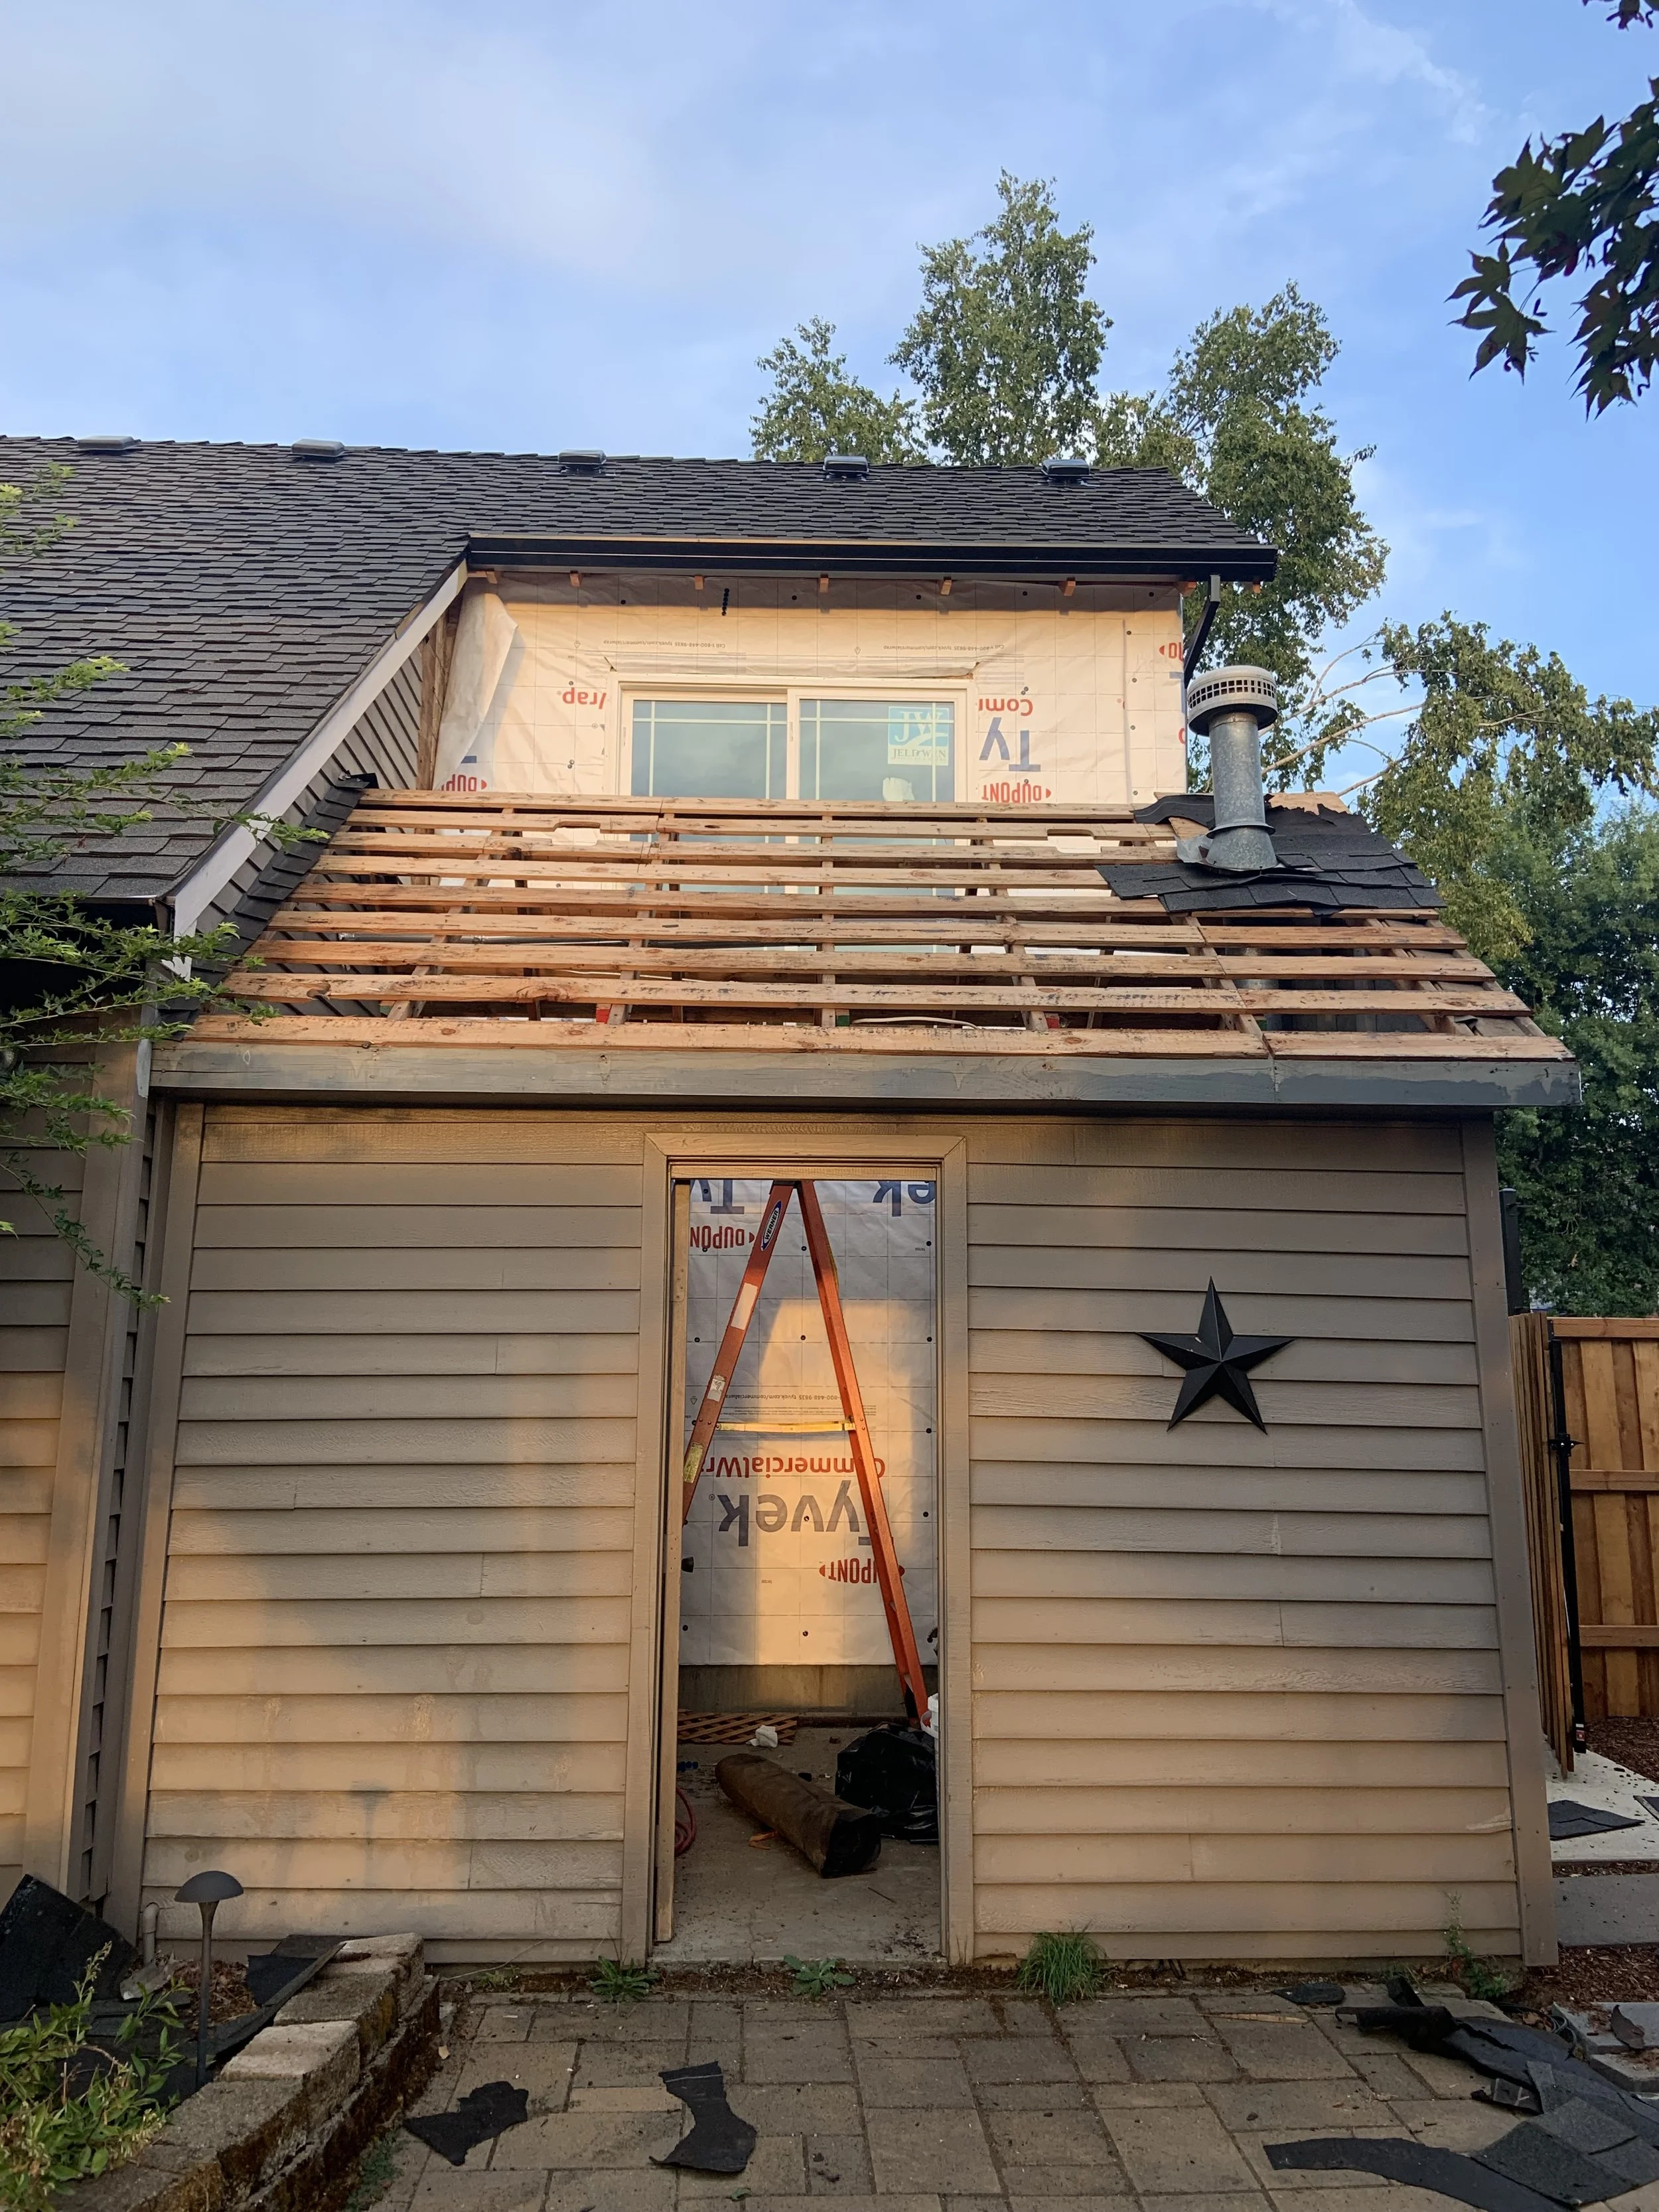
My husband and our neighbor did the framing all on their own! They also house wrapped it, installed the windows, did the siding, and my Dad helped with the electrical. It was quite the experience and a little scary at times, but also amazing to see the process. Our inner Chip and Joanna Gaines came out and he did all the heavy work, while I was able to go crazy with designing. (And also help with demo here and there!) Like I mentioned earlier, we have a beautiful sunset view and why not maximize this?? My husband and I are both dreamers and had always imagined how we could make the most out of our view. So we not only added a home office downstairs, but we also expanded our master bedroom and bathroom and built a balcony off the bedroom in the back of the house. We temporarily moved out of our bedroom and into one of the kids’ rooms, while they all bunked together in the only other bedroom in the house. The rest is history, and even though it was stressful and chaotic at times, we don’t regret the decision one bit. Just look at this view!!!
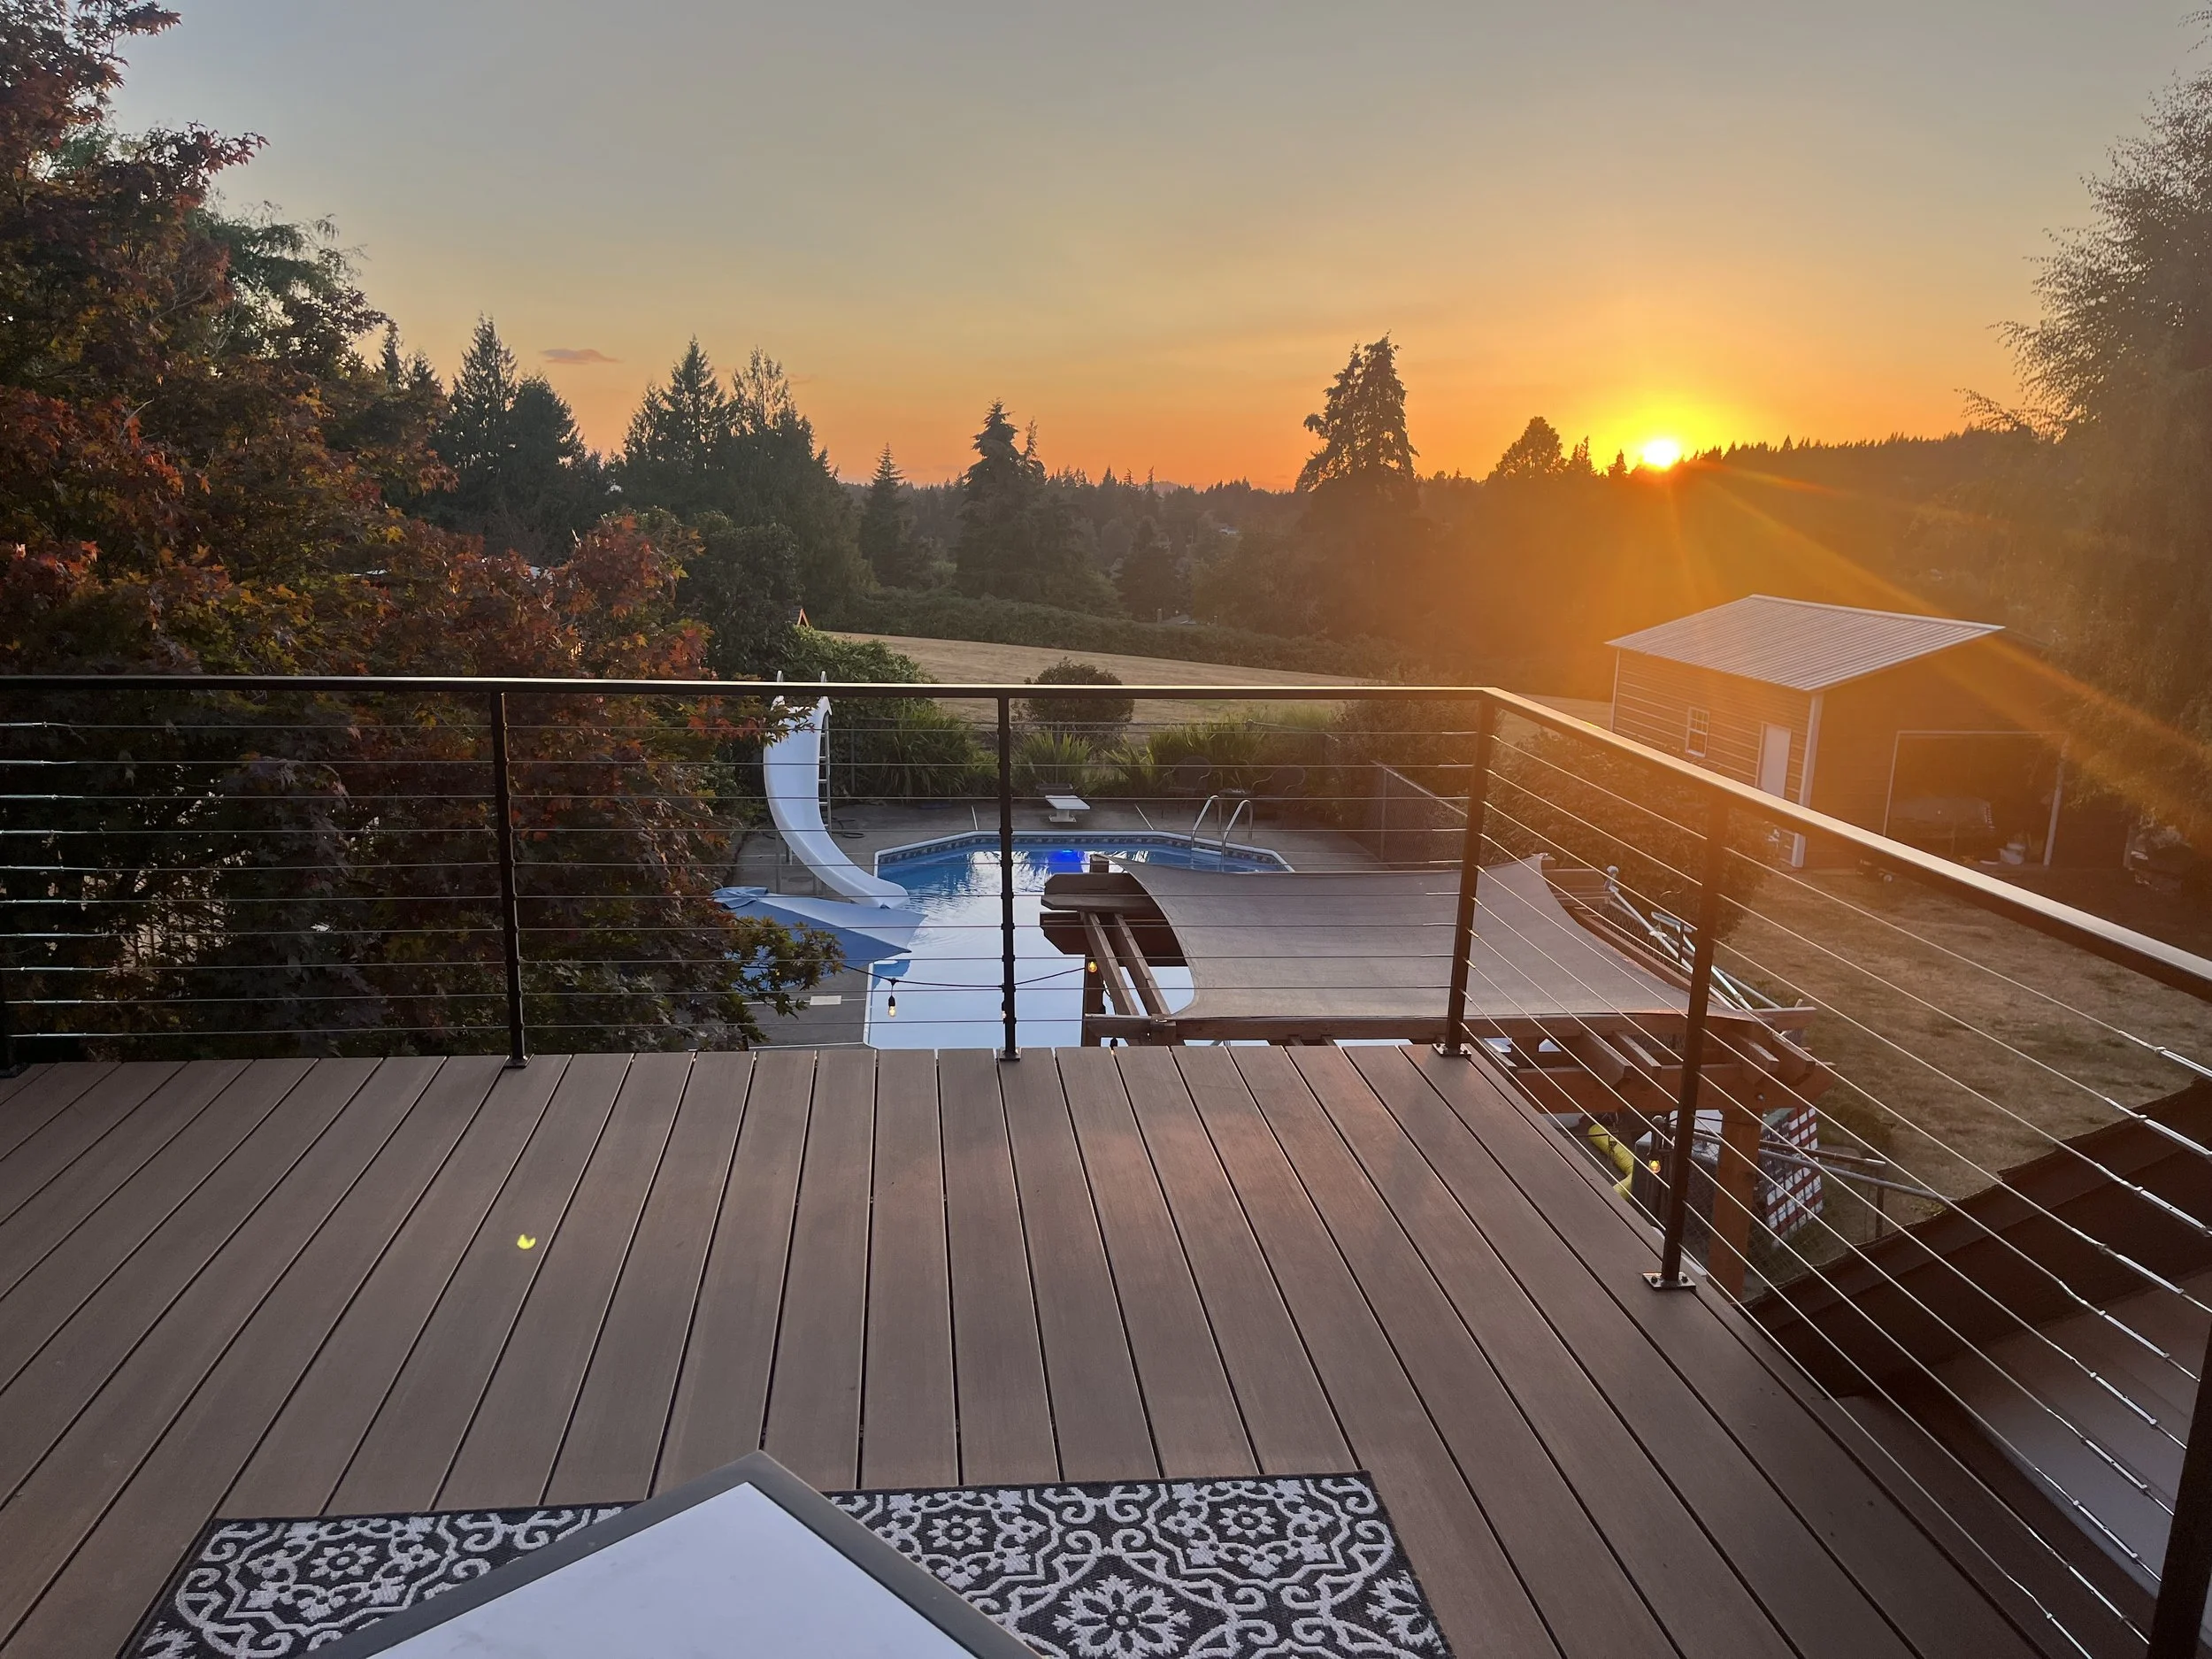
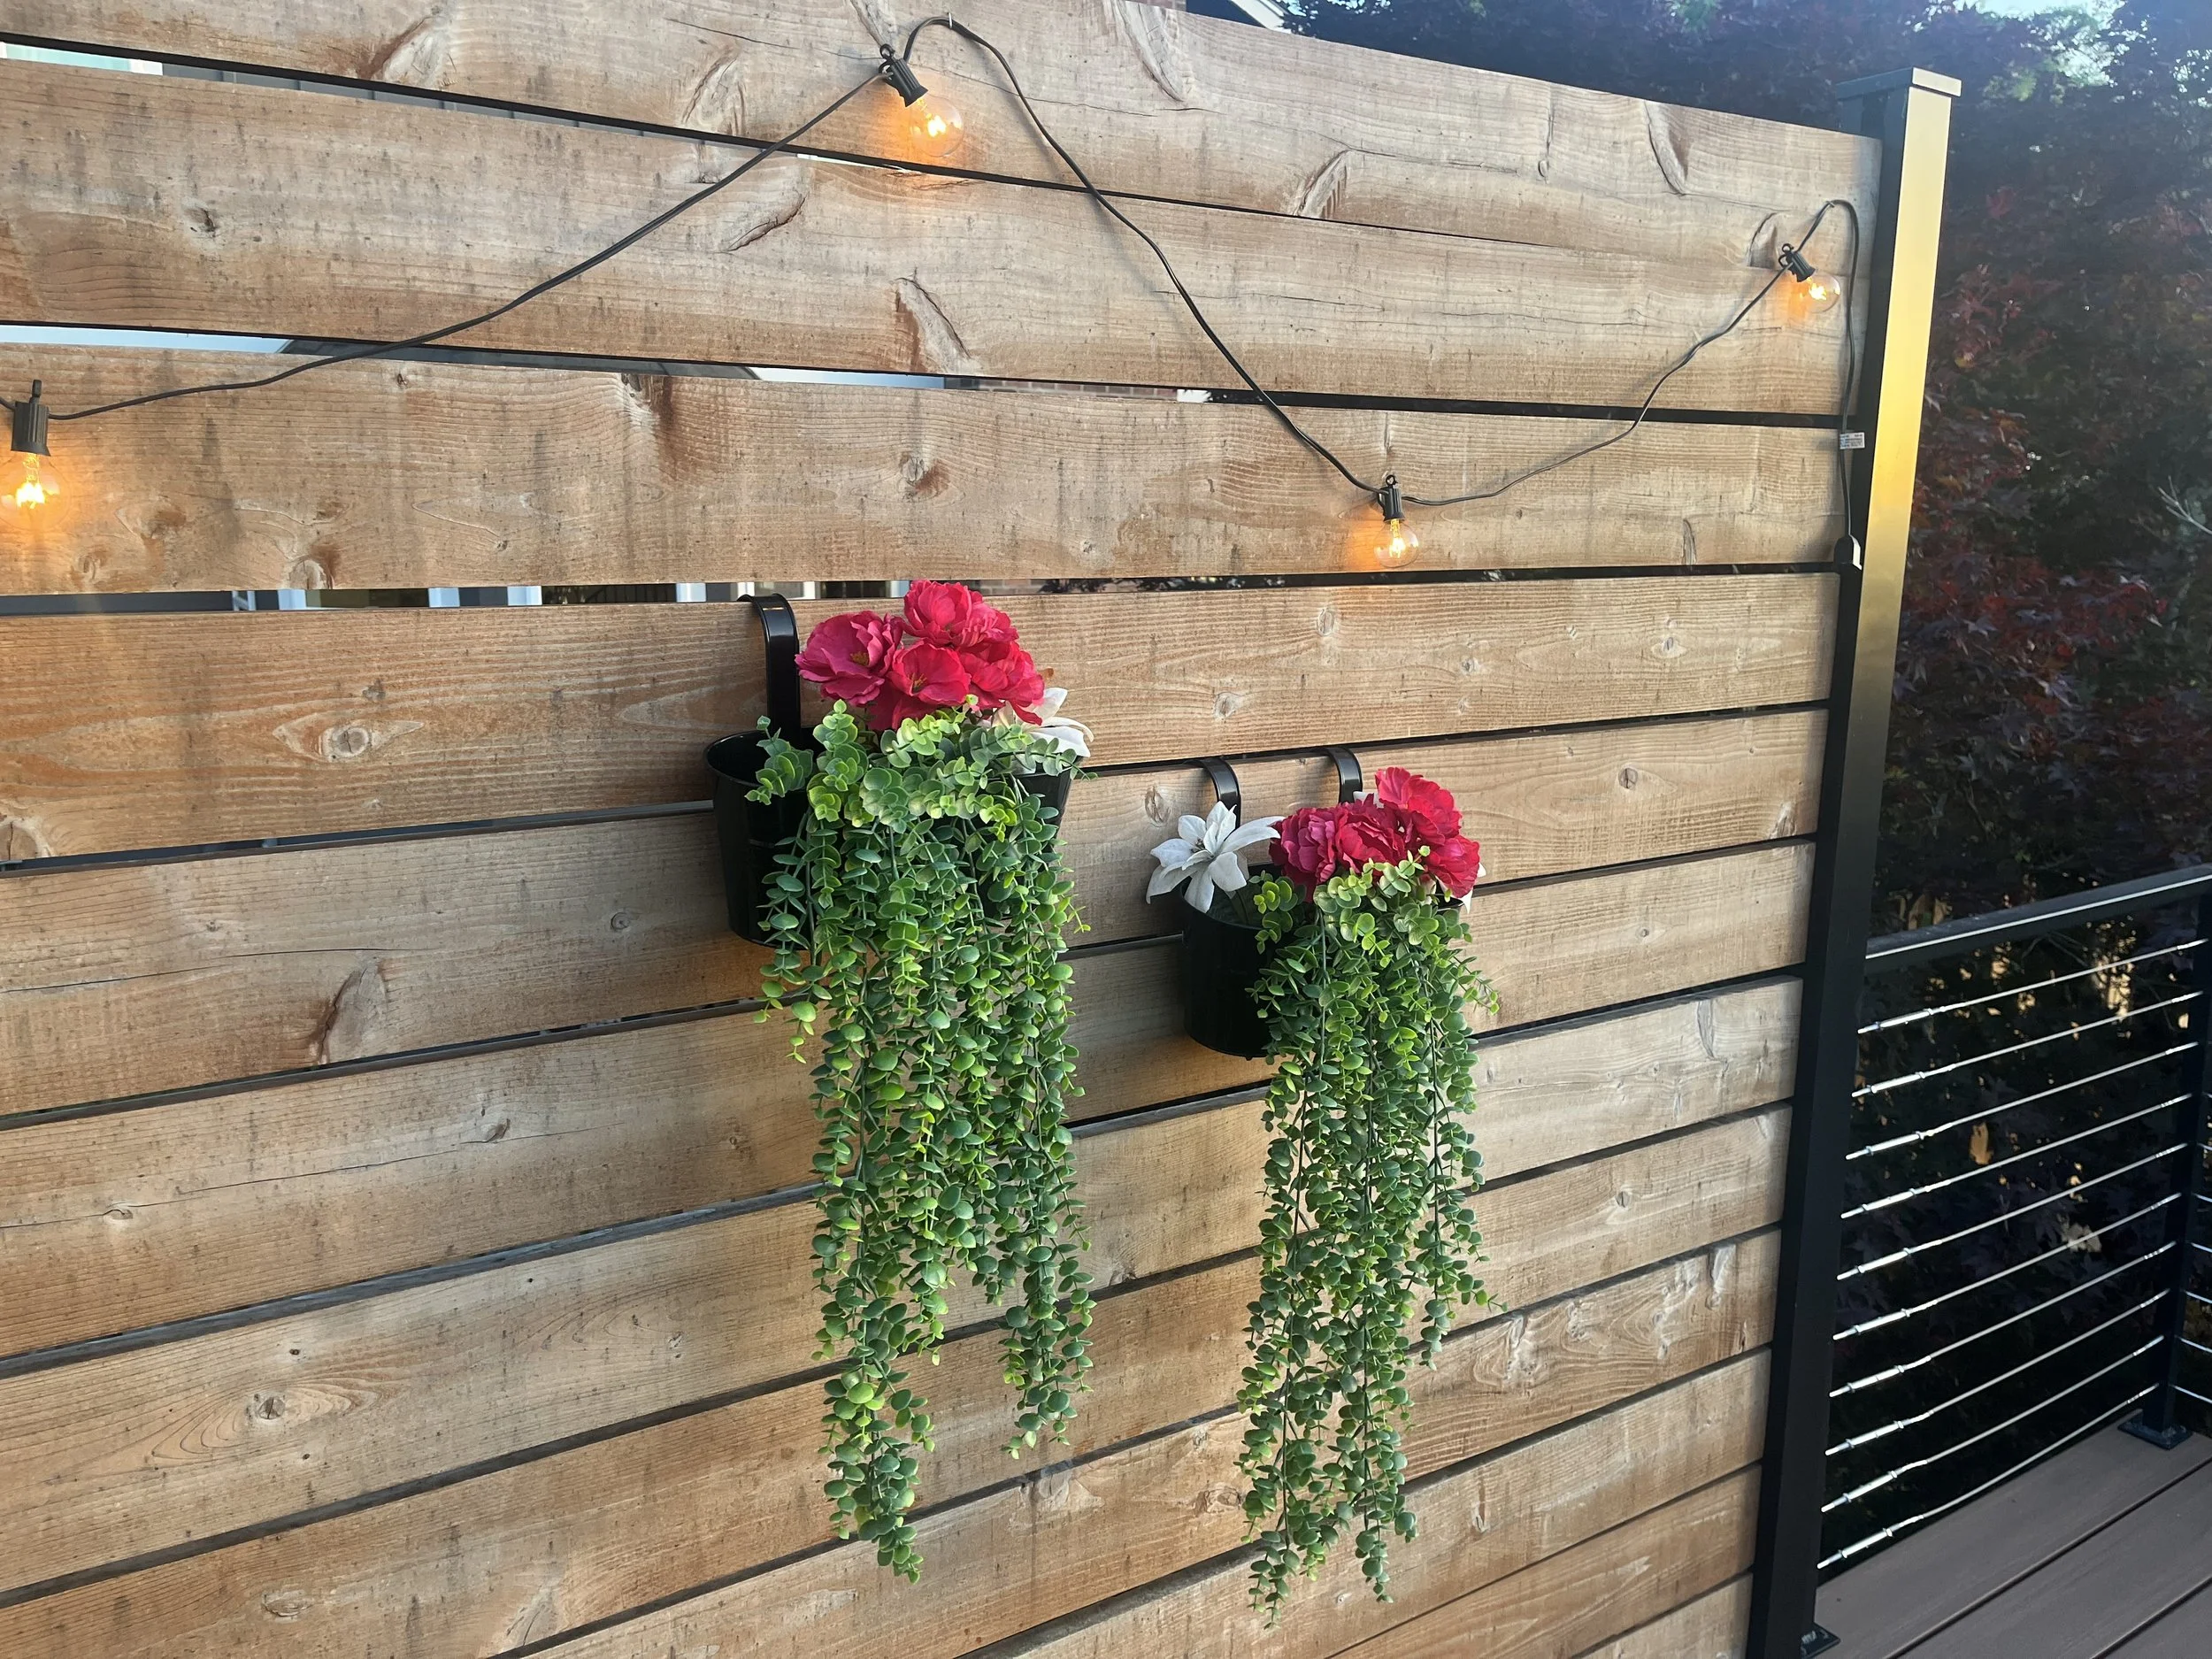
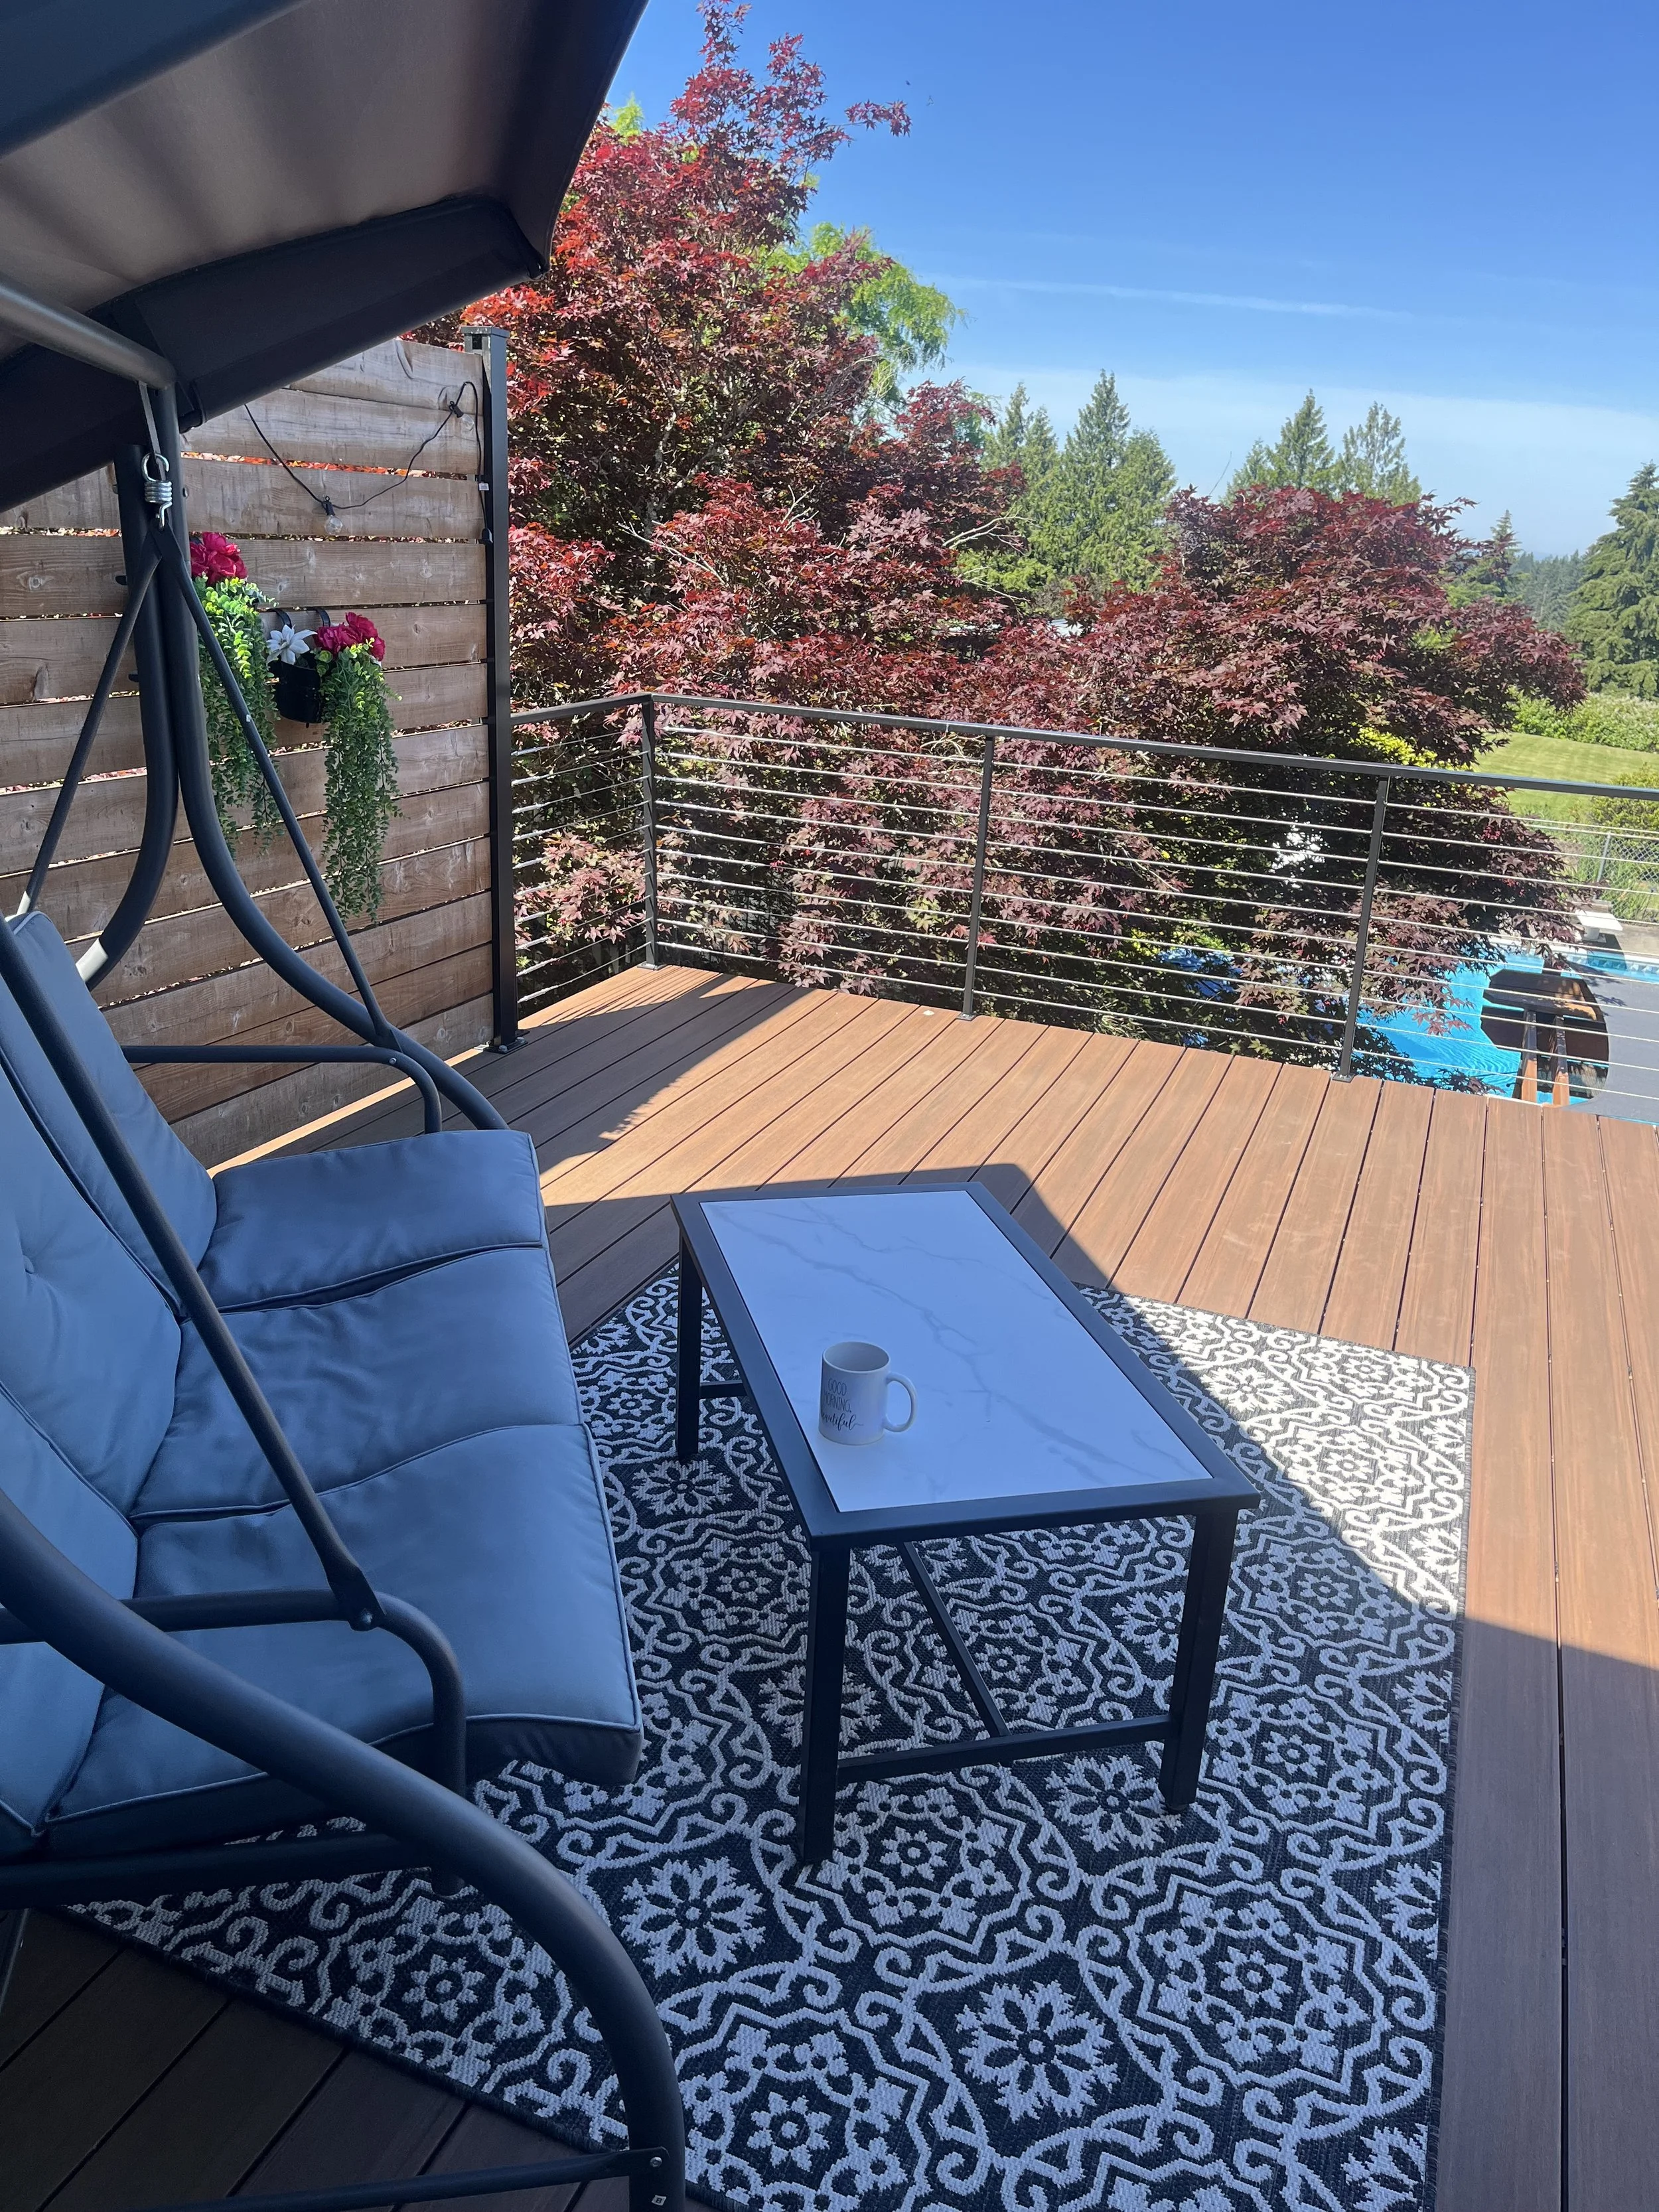
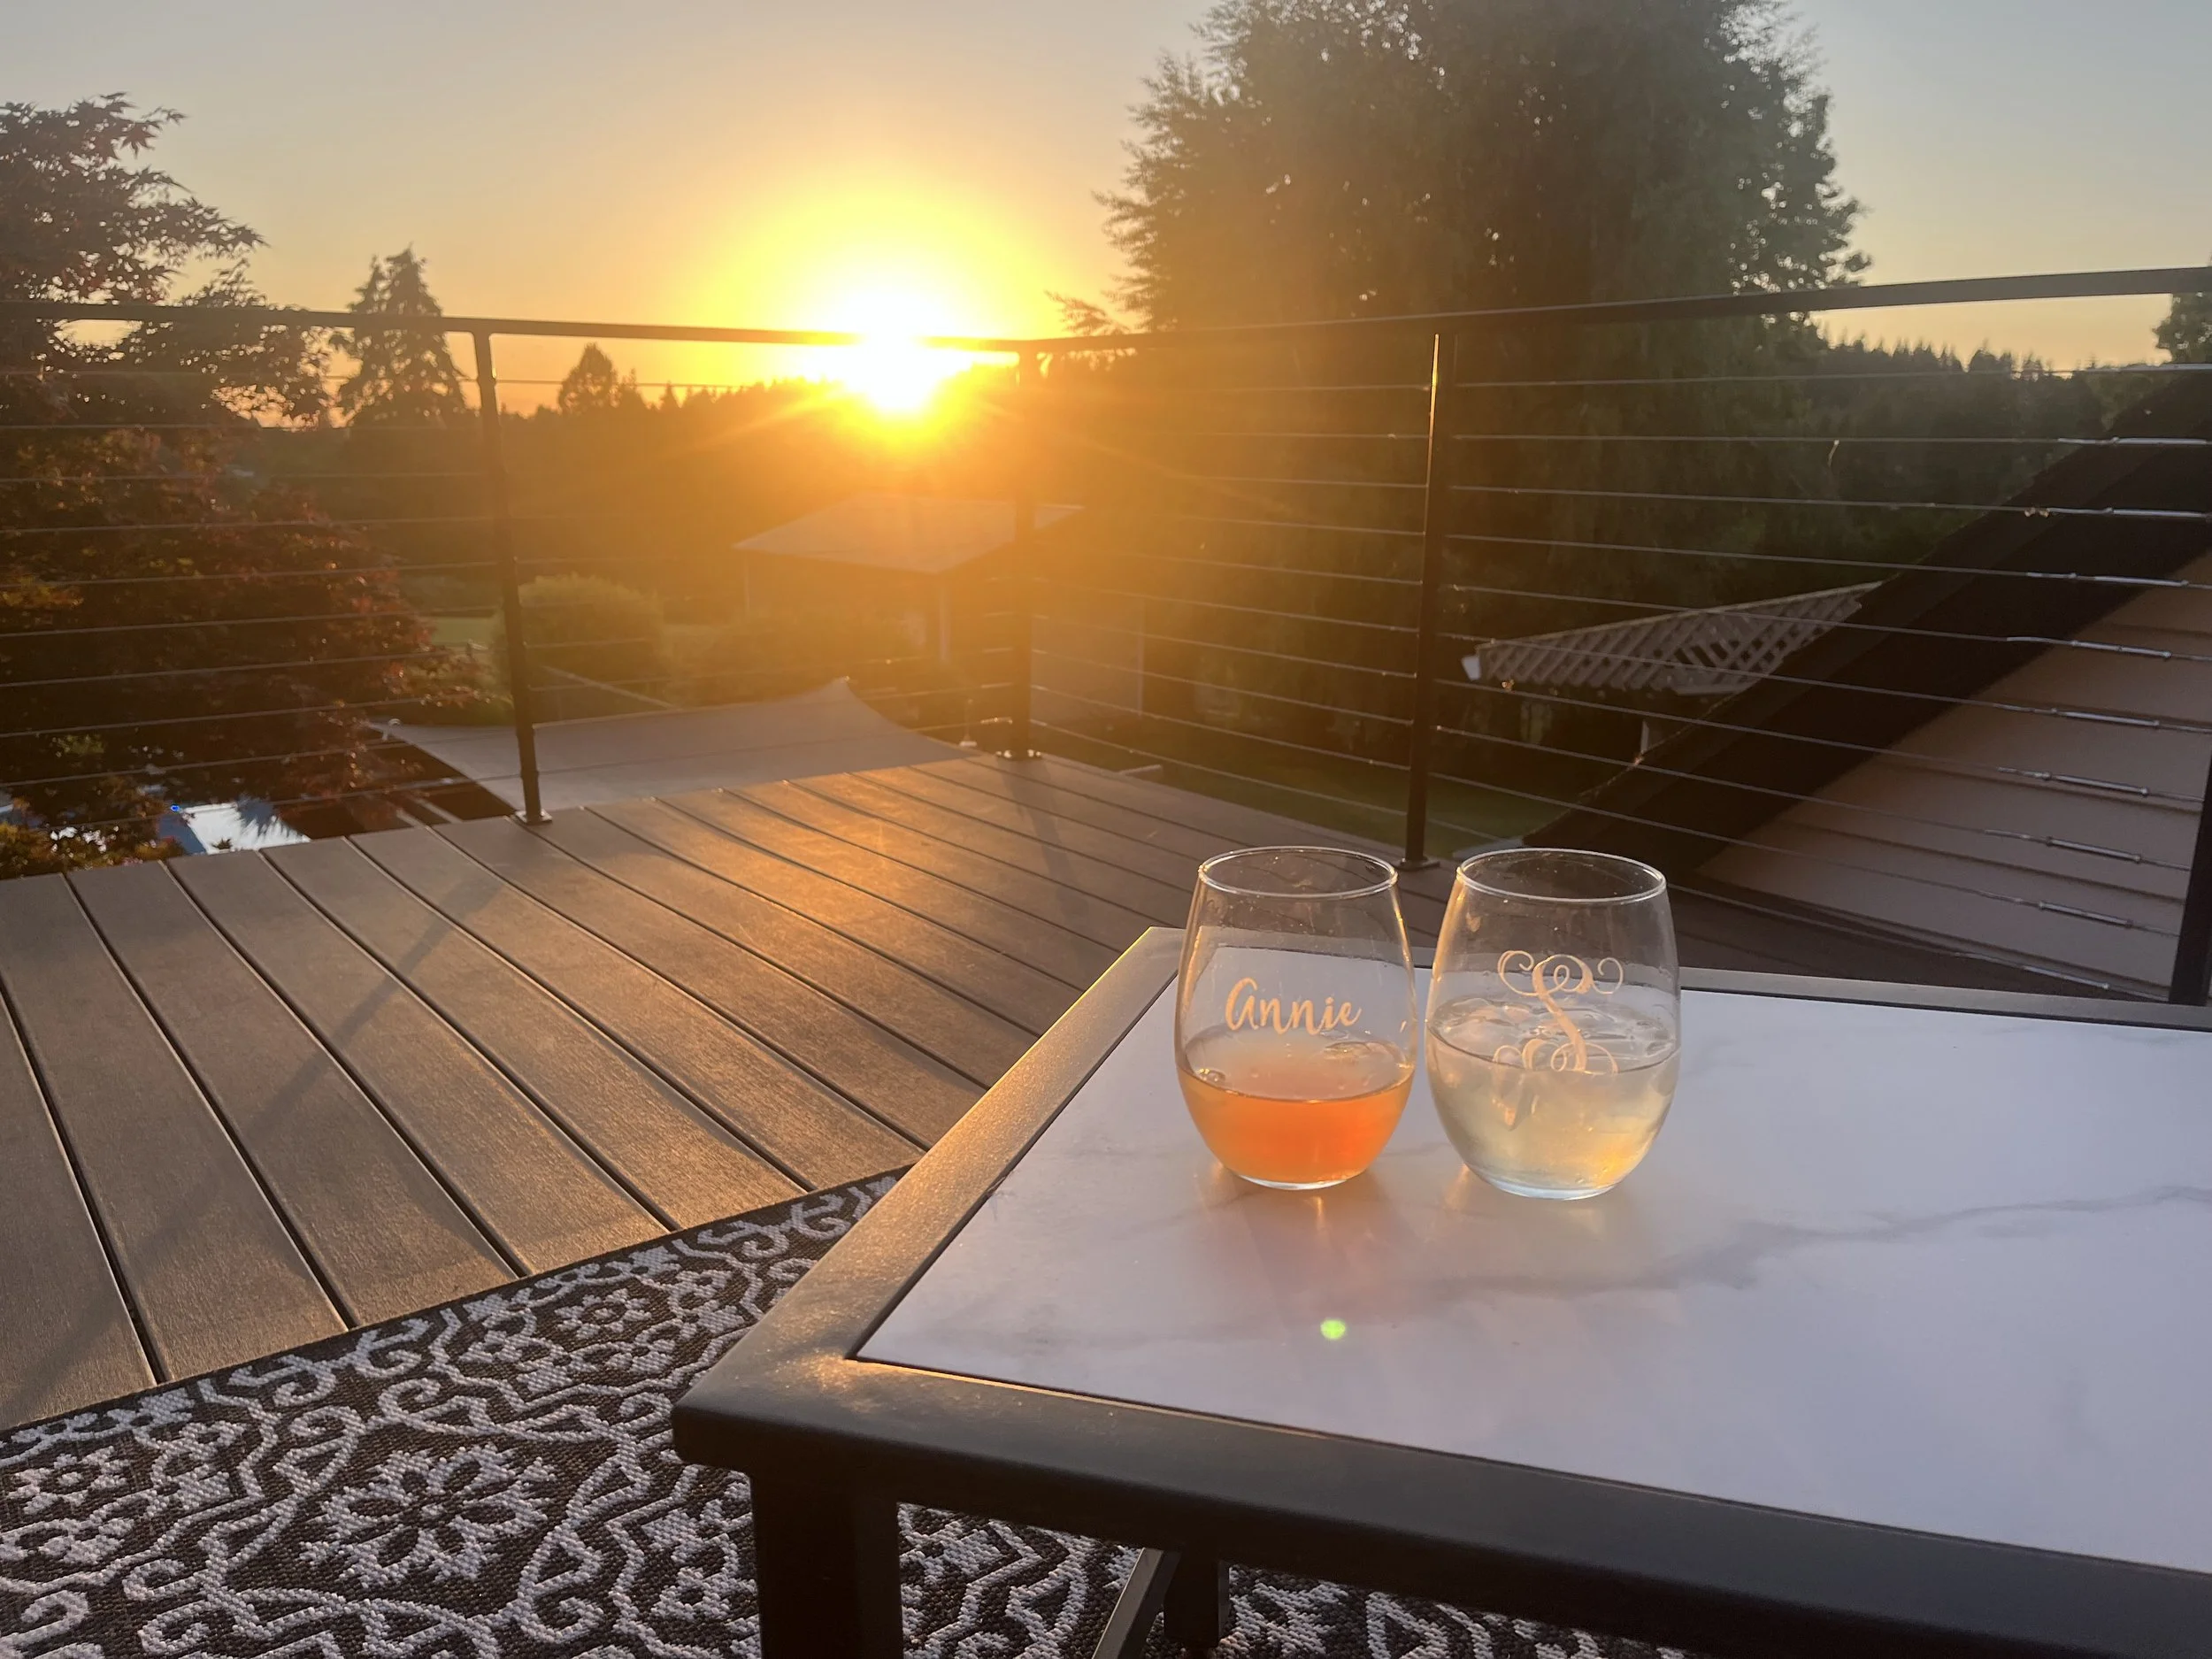
Decorating this balcony and making it both functional and beautiful was so much fun. I was able to do most of my decorating on Amazon which made it super easy! As an Amazon Associate, I earn from qualifying purchases and only recommend products that I truly love. This post contains affiliate links below:
Outdoor Patio Rug: https://amzn.to/4gN8zMA
Outdoor String Lights: https://amzn.to/3SA54PD
Hanging Metal Flower Pots: https://amzn.to/4gKYDTM
This was a vision we had always dreamed of, and to see it unfolding right before our eyes was pretty amazing! We spend a lot of time out on our balcony now, whether we’re watching the sunset or enjoying a morning cup of coffee, and absolutely love the way it turned out. Follow me for my upcoming blog about how I designed the master bathroom and bedroom. Have a beautiful day!
~Annie